¿Quiere que su sitio de WordPress cumpla con las leyes de privacidad de cookies sin complicaciones? WPConsent es un plugin de cumplimiento de privacidad que añade un banner de consentimiento, escanea sus páginas en busca de servicios de seguimiento y bloquea scripts hasta que los visitantes acepten. En esta guía, aprenderá qué hace WPConsent, cómo funciona y por qué es importante para su sitio.
Tabla de contenidos
- Por qué importa el consentimiento de cookies
- Cómo funciona WPConsent
- Conceptos clave
- Comparación de las versiones gratuita y de pago
- Mejores prácticas
- Preguntas frecuentes
Por qué importa el consentimiento de cookies
Los sitios web que utilizan cookies para análisis, publicidad o contenido incrustado deben seguir leyes de privacidad como el RGPD, la CCPA y la ePrivacy. Si no cumple, se arriesga a multas y a perder la confianza de los visitantes.
WPConsent le ayuda a abordar estos requisitos mediante:
- Mostrar un banner de consentimiento claro para que los visitantes puedan aceptar o rechazar categorías de cookies individuales.
- Bloquear scripts de seguimiento (Google Analytics, Facebook Pixel, Microsoft Clarity y otros) hasta que se otorgue el consentimiento.
- Detectar y documentar los servicios y cookies que utiliza su sitio.
- Soportar Google Consent Mode v2 para que los servicios de Google respeten automáticamente las elecciones de los visitantes.
- Reemplazar el contenido bloqueado (YouTube, Vimeo, Google Maps y más) con marcadores de posición seguros para la privacidad hasta que se otorgue el consentimiento.
WPConsent le ayuda a trabajar hacia el cumplimiento de una amplia gama de regulaciones, incluyendo:
- RGPD, el Reglamento General de Protección de Datos (Unión Europea)
- CCPA, la Ley de Privacidad del Consumidor de California (Estados Unidos)
- LGPD, la Ley General de Protección de Datos (Brasil)
- PECR, las Regulaciones de Privacidad y Comunicaciones Electrónicas (Reino Unido)
- PIPEDA, la Ley de Protección de Información Personal y Documentos Electrónicos (Canadá)
- APP, Principios de Privacidad Australianos (Australia)
- Y muchos otros estándares internacionales de privacidad.
Nota: WPConsent es una herramienta que apoya los esfuerzos de cumplimiento. Es su responsabilidad asegurarse de que su sitio web cumpla con todos los requisitos aplicables.
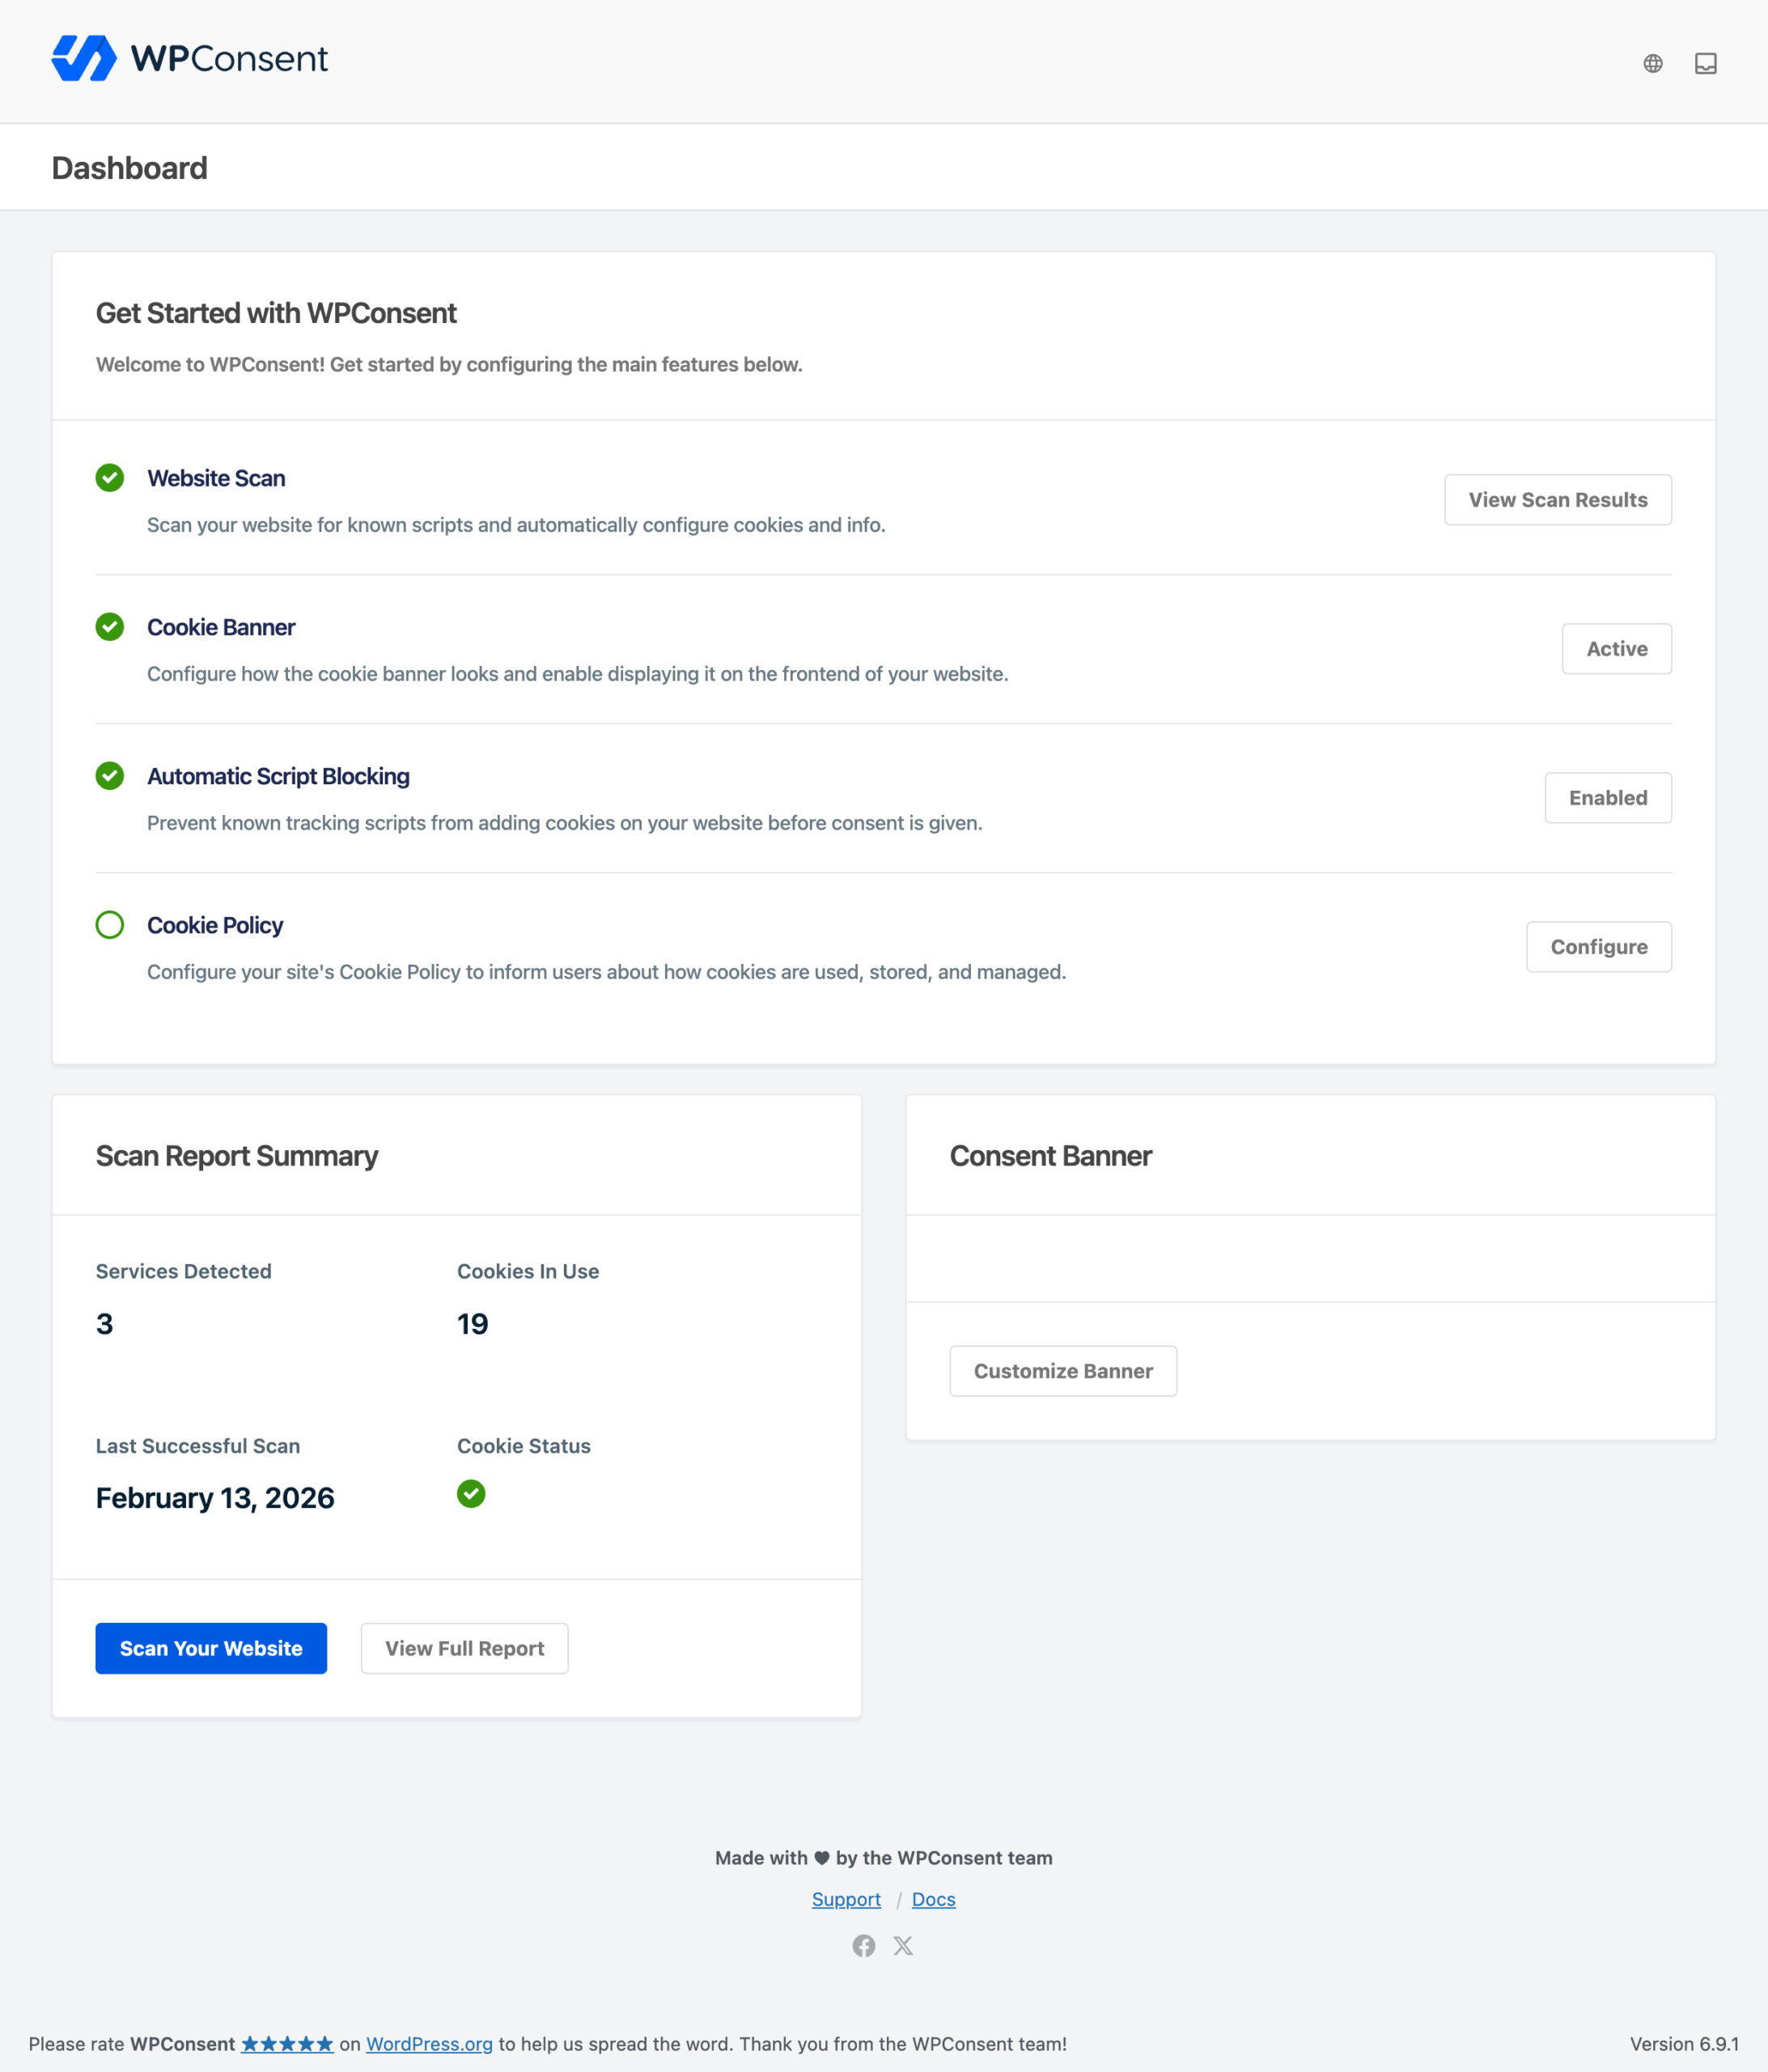
Cómo funciona WPConsent
WPConsent opera en 3 capas:
- Escaneo. El escáner incorporado analiza las páginas de su sitio web e identifica los servicios que establecen cookies. Informa el nombre de cada servicio, la categoría de cookies, la descripción, la URL de privacidad y una lista de cookies con sus descripciones y duraciones.
- Bloqueo. El bloqueo automático de scripts impide que los scripts de seguimiento conocidos se ejecuten antes de obtener el consentimiento. El bloqueo de contenido reemplaza el contenido incrustado de terceros (como reproductores de video y mapas) con imágenes locales de marcador de posición.
- Recopilación de consentimiento. Un banner personalizable solicita el consentimiento a los visitantes. Sus elecciones se almacenan localmente y se aplican de inmediato, desbloqueando solo las categorías de scripts que aprobaron.
Todos los datos de consentimiento permanecen en su propio servidor.
Conceptos clave
Categorías de cookies
WPConsent agrupa las cookies y los scripts en categorías como Esenciales, Estadísticas y Marketing. Los visitantes pueden aceptar o rechazar cada categoría individualmente a través del panel de preferencias.
Servicios
Un servicio agrupa cookies relacionadas bajo un solo nombre (por ejemplo, Google Analytics, WooCommerce o una función de seguimiento personalizada que haya creado). Cada servicio pertenece a una categoría de cookies e incluye detalles sobre las cookies que establece.
Bloqueo de scripts
Cuando el bloqueo automático de scripts está habilitado, WPConsent intercepta los scripts de seguimiento conocidos en la salida de su página. Evita que se ejecuten hasta que el visitante otorgue el consentimiento para la categoría de cookies correspondiente.
Marcadores de posición de contenido
Para contenido incrustado como videos de YouTube, reproductores de Vimeo, Google Maps y reCAPTCHA, WPConsent muestra una imagen local de marcador de posición en lugar de cargar el contenido incrustado de terceros. Esto evita que se establezcan cookies antes del consentimiento. Una vez que un visitante acepta la categoría relevante, el contenido original se carga en su lugar.
Modo de Consentimiento de Google v2
WPConsent se integra con Google Consent Mode v2. Google Analytics y Google Ads se ejecutan en modo sin cookies de forma predeterminada y cambian a medición completa después de que se otorga el consentimiento. La integración funciona tanto si agrega scripts de Google a través de un plugin, manualmente o mediante Google Tag Manager.
Comparación de las versiones gratuita y de pago
WPConsent viene en 2 versiones. La versión gratuita cubre lo esencial y la versión de pago agrega funciones avanzadas para sitios con requisitos de cumplimiento más estrictos.
| Característica | Gratis | De pago |
|---|---|---|
| Banner de cookies personalizable | Sí | Sí |
| Bloqueo automático de scripts | Sí | Sí |
| Modo de Consentimiento de Google v2 | Sí | Sí |
| Marcadores de posición de contenido | Sí | Sí |
| Escáner de sitios web | Básico | Mejorado |
| Datos de cookies de servicio | Búsqueda manual | Importación con 1 clic desde la Biblioteca de cookies |
| Reglas basadas en geolocalización | No | Sí |
| Registros de consentimiento | No | Sí |
| Soporte multilingüe | No | Sí |
| Integración IAB TCF v2.2 | No | Sí |
| Escaneos programados automáticos | No | Sí |
| Soporte prioritario | No | Sí |
Diferencias del escáner
El escáner gratuito detecta scripts comunes de terceros cargados en tus páginas. El escáner de pago va más allá: también detecta cookies de plugins y scripts cargados a través de Google Tag Manager.
Diferencias en la configuración del servicio
Los resultados del escaneo se configuran automáticamente para ambas versiones. Si necesitas añadir manualmente un servicio que no fue detectado por el escáner, la versión gratuita requiere que busques e introduzcas tú mismo los detalles de la cookie. En la versión de pago, la Biblioteca de Cookies te permite importar datos de servicios con 1 clic directamente de la base de datos de cookielibrary.org, incluyendo nombres de cookies, descripciones y duraciones.
Característica Pro: El escáner mejorado, la Biblioteca de Cookies, la geolocalización, los registros de consentimiento, el soporte multilingüe, IAB TCF v2.2 y los escaneos automáticos requieren WPConsent Pro.
Mejores prácticas
- Ejecuta un escaneo después de instalar cualquier plugin nuevo que cargue scripts de terceros en tu sitio.
- Revisa tus categorías de cookies y descripciones de servicios para confirmar que reflejan con precisión lo que hace tu sitio.
- Mantén WPConsent actualizado para beneficiarte de las nuevas detecciones de scripts y reglas de bloqueo que añadimos regularmente.
- Prueba tu banner tanto en escritorio como en móvil para asegurarte de que se muestra correctamente y es accesible.
- Añade una página de política de cookies a tu sitio utilizando el shortcode de política de cookies integrado.
Preguntas frecuentes
¿Necesito comprar la versión de pago para usar WPConsent?
No. La versión gratuita incluye un banner personalizable, bloqueo automático de scripts, marcadores de contenido y Google Consent Mode v2. Solo necesitas la versión de pago si requieres funciones como geolocalización, registros de consentimiento o soporte IAB TCF v2.2.
¿Hace WPConsent que mi sitio cumpla totalmente con el RGPD?
WPConsent proporciona las herramientas que necesitas para trabajar hacia el cumplimiento del RGPD. Sin embargo, el cumplimiento total también depende de tu política de privacidad, acuerdos de procesamiento de datos y de cómo manejas los datos personales en todo tu sitio.
¿Dónde se almacenan los datos de consentimiento de mis visitantes?
Todos los datos de consentimiento se almacenan localmente en tu propio servidor. WPConsent no envía las opciones de consentimiento del visitante a ningún servicio externo.
¿Puedo usar WPConsent con plugins de caché?
Sí. WPConsent funciona con plugins de caché populares. El banner se carga a través de JavaScript, por lo que no se ve afectado por el caché de la página.
¿Cómo sé qué servicios utiliza mi sitio?
Ejecuta el escáner integrado desde el panel de control de WPConsent. Analiza tus páginas e identifica los servicios de terceros que configuran cookies. Para más detalles, consulta nuestra guía sobre cómo escanear tu sitio web.
Conclusión
Ahora tienes una sólida comprensión de lo que hace WPConsent y cómo sus capas de escaneo, bloqueo y recopilación de consentimiento trabajan juntas para ayudarte a cumplir con las regulaciones de privacidad. Para empezar, sigue nuestra guía sobre cómo instalar y activar el plugin.