Need to show different consent banners to visitors in different countries? WPConsent’s geolocation feature lets you create location-based rules that override your default banner settings for specific regions. This guide walks you through configuring geolocation rules in WPConsent.
Pro Feature: This feature requires WPConsent Pro.
Table of contents
- Prerequisites
- Understanding how geolocation works
- Accessing the geolocation page
- Choosing a starting point
- Configuring a location group
- Customizing banner content
- Saving and managing location groups
- Hiding the banner by default
- Understanding geolocation caching
- Common use cases
- Verifying your setup
- Troubleshooting
- FAQ
- Conclusion
Prerequisites
Before you begin, make sure you have the following in place:
- An active WPConsent Pro license
- A basic understanding of privacy regulations like GDPR, CCPA, or LGPD
- Your consent banner configured in WPConsent >> Banner Design (see the general settings guide)
Understanding how geolocation works
When geolocation is active, WPConsent follows this process for each new visitor:
- The frontend JavaScript checks for a cached
wpconsent_geolocationcookie. - If no cookie exists, it calls the REST API endpoint at
/wp-json/wpconsent/v1/geolocation. - The server looks up the visitor’s IP address through
geo.wpconsent.com. The IP is anonymized before the lookup. - The server compares the visitor’s country and state/province against your configured location groups.
- When a match is found, the server returns that group’s settings. The frontend caches the response in the
wpconsent_geolocationcookie for 30 days. - The frontend applies the matched group’s settings. These override the default banner behavior, including consent mode, script blocking, button visibility, button text, button order, and banner message.
If no location group matches, the system falls back to your default plugin settings. The same fallback applies when the geolocation lookup fails due to a network error or blocked request, so your site always has a working consent experience.
Accessing the geolocation page
To get started, navigate to WPConsent >> Geolocation in your WordPress admin menu.
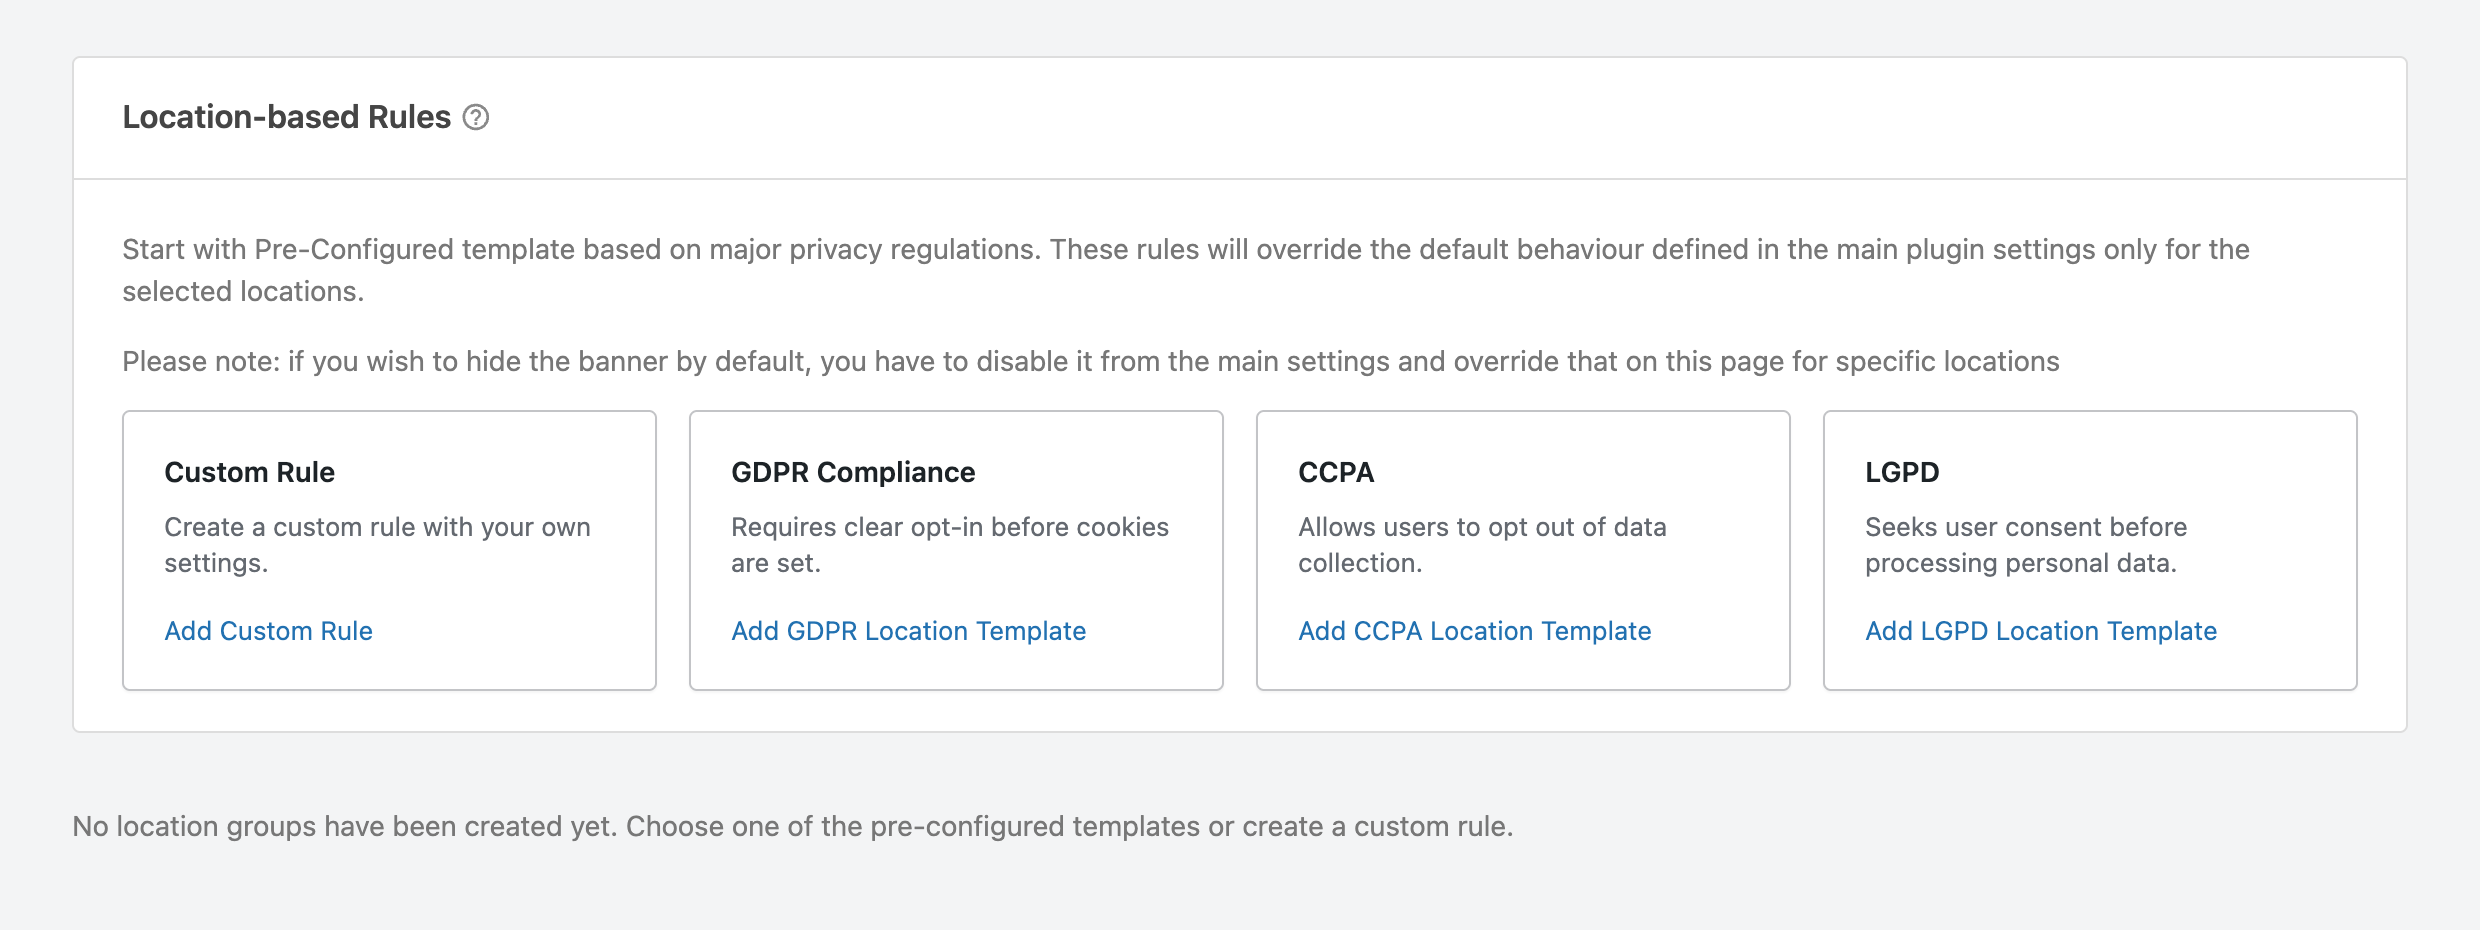
The page has 2 sections. The top section shows predefined rule templates and a custom rule button. Below that, a table lists all your existing location groups.
Choosing a starting point
You have 2 options for creating location rules.
Using predefined templates
Click 1 of the template buttons for instant setup:
- GDPR Compliance: Targets all European countries. Sets consent mode to opt-in, enables script blocking, shows the banner, and shows the settings button.
- CCPA: Targets California (US state level). Sets consent mode to opt-out, enables script blocking, shows the banner, and shows the settings button.
- LGPD: Targets Brazil. Sets consent mode to opt-in, enables script blocking, shows the banner, and shows the settings button.
Each template creates a complete location group with 1 click. The button changes to “Added” after you use a template. This prevents duplicate rules for the same location.
Creating a custom rule
Click Add Custom Rule to open the location group modal and build a rule from scratch. Use this when you need specific country combinations, US state targeting beyond California, Canadian province targeting, or custom consent settings.
Configuring a location group
When you click Add Custom Rule, a modal window opens with the configuration form.

Setting the group name
First, enter a descriptive name that identifies this rule. Good names describe the locations and purpose, such as “European Union – GDPR” or “California + Colorado Privacy.”
Selecting locations
The location selector uses a hierarchical tree organized by continent.
- Use the search box to filter locations by name. Matching results expand automatically.
- Check a continent checkbox to select all countries within it.
- Click the arrow next to a continent to expand it and select individual countries.
- Expand United States (US) to select individual US states. Checking the US country checkbox selects all states.
- Expand Canada to select individual Canadian provinces and territories. Checking the Canada country checkbox selects all provinces.
- Use the Expand All, Collapse All, and Clear All buttons to manage the tree quickly.
Selected locations appear in the Selected Locations summary below the tree. To remove a location, click the X icon next to it.
Each location can only belong to 1 group. Locations already assigned to another group display a “(Used)” label and are disabled. You must delete the other group first to reassign that location.
Adjusting consent settings
Next, configure how the banner behaves for visitors from these locations:
- Block Scripts Before Consent: When enabled, tracking scripts are blocked until the visitor gives consent. This is required for GDPR compliance and recommended for LGPD.
- Show Consent Banner: Toggle the banner on or off for these visitors. Turn this off for regions where no consent banner is required.
- Show Settings Button: Control visibility of the floating preferences button that lets visitors change their consent choices later.
- Consent Mode: Choose between:
– Opt-in (user must actively consent): Scripts are blocked by default. The visitor must click Accept before any non-essential cookies are set. Required by GDPR and LGPD. – Opt-out (consent assumed unless rejected): Scripts run by default. The visitor can click Reject to revoke consent. Used for CCPA compliance.
Customizing banner content
2 optional sections let you override banner elements for this location group. Both are collapsed by default.
Customizing banner buttons
To customize buttons, enable the Customize Banner Buttons toggle. This reveals button configuration options.

For each button (Accept, Reject, Settings), you can:
- Edit the button text to display location-appropriate wording
- Toggle the button on or off with the status switch
- Drag buttons using the handle to reorder them
If you have multilanguage translations configured, button text set here overrides those translations for visitors matching this location group.
Customizing the banner message
To use a custom message, enable the Customize Banner Message toggle. Then enter a custom message for this location group. Leave the text area empty to use your default banner message.
Like button text, a custom banner message here overrides any multilanguage translations for visitors matching this group.
Saving and managing location groups
Once you’ve configured your settings, click Save Location Group. The page reloads and your new rule appears in the location groups table.
The table displays these columns for each group:
| Column | Description |
|---|---|
| Name | The group name you entered |
| Locations | Comma-separated list of selected locations |
| Type of Consent | GDPR, CCPA, LGPD, or Custom |
| Consent Settings | Checkmarks showing Block Script, Show Banner, and Show Settings Button status |
| Consent Mode | Optin or Optout |
| Action | Edit and Delete buttons |
To edit an existing group, click the edit icon to reopen the modal with its settings loaded. To remove a group, click the delete icon and confirm the deletion.
Adding additional rules
Repeat the steps above to add more location groups. Each group must use unique locations. The system prevents you from assigning the same country, state, or province to multiple groups.
When a visitor’s location matches a group, the first matching group takes effect. No further groups are checked.
Hiding the banner by default
A common pattern is to hide the consent banner globally and show it only in regulated regions. To set this up:
- Go to WPConsent >> Settings and disable the consent banner.
- Go to WPConsent >> Geolocation and create location groups for regulated regions with Show Consent Banner enabled.
The geolocation system forces the banner to load on the frontend whenever at least 1 location group has Show Consent Banner enabled, even if the main banner setting is off. The frontend then uses the geolocation lookup to decide whether to display the banner to each visitor.
This approach means visitors outside your location groups see no banner at all. Visitors inside your groups see the appropriate consent experience.
Understanding geolocation caching
WPConsent caches geolocation results in a browser cookie named wpconsent_geolocation. This cookie stores the matched group’s settings as JSON and expires after 30 days.
Caching reduces server load by eliminating repeated API calls for returning visitors. The REST endpoint at geo.wpconsent.com is only called once per visitor, when no cached data exists or the cookie has expired.
If you change a location group’s settings, existing visitors with a cached cookie continue to see the old settings until their cookie expires. You can advise users to clear cookies, or they’ll receive the updated settings automatically within 30 days.
WPConsent automatically adds the wpconsent_geolocation cookie to your Essential cookies category when you create your first location group.
Common use cases
EU-only compliance
Use the GDPR template to show an opt-in consent banner only to European visitors. Then disable the banner in WPConsent >> Settings so visitors outside Europe see no banner at all.
California CCPA
Use the CCPA template for California residents. The opt-out consent mode allows cookies by default until users actively reject them. This aligns with CCPA requirements.
Brazil LGPD
Use the LGPD template to require explicit consent from Brazilian visitors before setting non-essential cookies. LGPD requires opt-in consent, similar to GDPR.
Multiple regions with different rules
Create separate groups for each regulatory framework. For example, add a GDPR rule for Europe (opt-in), a CCPA rule for California (opt-out), and a custom rule for Quebec, Canada (opt-in) to comply with Quebec’s Law 25.
Canadian province-level targeting
Expand Canada in the location selector to target specific provinces. This lets you apply stricter rules to provinces like Quebec while using lighter rules for other Canadian provinces.
Region-specific banner wording
Use the button and message customization to display region-appropriate language. For California visitors, you might change the reject button text to “Do Not Sell My Data” and use a banner message referencing CCPA rights.
Verifying your setup
Test your geolocation rules to confirm they work correctly.
- Visit your site from a location included in a rule, or use a VPN to simulate a different location.
- Verify the banner appears or hides according to your rule settings.
- Check that the consent mode (opt-in or opt-out) matches your configuration.
- If you customized buttons, confirm the text and order are correct.
- Inspect browser cookies to find the
wpconsent_geolocationcookie with the matched group data. - Clear the
wpconsent_geolocationcookie and reload to trigger a fresh lookup.
To test without a VPN, temporarily add your current location to a rule. Remember to remove it after testing.
Troubleshooting
Banner shows wrong settings for a location
Check for rule conflicts. Each location can only exist in 1 group, and the first matching group takes priority. Verify your rule’s consent mode and settings match your expectations. Then edit or delete conflicting rules from the location groups table.
Location detection fails
The geolocation service requires outbound HTTP access to geo.wpconsent.com. Check your server’s firewall rules or contact your hosting provider if requests are blocked. When detection fails, the system falls back to your default settings.
Changes aren’t visible after saving
Clear the wpconsent_geolocation cookie in your browser. This cookie caches location data for 30 days. Returning visitors continue to see the old settings until their cookie expires or is cleared.
Script blocking isn’t working for a location group
Verify Block Scripts Before Consent is enabled in the location group settings. Also confirm you have scripts or services configured for blocking in WPConsent >> Content. The location group controls whether blocking is active, but you still need content to block.
Banner shows for all visitors instead of specific regions
Make sure you disabled the consent banner in WPConsent >> Settings for the default settings. The geolocation system overrides the default, not the other way around. If the default banner is enabled, all visitors see it regardless of location rules.
FAQ
Can I assign the same location to multiple groups?
No. Each location (country, state, or province) can only belong to 1 group at a time. Locations already assigned to a group display a “(Used)” label and are disabled in the location selector. To reassign a location, first delete the group it belongs to.
What happens if my visitor’s location doesn’t match any group?
WPConsent falls back to your default plugin settings. The banner, consent mode, and script blocking all follow whatever you’ve configured in WPConsent >> Settings.
How do I show the banner only in specific countries?
First, disable the consent banner in WPConsent >> Settings. Then create geolocation groups for the countries where you want the banner to appear, with Show Consent Banner enabled. Visitors outside those groups won’t see a banner.
How often does WPConsent check a visitor’s location?
WPConsent checks once per visitor and caches the result in the wpconsent_geolocation cookie for 30 days. After the cookie expires, the next page load triggers a fresh lookup.
Will my changes apply immediately to all visitors?
No. Returning visitors who already have a cached wpconsent_geolocation cookie continue to see the old settings until their cookie expires (up to 30 days). New visitors and those with expired cookies see your updated settings right away.
Conclusion
Geolocation rules give you precise control over how your consent banner behaves for visitors in different regions. By combining predefined templates with custom rules, you can comply with GDPR, CCPA, LGPD, and other privacy regulations from a single WordPress installation.
To learn more about CCPA-specific compliance features, check out the guide on setting up Do Not Sell. You can also review your consent logs to track how visitors from different regions interact with your banner.