Want to let visitors opt out of the sale or sharing of their personal data? WPConsent’s Do Not Sell addon provides a customizable request form, email notifications, and CSV exports to help you handle opt-out requests. This guide walks you through setting up and managing Do Not Sell requests.
Pro Feature: This feature requires a WPConsent Plus plan or higher.
Table of contents
- Prerequisites
- Installing the addon
- Creating your Do Not Sell page
- Configuring form fields
- Setting up spam protection
- Enabling email notifications
- Managing incoming requests
- Exporting request data
- Viewing the frontend form
- Verifying your setup
- FAQ
- Conclusion
Prerequisites
Before you start, make sure you have:
- An active WPConsent Plus license or higher
- A basic understanding of CCPA/CPRA “Do Not Sell” requirements
- A published page where you want to display the request form
- (Optional) WPForms installed for CAPTCHA spam protection
Installing the addon
To get started, navigate to WPConsent >> Do Not Sell in your WordPress admin menu.
If you have a Plus license or higher, you’ll see an Install Do Not Sell Addon button. Click it to automatically install and activate the addon.
Once installed, the page refreshes and displays 4 configuration tabs: Requests, Configuration, Notifications, and Export.
Creating your Do Not Sell page
First, switch to the Configuration tab.
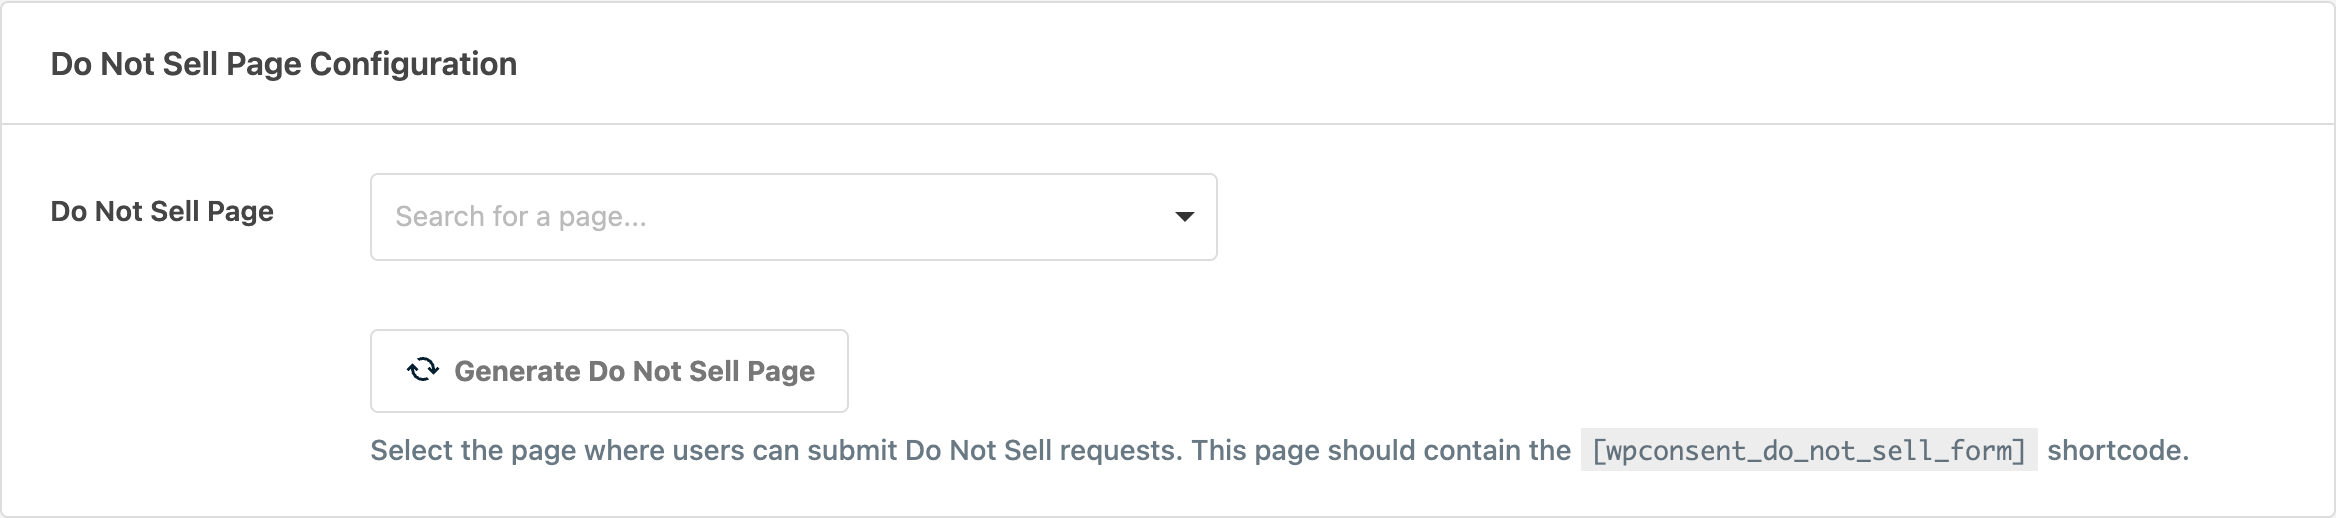
Next, click Generate Do Not Sell Page. WPConsent creates a new page titled “Do Not Sell My Personal Information” with the [wpconsent_do_not_sell_form] shortcode already inserted.
The page dropdown automatically updates to show your new page. You can preview it by clicking the View Page link next to the dropdown.
Alternatively, select an existing page from the dropdown. If you go this route, add the [wpconsent_do_not_sell_form] shortcode to that page manually.
Configuring form fields
Scroll down to the Form Fields section on the Configuration tab.

Required fields
3 fields are always required and can’t be disabled:
- First Name
- Last Name
You can only customize their labels. Enter new text in the label input below each field.
Optional fields
You can enable these additional fields individually:
- Address
- ZIP Code
- City
- State
- Country
- Phone
For each optional field:
- Toggle Enable this field to show it in the form.
- Toggle Make this field required if you want to enforce completion.
- Customize the field label in the text input.
Submit button
At the top of this section, enter custom text for the Submit Button Text field. The default value is “Submit Request.”
After configuring your fields, click Save Changes at the bottom of the page.
Setting up spam protection
Scroll to the Spam Protection section at the bottom of the Configuration tab.

WPConsent integrates with WPForms CAPTCHA settings to protect your form. The system supports:
- Google reCAPTCHA (v2 Checkbox, v2 Invisible, v3)
- hCaptcha
- Cloudflare Turnstile
If WPForms isn’t installed
You’ll see a warning notice with an Install WPForms button. Click it to install the plugin from the WordPress repository.
If WPForms is installed but CAPTCHA isn’t configured
You’ll see a warning with a Configure Captcha button. Click it to access the WPForms CAPTCHA settings page. Then follow the WPForms documentation to set up your preferred provider.
If CAPTCHA is configured
You’ll see a success notice showing which CAPTCHA type is active. The form automatically includes the CAPTCHA and validates submissions.
Enabling email notifications
Switch to the Notifications tab to configure automatic email alerts.
First, toggle Email Notifications to enable this feature. When enabled, you receive an email each time someone submits a Do Not Sell request.
In the Send To field, enter 1 or more email addresses separated by commas. For example: [email protected], [email protected]. The default is your WordPress admin email.
Then, click Preview Email to see a sample notification in a new browser tab. This helps you verify the email template before going live.
Finally, click Save Changes to save your notification settings.
Managing incoming requests
Switch to the Requests tab to view all submitted requests.

Each request shows these details:
- ID: Unique request number
- Name: First and last name combined
- Email: Requester’s email address
- Location: City, State, and Country (when provided)
- Status: Current processing status (Received, Confirmed, or Processed)
- Date: Submission date
Marking a request as processed
To mark a single request, hover over the request name to reveal the Mark as Processed action link.
To mark multiple requests at once, check the boxes next to the requests you want to update, select Mark as Processed from the bulk actions dropdown, and click Apply.
You can also use the search box above the table to filter requests by name, email, or location.
Exporting request data
Switch to the Export tab to download requests as CSV files.
Filtering by date range
Use the From and To date pickers to select a specific time period. Leave both blank to export all requests.
Export options
2 checkboxes control export behavior:
- Export only “not processed” entries: Only includes requests with Received or Confirmed status
- Mark exported data as processed: Automatically updates exported requests to Processed status
Then, click Export to generate and download the CSV file.
The export includes these columns: Request ID, First Name, Last Name, Email, Address, ZIP Code, City, State, Country, Phone, Status, Created At (timestamp), Processed At (timestamp), and Processed By (user who marked it processed).
Large exports process in batches with a progress indicator.
Viewing the frontend form
Here’s what visitors see when they access your Do Not Sell page.
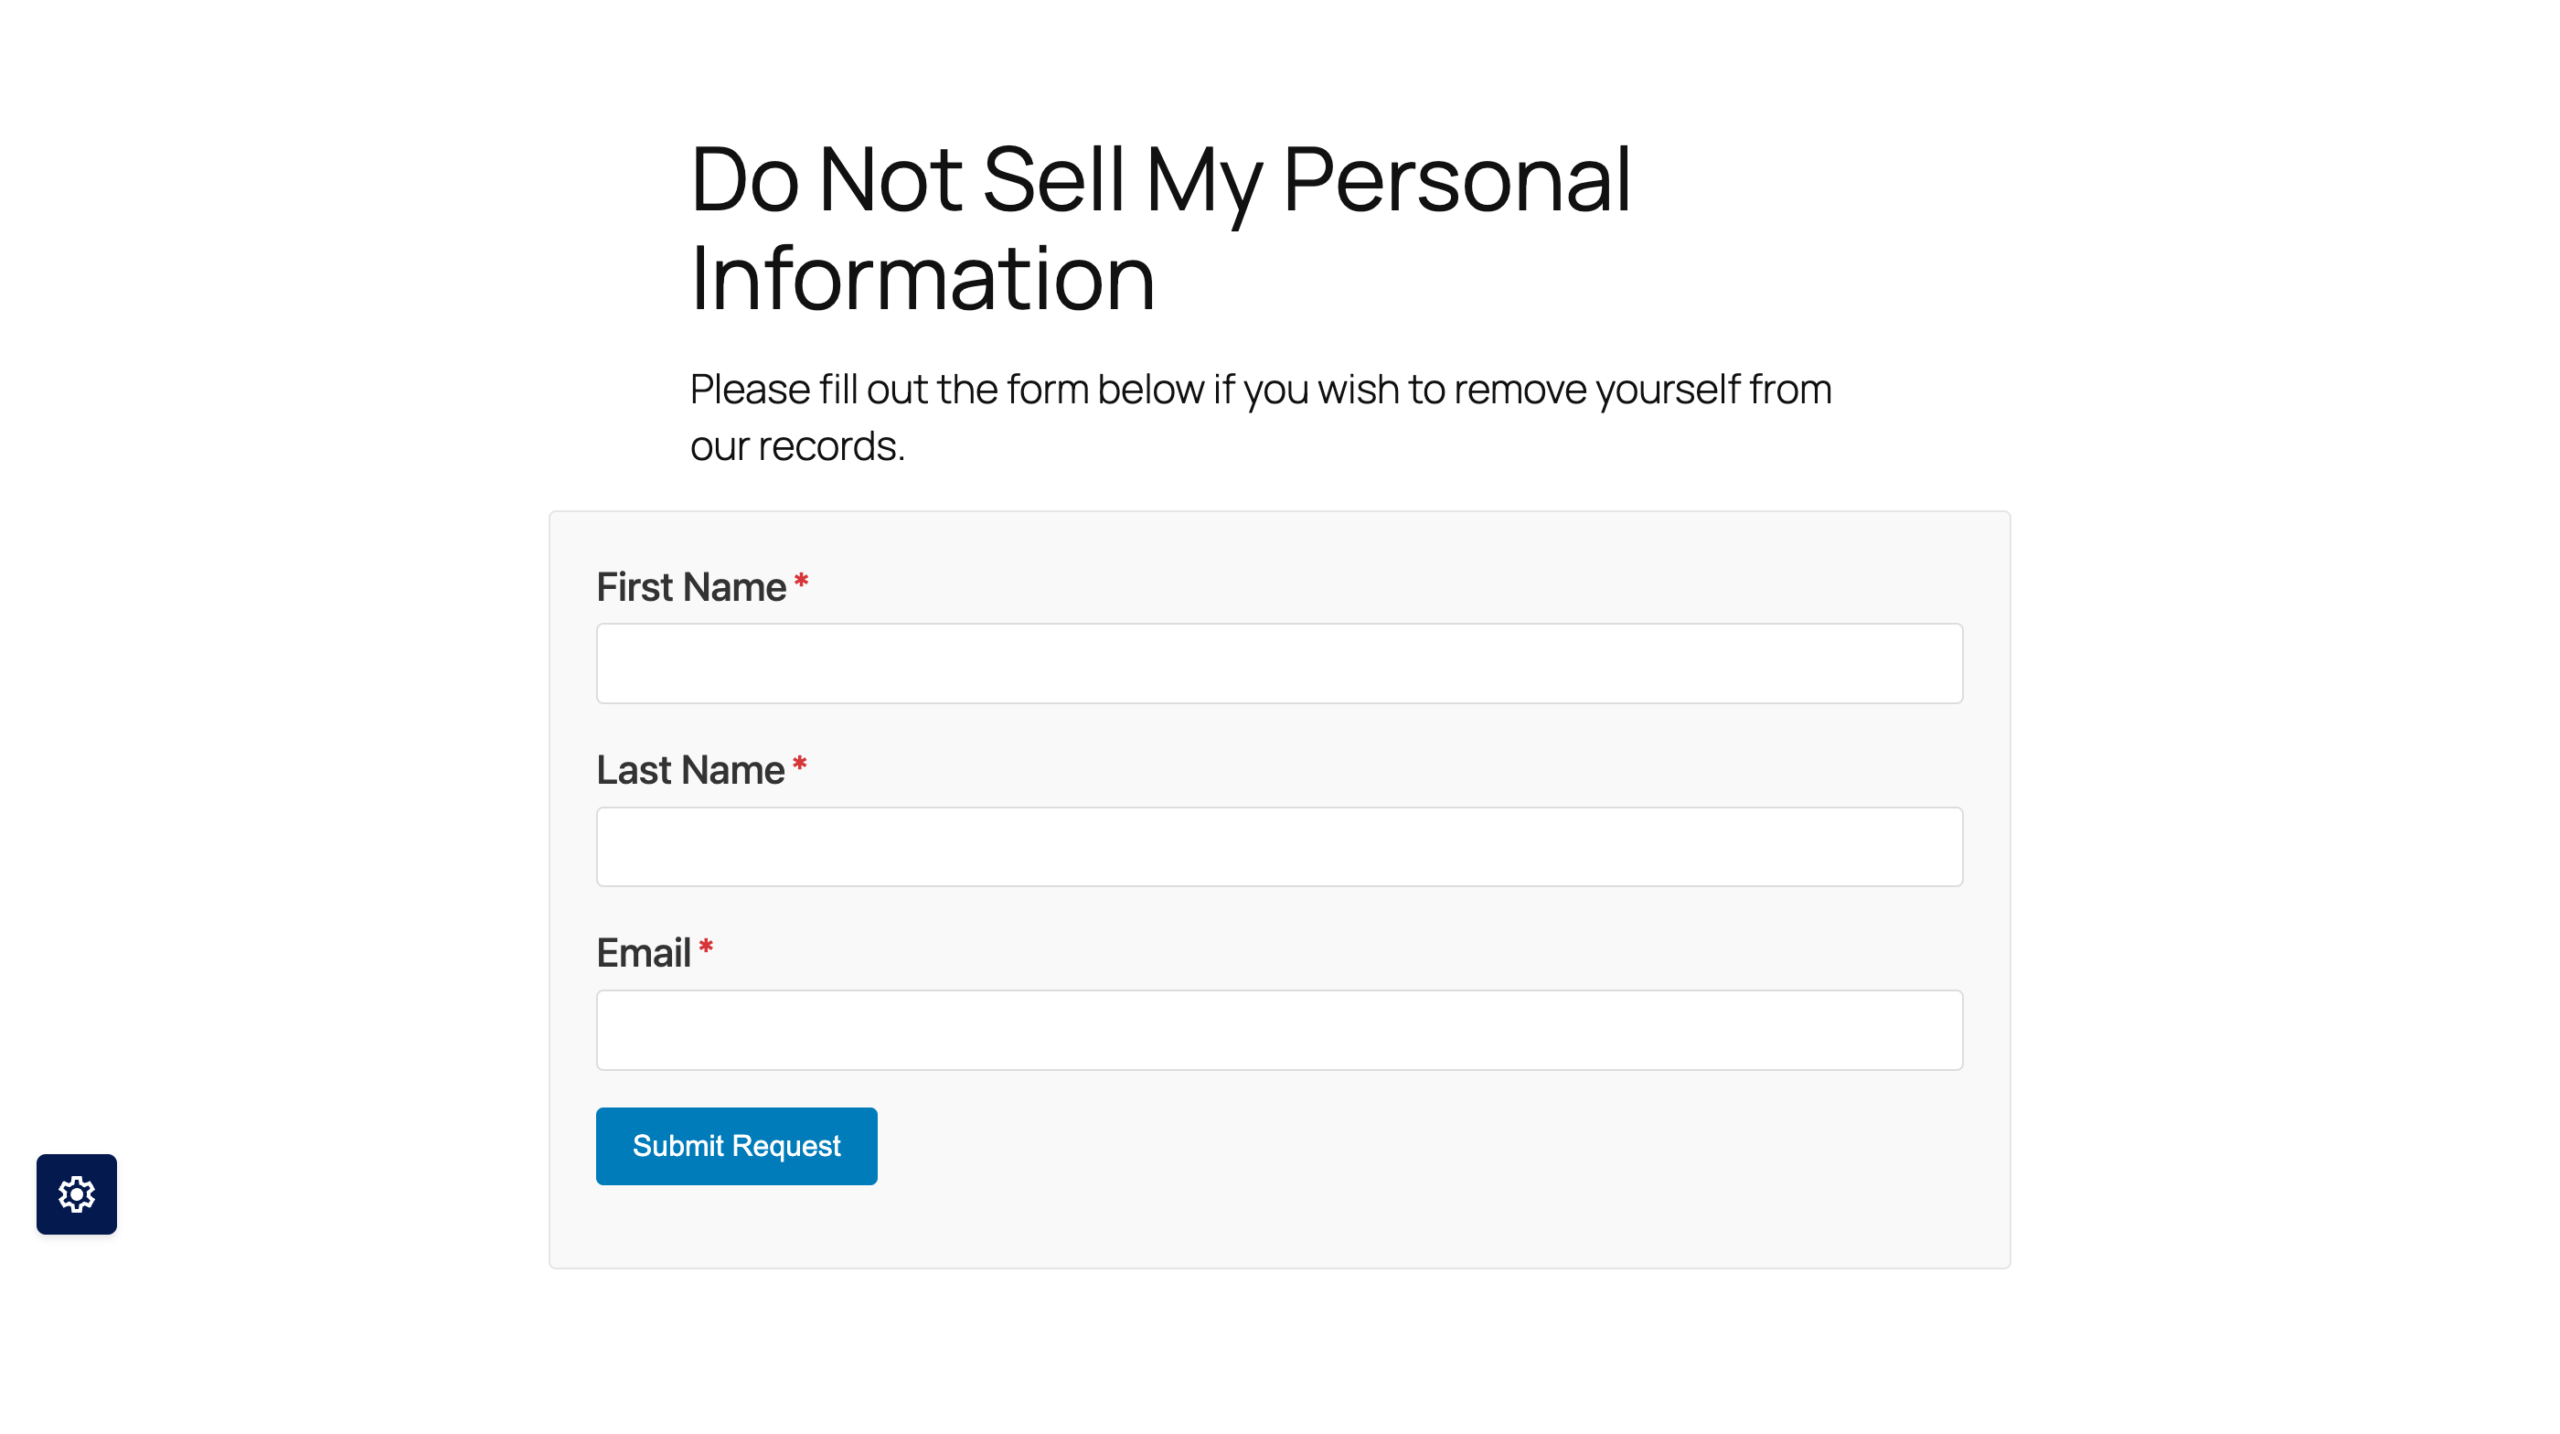
The form displays all enabled fields from your configuration. Required fields show an asterisk. The CAPTCHA appears above the submit button when configured.
After a successful submission, visitors see a confirmation message.
Verifying your setup
Test your Do Not Sell system with these checks:
- Visit your Do Not Sell page as a logged-out visitor.
- Fill out and submit the form with test data.
- Verify the request appears in WPConsent >> Do Not Sell >> Requests.
- Check that notification emails arrive (if enabled).
- Test marking a request as processed.
- Export the test data to confirm CSV generation works.
- Verify CAPTCHA displays and validates correctly.
Delete test requests after verification to keep your database clean.
FAQ
My form shortcode isn’t displaying. What’s wrong?
Verify you’re using the correct shortcode: [wpconsent_do_not_sell_form]. Also check that the Do Not Sell addon is installed and activated at WPConsent >> Do Not Sell.
Why isn’t the CAPTCHA appearing on my form?
Confirm WPForms is installed and active. Then navigate to WPForms >> Settings >> CAPTCHA and verify a provider is configured with valid site and secret keys. Save the form page again after changing CAPTCHA settings.
My email notifications aren’t sending. How do I fix this?
Verify the email addresses in the Send To field are valid and separated by commas. If emails still aren’t arriving, install WP Mail SMTP to route notifications through a reliable email service and improve deliverability.
I can’t select a page in the dropdown. What do I do?
The page must exist and be published. If you created a page manually, make sure it contains the [wpconsent_do_not_sell_form] shortcode. Use the search function in the dropdown for sites with many pages.
My export generates an empty CSV. Why?
Check your date range filters and verify requests exist in the selected time period. If Export only “not processed” entries is checked, make sure you have requests with Received or Confirmed status.
I see a “Database update required” notice. What do I do?
Click the Run Update button at the top of the Requests tab. This updates the database structure for improved timezone handling. The migration runs automatically and takes a few seconds.
Conclusion
You’ve now set up a Do Not Sell request system with a customizable form, email notifications, request management, and CSV exports. This gives you the tools to manage opt-out requests under CCPA, CPRA, and similar privacy laws.
To target the Do Not Sell form to specific regions, check out the guide on setting up geolocation rules.