Getting started with the WPConsent plugin is easy to do in just a few clicks. Please follow the guide below as we walk you through the steps needed to install WPConsent.
Step 1: Download the WPConsent Plugin
First, you’ll need to download the WPConsent plugin.
1. Login to your WPConsent account by clicking the Login link in the top menu.

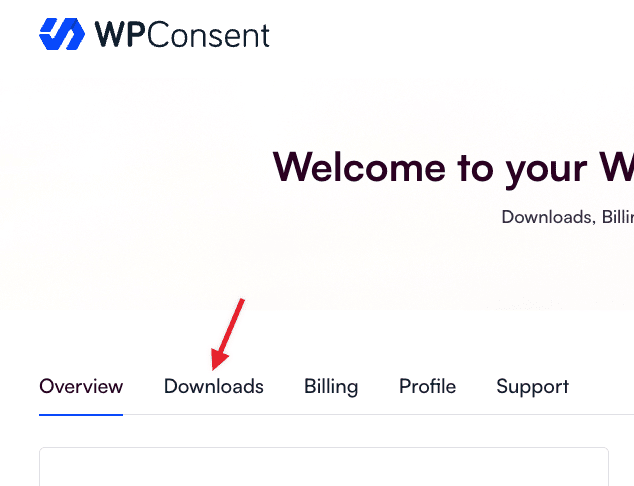
2. After logging in, navigate to the WPConsent Downloads area in your account:
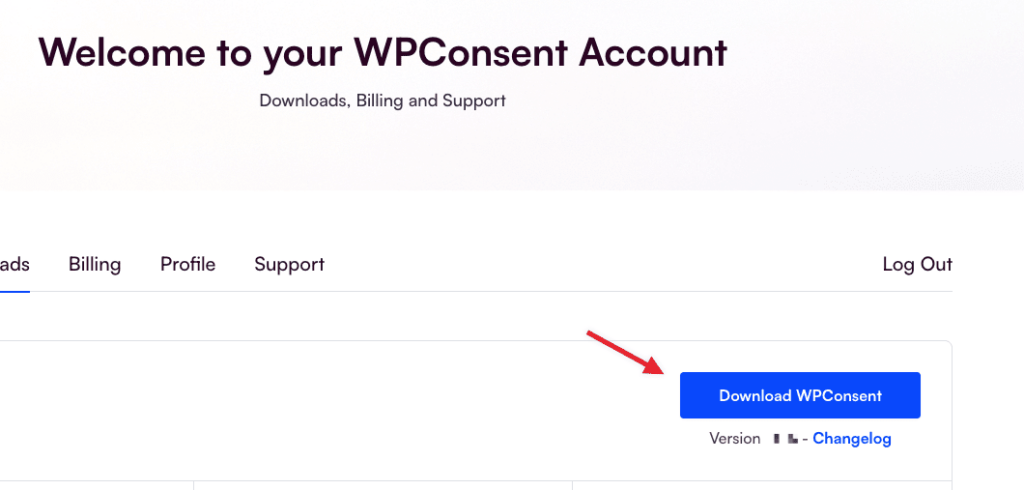
3. To download WPConsent, simply click on the Download link on the right of the downloads page:
Step 2: Upload and Install the Plugin on Your WordPress Site
After you downloaded the file with the WPConsent plugin, you can navigate to the site where you want to install WPConsent and login to the WordPress admin area (wp-admin).
Once there, navigate to Plugins » Add New and click the Upload Plugin button at the top.
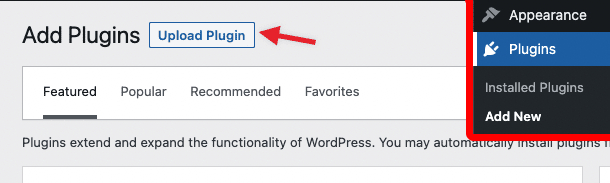
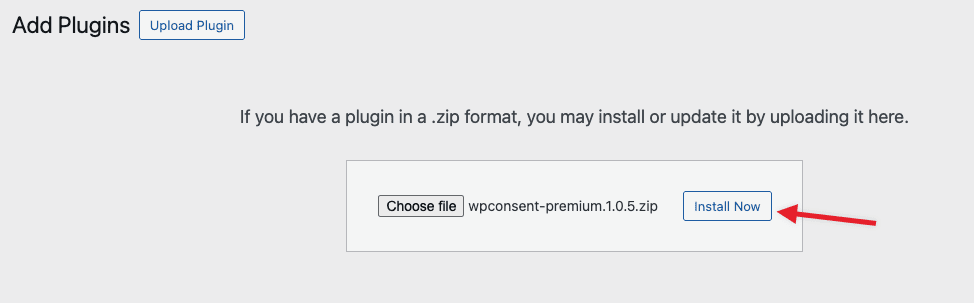
Clicking that button will open an upload form where you can click the Choose file button to select the zip file you downloaded from the WPConsent account.
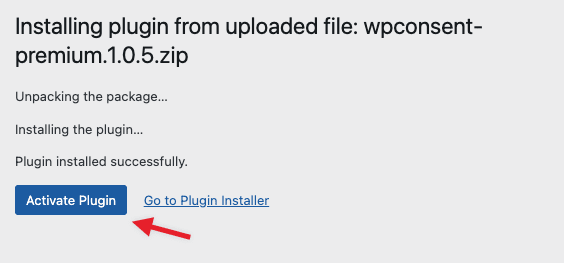
Once you select the WPConsent archive, click the Install Now button to upload the file and install WPConsent on your site.
On the next screen, once the plugin has been uploaded and installed, click the Activate Plugin button to start running WPConsent on your site.
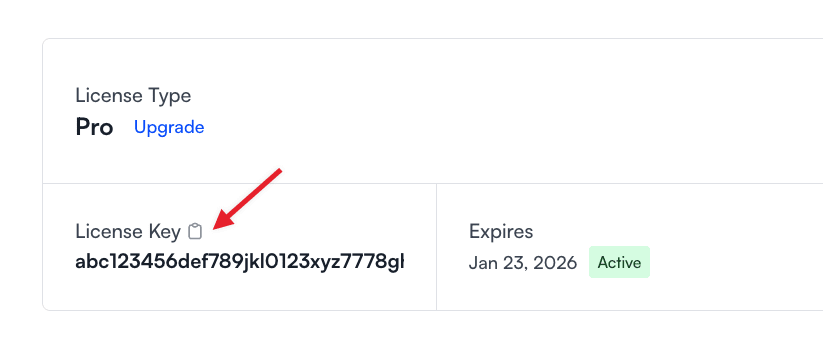
The last step you’ll need to do is add your license key. Your license key can be found on the same downloads page where you downloaded the plugin from the account area.
If this is the first time you activate the WPConsent plugin you will see our onboarding wizard that will guide you through the initial setup. In the first step, you’ll be able to add your license key and scan your website.

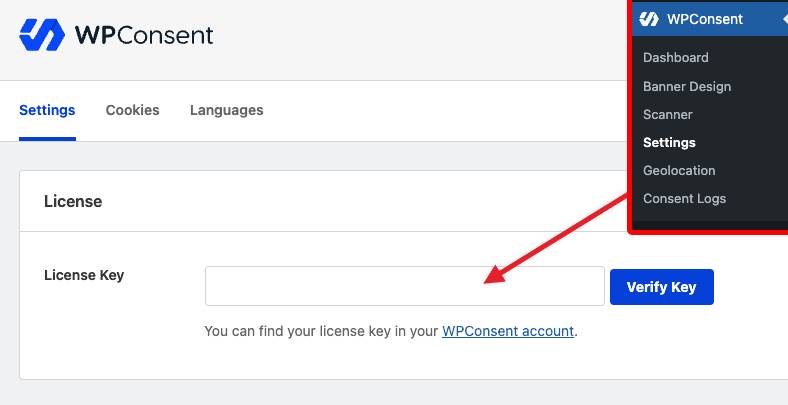
If you used WPConsent before, you can set up the license key from the settings page as shown below:
You’re all set! Now the plugin is set up and can also receive updates using your license.