A few months ago, a friend of ours got an email that made his stomach drop. A customer had filed a complaint because his WooCommerce store was tracking them without asking permission first.
He had Google Analytics, Facebook Pixel, and a handful of other marketing tools running, and he never thought twice about it. Turns out, that’s a problem if you have customers from Europe or California.
If you’re running a WooCommerce store, you’re probably in the same boat. You’ve got analytics to track what’s working, retargeting pixels to bring shoppers back, and maybe some email marketing tools to recover abandoned carts.
All of these use cookies, and under laws like GDPR and CCPA, you need to ask for permission before dropping them in someone’s browser. The good news? Setting this up isn’t as complicated as it sounds.
In this guide, I’ll walk you through exactly how to add proper cookie consent to your WooCommerce store, step by step. And to help you navigate this guide, you can click the links below to jump ahead to any section:
- Why Your WooCommerce Store Needs Cookie Consent
- Understanding What Cookies Your Store Uses
- Setting Up WooCommerce Cookie Consent
- Step 1: Install and Activate WPConsent
- Step 2: Install the WP Consent API Plugin
- Step 3: Scanning Your Store for Cookies
- Step 4: Configuring Script Blocking
- Step 5: Create a Cookie Consent Banner
- Step 6: Create or Update Your Cookie Policy Page
- Step 7: Setting Up Google Consent Mode
- Step 8: Manage WooCommerce Consent Logs
- Testing Your WooCommerce Cookie Consent
- Handling Specific WooCommerce Integrations
- Keeping Your Store Compliant Long-Term
- FAQs about WooCommerce Cookie Consent
Why Your WooCommerce Store Needs Cookie Consent
Here’s the thing that most store owners don’t realize: WooCommerce itself uses cookies that are totally fine. Cart cookies, login sessions, and currency preferences are essential for your store to work, and you don’t need permission for them.
But the moment you add Google Analytics to see how people navigate your store? That requires consent. Facebook Pixel to run retargeting ads? Consent. That abandoned cart plugin that tracks shoppers? You guessed it, consent.
The consequences of ignoring this aren’t just theoretical. GDPR fines can reach €20 million or 4% of your annual revenue, whichever is higher.
CCPA violations run $2,500 to $7,500 per incident. And beyond the legal stuff, there’s the trust factor. Shoppers are increasingly aware of privacy, and they notice when a store doesn’t ask permission.
Understanding What Cookies Your Store Uses
Before you set anything up, it helps to know what you’re working with. WooCommerce stores typically use three types of cookies.
1. Essential Cookies
Essential cookies keep your store functioning. When someone adds a product to their cart, WooCommerce stores that in a cookie so the cart doesn’t empty when they browse to another page.
The same applies to keeping customers logged in, remembering their shipping country, and handling the checkout process. These cookies don’t require consent because they’re necessary for basic store operations.
2. Statistics Cookies
Statistics cookies help you understand how visitors interact with your store. Google Analytics cookies like _ga and _gid track visitor behavior and provide insights into traffic patterns, popular products, and user journeys.
Tools like Hotjar and Microsoft Clarity also fall into this category. While these cookies improve your understanding of customer behavior, they require explicit consent under GDPR.
3. Marketing Cookies
Marketing cookies enable advertising and retargeting campaigns. Facebook’s _fbp cookie powers retargeting ads, while Google Ads conversion tracking uses _gcl cookies.
Email marketing platforms and other advertising tools also set marketing cookies to track conversions and build audiences. These require consent under GDPR before they can be activated.
That said, let’s look at a simple way of adding cookie consent for your WooCommerce store.
Setting Up WooCommerce Cookie Consent
When it comes to setting up WooCommerce privacy compliance, the best solution is WPConsent.
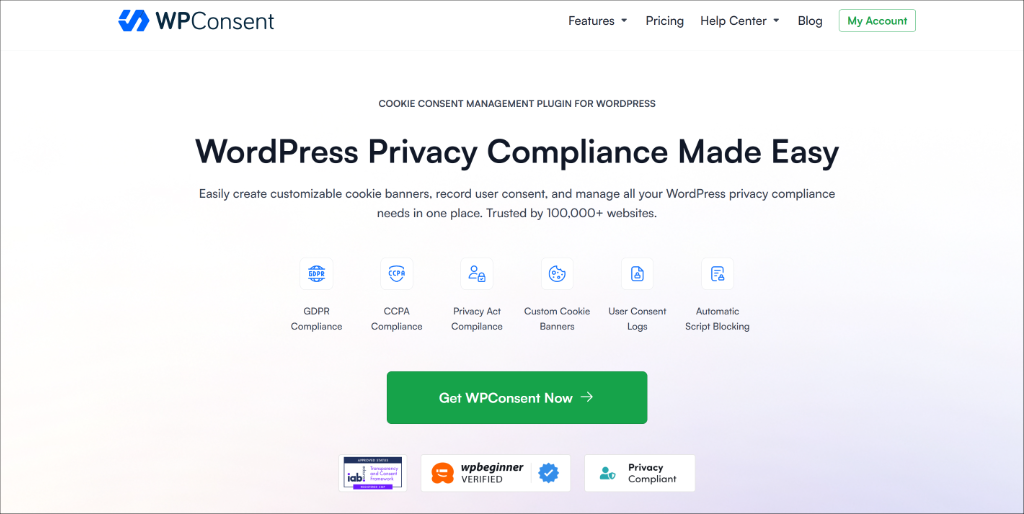
It’s the best cookie consent plugin for WooCommerce stores that is super easy to use and trusted by over 100,000 websites.
What makes WPConsent special is that self-hosted, which means your customer consent data stays on your own server rather than being sent to some external service. There are no pageview limits, which matters when you’re running a store that might see traffic spikes during sales.
It includes geolocation features so you can show different consent options to visitors from different regions, automatically displaying GDPR-style opt-in consent for European visitors and CCPA-style options for California shoppers.
And if you’re running Google Ads, WPConsent is IAB TCF certified, which is now required for personalized advertising in Europe. Besides that, you also get AI-powered auto translations to convert your cookie banner text and settings into 70+ languages.
Now, here’s how to set it up.
Step 1: Install and Activate WPConsent
First, you will need to head to the WPConsent website and sign up for an account.
Note: I’ll be using the WPConsent Pro version because it includes the eCommerce automatic setup feature. It will automatically configure cookie information for WooCommerce. Besides that, it also offers advanced features like IAB TCF, geolocation rules, and more. There is also a WPConsent Lite version available for free, which helps configure your site for basic compliance.
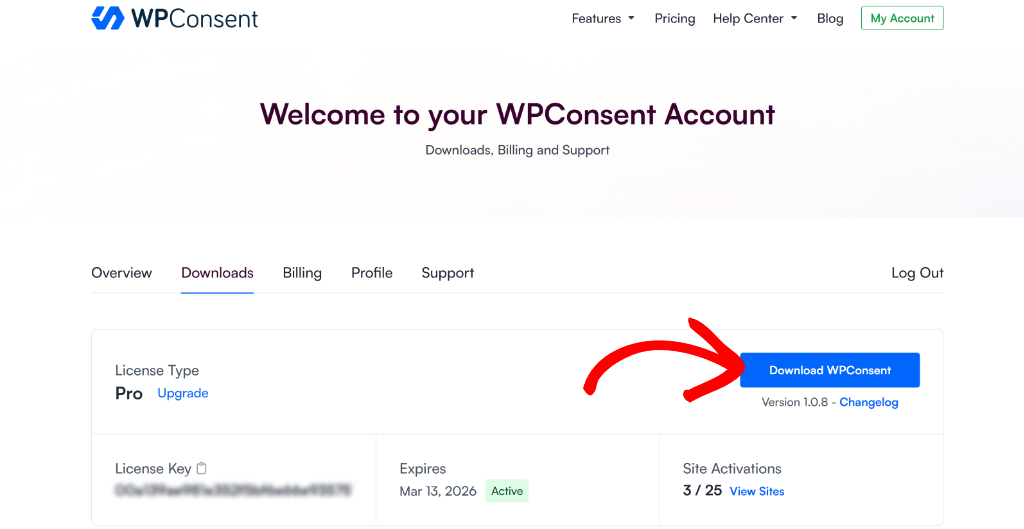
Next, you can go to the Downloads tab and then click the ‘Download WPConsent’ button to save the plugin ZIP file to your computer.
Now, you’ll need to upload the ZIP file to your WordPress website and install the plugin. If you need help, then please see this guide on how to install a WordPress plugin.
Once you activate the plugin, you’ll see the setup wizard. Go ahead and click the ‘Let’s Get Started’ button and follow the onscreen instructions.
Step 2: Install the WP Consent API Plugin
After installing WPConsent, I also recommend installing the WP Consent API plugin.
This is a free WordPress plugin that acts as a bridge between Consent Management Platform (CMP) plugins WPConsent and WooCommerce. It standardizes the communication of accepted consent categories between plugins.
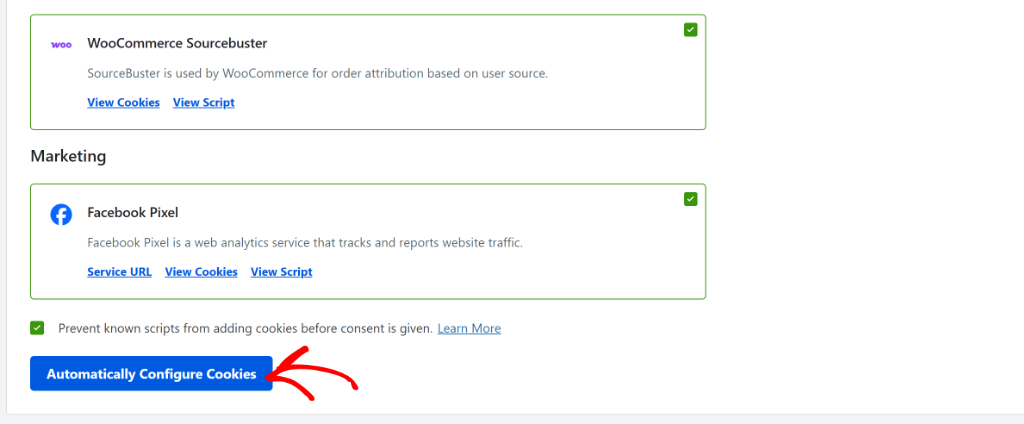
WooCommerce uses a script called SourceBuster. It loads if you have the Order Attribution option enabled in the WooCommerce settings, which uses cookies. If you install the WPConsent plugin and the WP-Consent-API, Sourcebuster will be handled better based on consent.
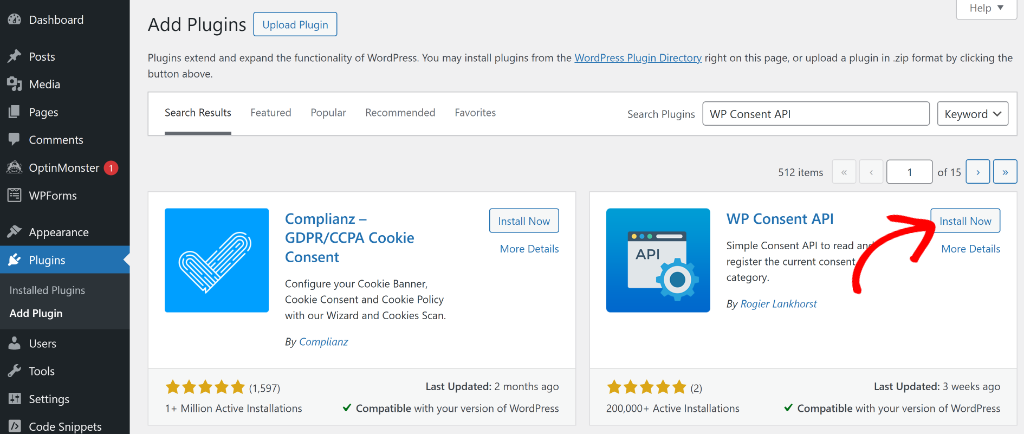
To get started, you can head to Plugins » Add Plugin from your WordPress dashboard. From here, search for the WP Consent API plugin and then click the Install Now button.
Once the plugin is installed, you can activate it. If you need help with this, then please see this guide on how to install a WordPress plugin.
Step 3: Scanning Your Store for Cookies
When you run the setup wizard, it will automatically scan your site and detect WooCommerce cookies. However, you can also run the Scanner by going to WPConsent in your sidebar, then clicking Scanner.
WPConsent will always scan your homepage, but you can add more pages like the checkout page, cart, or shop pages. This way, you ensure no cookies are missed during the scanning process.
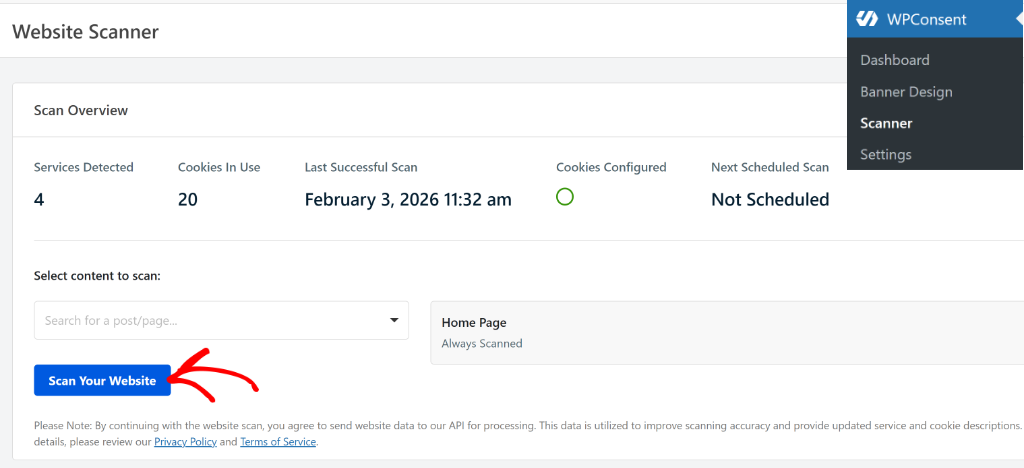
From here, you can click the Scan Your Website button and let it work through your site.
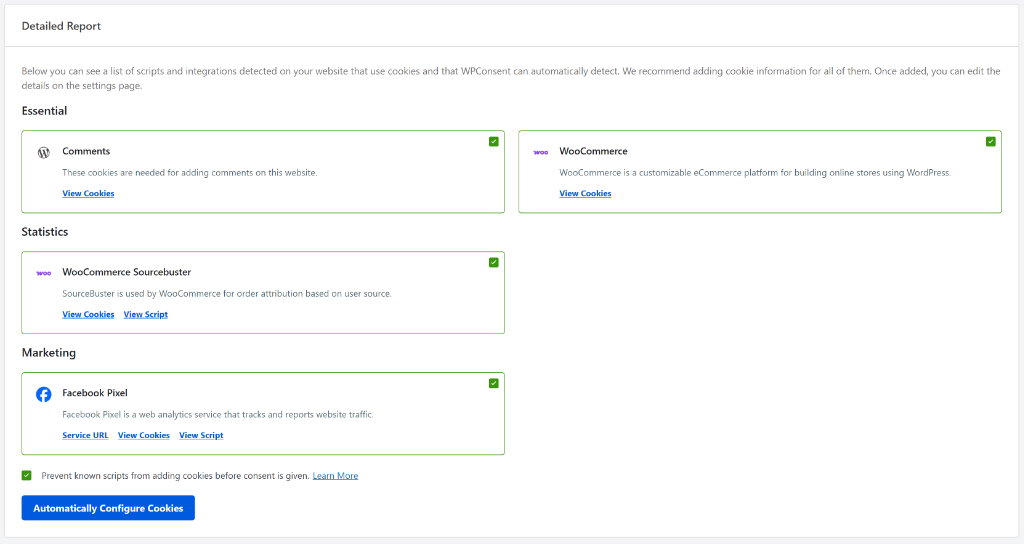
The scanner automatically detects WooCommerce cookies on your site. It will also detect common services like Google Analytics, Facebook Pixel, Google Ads, and other essential cookies added by WordPress.
After performing the scan, you can scroll down to the Detailed Report section and view WooCommerce, along with other servicesthat add cookies to your site.
Step 4: Configuring Script Blocking
This is the crucial part that many store owners miss. It’s not enough to just show a cookie banner. You need to actually block those tracking scripts from running until someone consents.
Simply select the ‘Prevent known scripts from adding cookies before consent is given’ checkbox and then click the Automatically Configure Cookies button.
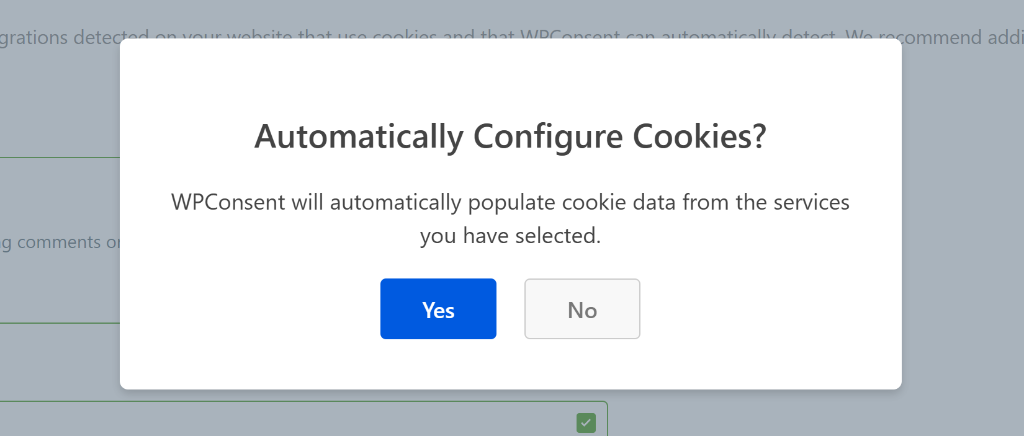
After that, you will see a popup open, confirming to automatically configure cookies.
Go ahead and click the Yes button.
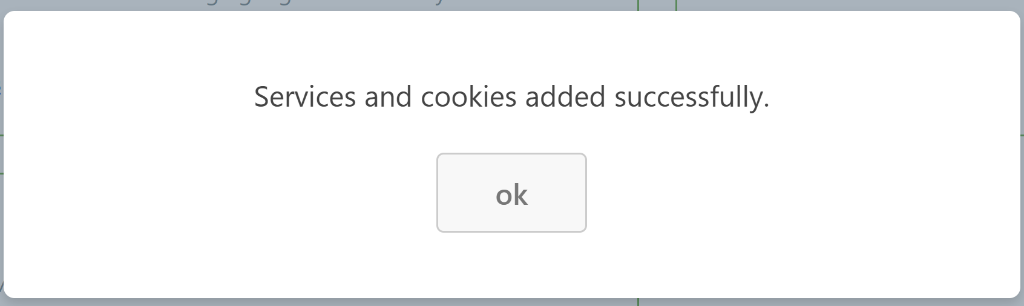
Once this is done, you will see a success message.
Go ahead and click Ok to close the popup message.
Step 5: Create a Cookie Consent Banner
Now the next step is to set up a cookie consent banner for your website using WPConsent. This lets your users know about WooCommerce cookies and allows them to give consent.
To start, simply head to WPConsent » Banner Design from the WordPress dashboard. Here, you can choose from different layouts for your banner. The plugin also lets you choose the position of the banner.
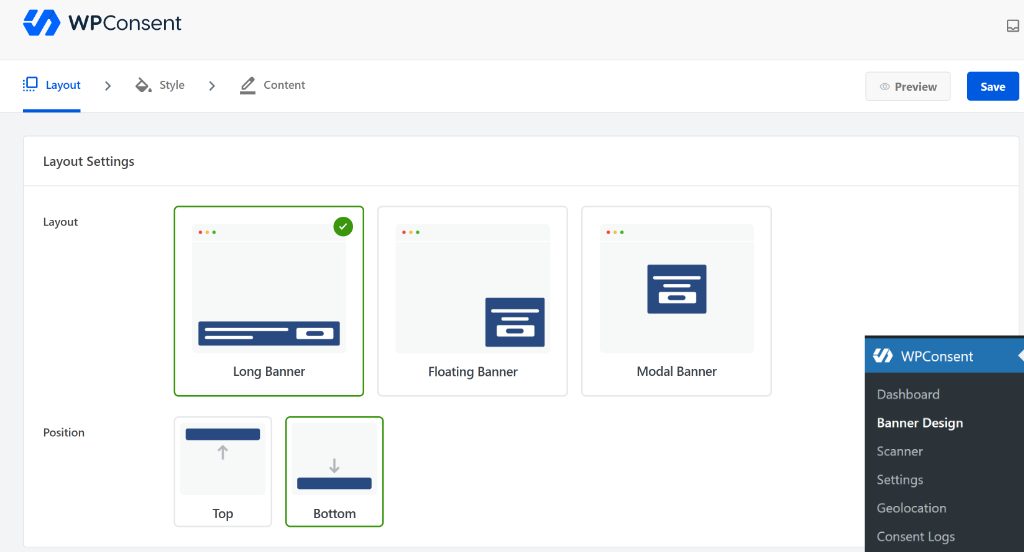
Besides that, WPConsent also lets you edit the style of the banner and the text that appears in it. For more details, please see our guide on how to add a cookie consent banner in WordPress.
After adding a cookie consent banner, you can visit your website and open Preferences.
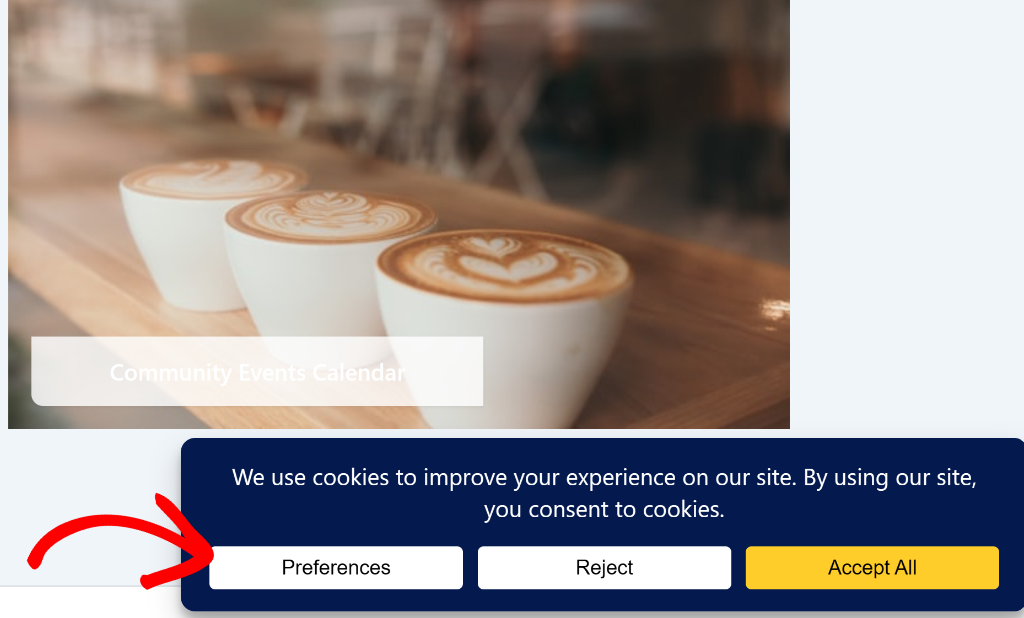
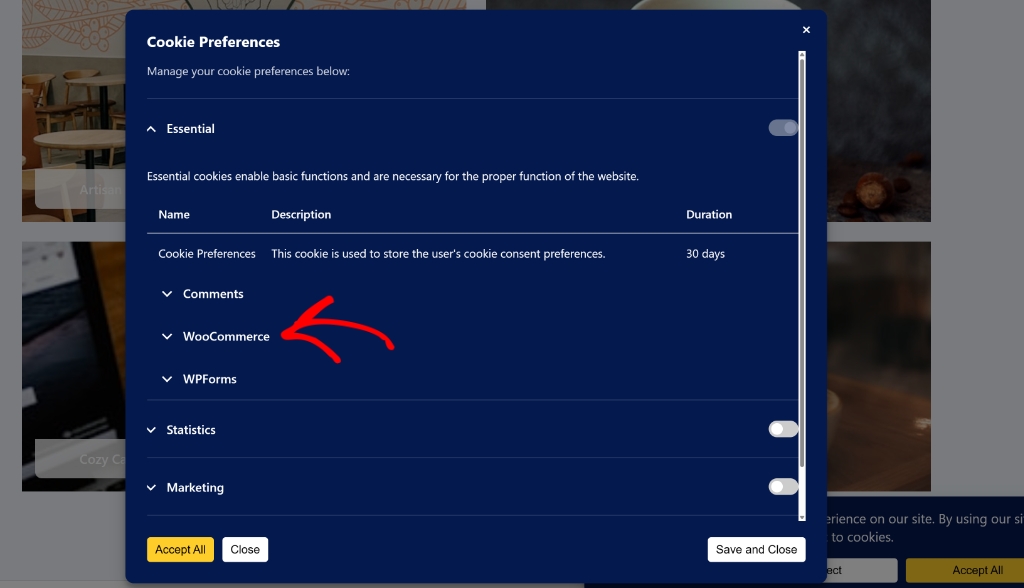
In the Cookie Preference popup, you should see the WooCommerce cookies.
For instance, if you expand the Essential cookies tab, you will see WooCommerce listed there. You can further expand WooCommerce to uncover the cookies it adds to your site.
Step 6: Create or Update Your Cookie Policy Page
Transparency is key for eCommerce and adding a cookie policy is a great way to get started.
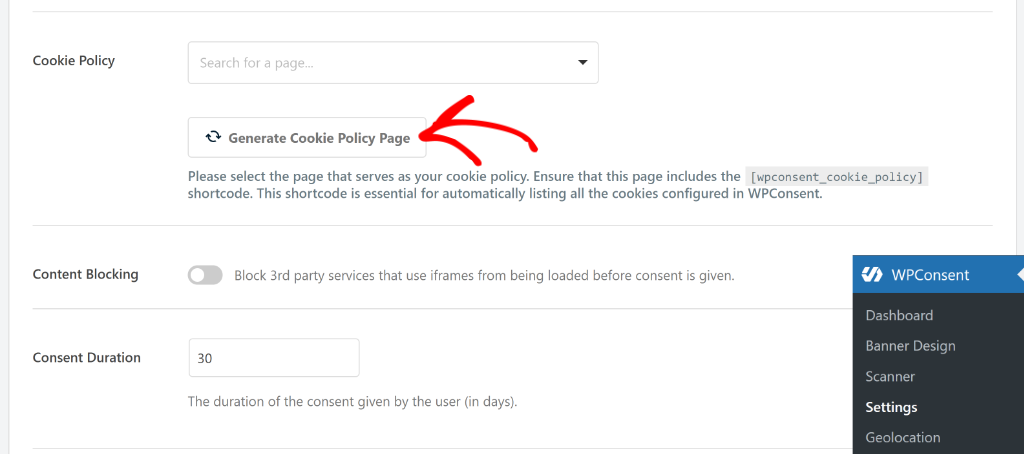
With WPConsent, you can easily create one with a click of a button. Simply go to WPConsent » Settings and scroll to the Cookie Policy section.
From here, click the Generate Cookie Policy Page button, and WPConsent will automatically add the WooCommerce cookies to the list.
You can learn more by following our guide on how to create a cookie policy in WordPress.
Step 7: Setting Up Google Consent Mode
If you’re using Google Analytics to track user behavior on your WooCommerce store or Google Ads to promote your products, you’ll want to enable Google Consent Mode v2.
This is a feature that lets Google still gather some anonymized data even when users decline cookies, so you don’t lose all your analytics when someone clicks reject.
Simply go to the WPConsent Settings page from your WordPress dashboard. Here, you will see the option for Google Consent Mode v2.
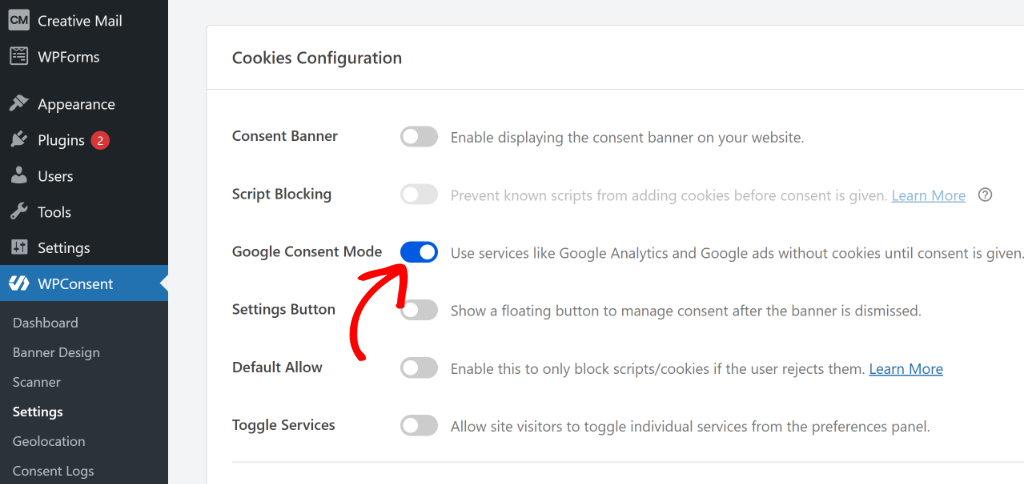
I’ve written a detailed guide on setting up Google Consent Mode if you want to understand exactly how this works.
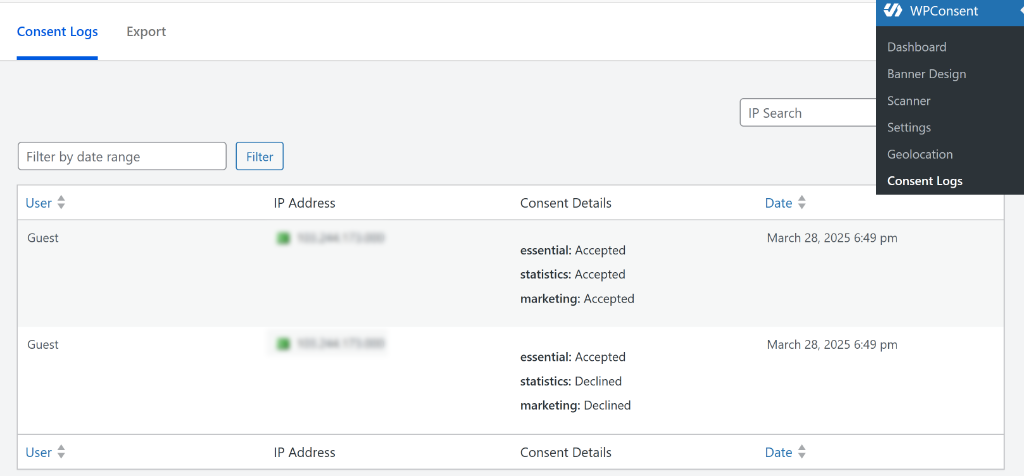
Step 8: Manage WooCommerce Consent Logs
It’s always good practice to keep consent records and ensure your site complies with different privacy laws. Under strict privacy regulations like the GDPR in Europe and the CCPA in California, simply displaying a banner isn’t enough. You are actually required to demonstrate that consent was freely given.
These logs serve as your “digital proof.” If your business is ever audited or questioned about data practices, you can easily export this data to prove that you obtained permission before loading tracking scripts.
It effectively protects your business from potential fines and gives you total peace of mind while you focus on selling your products.
To start, head over to WPConsent » Consent Logs from your WordPress dashboard to keep an eye on how your shoppers are interacting with your banner. This gives you peace of mind knowing you have a record of compliance if you ever need it.
Testing Your WooCommerce Cookie Consent
Before you consider this done, you need to test everything. I’ve seen too many stores where the banner shows up, but the cookies aren’t actually being blocked.
To start, open a private browsing window in Chrome or Firefox. This gives you a clean slate with no existing cookies or consent choices. Next, you can visit your store, and you should see the cookie consent banner appear.
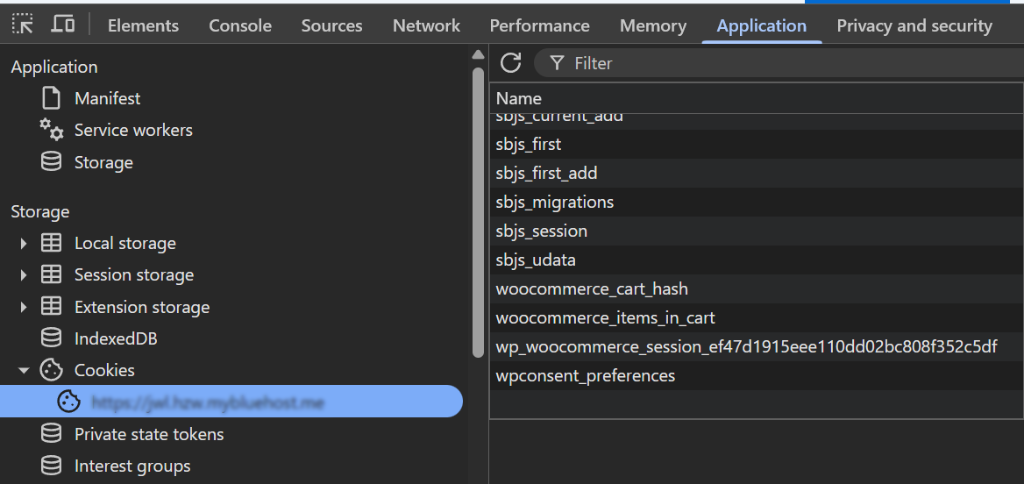
Now, before interacting with the banner, open your browser’s developer tools. In Chrome, you can press F12, then go to the Application tab, then Cookies. Look at what cookies are present.
You should only see essential WooCommerce cookies (woocommerce_cart_hash or wp_woocommerce_session_) at this point.
Next, you can click reject on the cookie banner and browse around your store. Add something to your cart, go through a few pages. Check the cookies again. Still no tracking cookies? Good.
Finally, clear your cookies and try again, this time accepting all cookies. Now you should see the tracking cookies appear in the developer tools.
One more test: go through your checkout process with cookies rejected. Make sure the cart works, the checkout loads properly, and you can complete a purchase. Essential cookies should be working regardless of consent choices.
Handling Specific WooCommerce Integrations
If you’re using WooCommerce with other common integrations, here’s what you need to know.
For payment processors like Stripe and PayPal, the cookies they set are generally considered essential because they’re necessary for processing transactions and preventing fraud. You don’t need consent for these, but you should mention them in your privacy policy.
For YouTube or Vimeo product videos, these embeds set tracking cookies. WPConsent can block these and show a placeholder until the visitor consents. It’s a small inconvenience for users who reject cookies, but it keeps you compliant.
For email marketing tools, whether you’re using Mailchimp, Klaviyo, ConvertKit, or something else, the tracking scripts these services use for monitoring email campaign performance need to be blocked until consent. Some tools also offer server-side tracking as an alternative that doesn’t require cookies.
Keeping Your Store Compliant Long-Term
Setting up cookie consent isn’t a one-time thing. Every time you add a new plugin, marketing tool, or analytics service, you potentially add new cookies that need to be managed.
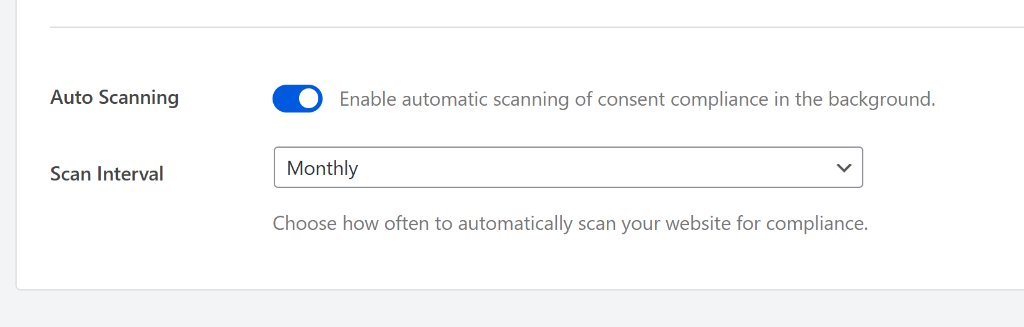
I recommend running the WPConsent scanner monthly, or anytime you add something new to your store. It only takes a minute and catches new cookies before they become a compliance issue. WPConsent also lets you schedule scanning your site. You can simply enable the Auto Scanning feature in its settings and select whether you’d like it to scan daily, weekly, or monthly.
You should also keep your privacy policy updated. Any time you change what cookies you use or add new third-party services, that should be reflected in your documentation.
FAQs about WooCommerce Cookie Consent
1. Do I need cookie consent if I only sell in the US?
If any of your customers are from California, yes. CCPA requires you to give shoppers the ability to opt out of data collection. And practically speaking, if you’re running a WooCommerce store with any kind of marketing, you’ll have visitors from all over. It’s easier to set up consent properly than to try to filter by location.
2. Will cookie consent hurt my conversion rate?
Some shoppers will decline cookies, which means you’ll track fewer people. But the alternative is potential fines and loss of customer trust. From what we’ve seen, most visitors either accept cookies or don’t care enough to reject them. Your conversion rate on actual purchases shouldn’t be affected since the checkout process works the same either way.
3. What if someone doesn’t make a choice on the banner?
Under GDPR, no choice means no consent. You should only set non-essential cookies after someone actively clicks accept. WPConsent handles this correctly by default.
4. Do WooCommerce cart cookies need consent?
No. Cart cookies, session cookies, and other cookies that are strictly necessary for your store to function don’t require consent. You couldn’t run a store without them, and privacy laws recognize that.
I hope this article helped you learn about WooCommerce cookie consent. You may also want to see our guide on how to stop Google Maps from loading before consent and how to manage cookie consent data in WordPress.
If you liked this article, then please follow us on X (formerly known as Twitter). You can also leave a comment below if you need any assistance.