I’ve heard from so many WordPress users who faced the same dilemma. They’re running Facebook ads, tracking is working great, conversions are coming in, and then someone mentions GDPR.
Suddenly, they realize that the little piece of tracking code they installed has been dropping cookies on every visitor without asking permission. And under European privacy law, that’s a problem.
The frustrating part is that Facebook Pixel is genuinely useful. It tracks conversions so you know which ads are working, builds audiences for retargeting, and helps Facebook optimize your campaigns. But it also sets marketing cookies, and under GDPR, those require explicit consent before they touch a visitor’s browser.
So what do you do? Block the Pixel and lose your tracking data? Or keep running it and risk fines that can reach €20 million? Fortunately, there’s a middle ground that lets you stay compliant while keeping most of your tracking intact.
In this article, I’ll show you how to set up Facebook pixel consent mode in WordPress. Here’s a quick overview of everything covered in this guide. Simply click the links below to jump to any section:
Why Facebook Pixel Needs Cookie Consent?
Facebook Pixel, which Meta now officially calls Meta Pixel, works by setting cookies on your visitors’ browsers.
These cookies track what pages people visit, what products they look at, whether they complete a purchase, and dozens of other actions. Facebook uses this data to show your ads to people who are more likely to convert and to help you understand what’s working.
The problem is that all of this tracking falls into the “marketing” category under privacy regulations. Under GDPR, you can’t set marketing cookies without getting clear, affirmative consent first. The same principle applies under CCPA for California visitors, though the requirements are slightly different.
If you’re running Pixel without consent, you’re taking on real risk. GDPR fines can be substantial, and Facebook itself has started cracking down on advertisers who don’t properly manage consent.
Beyond the legal issues, there’s also the trust factor. Visitors are increasingly aware of tracking, and they notice when a site doesn’t ask permission.
The Real Concern: Losing Ad Data
Let’s address what you’re probably worried about. If you block Facebook Pixel until someone consents, and a decent chunk of your visitors decline, you’re going to lose tracking data. Your retargeting audiences will shrink. Your conversion numbers won’t match reality. Your ad optimization will suffer.
This is a legitimate concern, and I am not going to pretend otherwise. Some data loss is inevitable when you implement proper consent.
But there are ways to minimize the impact, and the combination of client-side blocking with server-side tracking through Facebook Conversions API can help you maintain most of your tracking effectiveness while staying compliant.
That said, let’s look at how you can set up Facebook pixel consent in WordPress.
Setting Up Facebook Pixel Consent in WordPress
When it comes to configuring Facebook Pixel consent in WordPress, you need a solution that is both powerful enough to handle complex tracking scripts and simple enough to set up without a developer.
That’s why I recommend WPConsent because it automatically detects tracking scripts and makes blocking them straightforward.
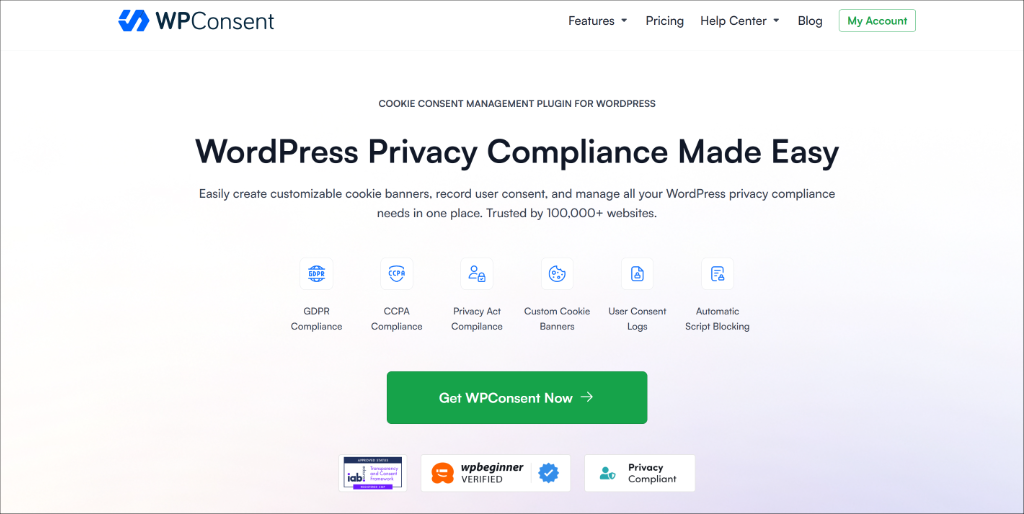
WPConsent is the best cookie consent plugin for WordPress that’s trusted by over 100,000 websites. It’s IAB TCF verified, self-hosted, so your consent data stays on your server, and it includes geolocation features so you can show GDPR-style consent to European visitors and CCPA-style options to California shoppers.
Besides that, the plugin automatically scans your site to detect and block third-party scripts, including the Facebook Pixel, Google Analytics, and YouTube, until a user gives consent.
With WPConsent, you also get powerful features like AI-powered auto-translations. You can automatically translate your cookie consent banner and other settings in 70+ languages.
Now, let’s look at how you can set up everything on your site.
Step 1: Install and Activate WPConsent
To start, you will need to head to the WPConsent website and sign up for an account.
Note: I’ll be using the WPConsent Pro version because it includes advanced features like IAB TCF, advanced display rules for cookie banner, auto translations, geolocation rules, and more. There is also a WPConsent Lite version available for free, which helps configure your site for basic compliance.
Once you’re logged in, go to the Downloads tab and click the Download WPConsent button to save the plugin ZIP file to your computer.
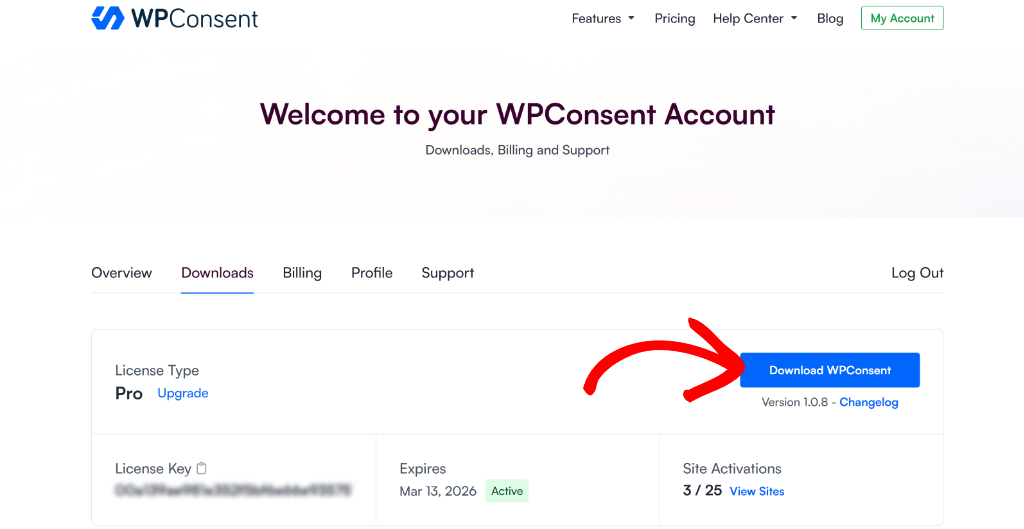
Now, you’ll need to upload the ZIP file to your WordPress website and install the plugin. If you need help, then please see this guide on how to install a WordPress plugin.
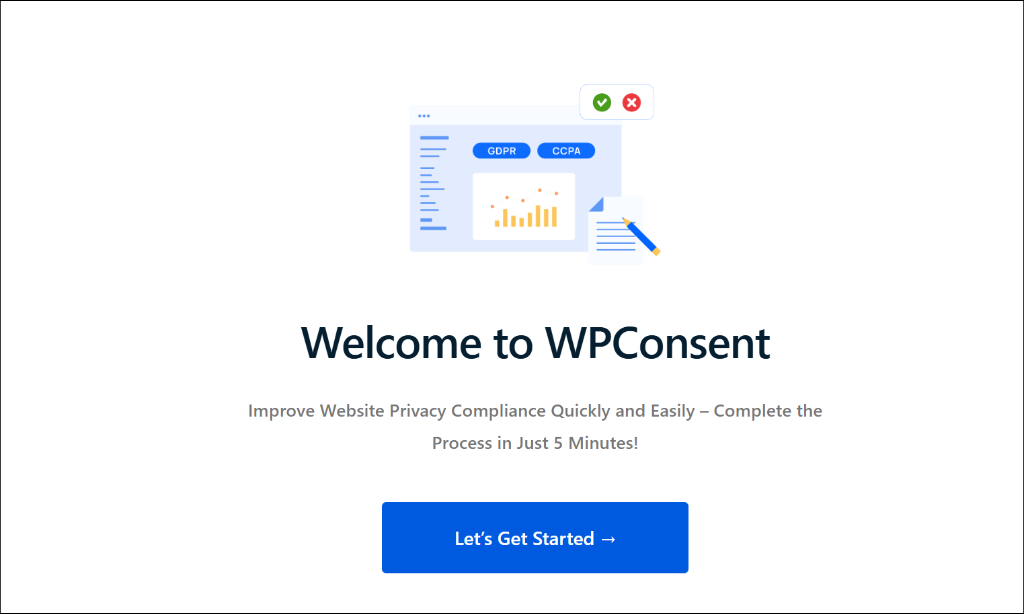
Upon activation, you’ll see a setup wizard that walks you through the initial configuration. Go ahead and click the ‘Let’s Get Started’ button and follow the onscreen instructions.
For most sites with Facebook ads, you’ll want to select both EU and US regions since you likely have visitors from both. Choose a banner style that fits your site’s design, pick your colors, and move through the steps.
Step 2: Running the Cookie Scanner
Once you go through the setup wizard, WPConsent will automatically scan and detect the Facebook Pixel on your site.
However, you can also run the scanner by going to WPConsent » Scanner from your WordPress dashboard. From here, go ahead and click the ‘Scan Your Website’ button.
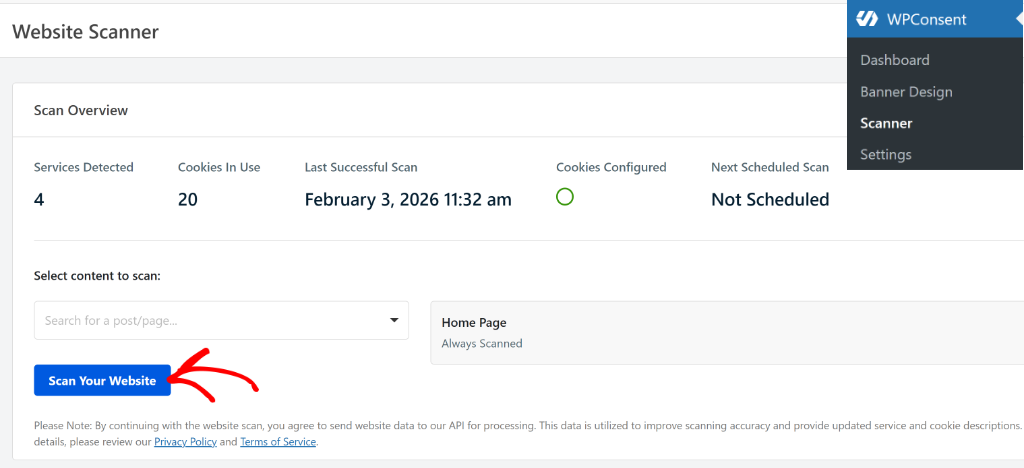
WPConsent will always scan your homepage, but you can also add other pages to the scanning process. This is helpful in uncovering any third-party scripts that might be adding cookies but may not be picked up during the scan.
The scanner will now automatically detect common tracking scripts, including Facebook Pixel. When it finishes, you can scroll down to the Detailed Report section to see a list of what it found.
Facebook Pixel should appear in the results, categorized as Marketing. If, for some reason, it doesn’t show up, it might be because your Pixel is loaded through a tag manager or a plugin that might be hiding the script. In that case, you can add it manually in the Script Blocking section.
Step 3: Configuring Script Blocking
Now, let’s make sure the Pixel is properly configured for blocking, so it only runs when a user gives consent.
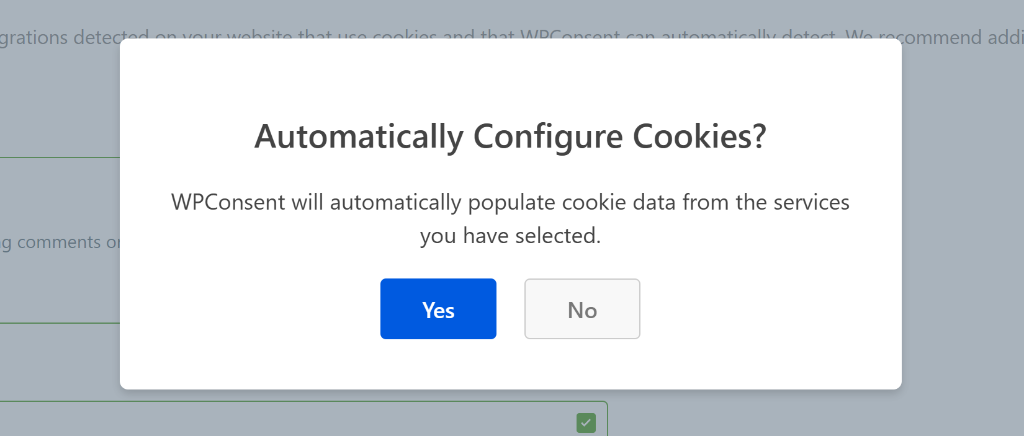
To do that, make sure that the ‘Prevent known scripts from adding cookies before consent is given’ checkbox is selected. After that, simply click the Automatically Configure Cookies button.
Next, a popup will open, confirming to automatically configure cookies.
Go ahead and click the Yes button.
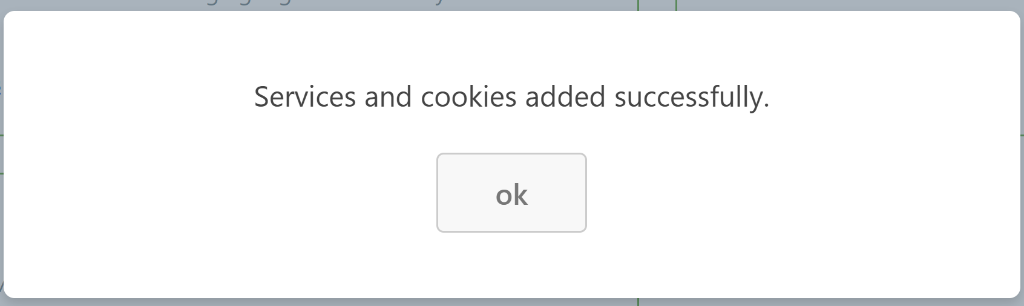
Once this is done, you will see a success message.
Simply click Ok to close the popup message.
What happens behind the scenes is that WPConsent prevents the Pixel code from running until someone clicks accept on your cookie banner.
If they decline or just ignore the banner, the Pixel never fires. If they accept marketing cookies, the Pixel loads normally and starts tracking.
Step 4: Customize Your Consent Banner
After configuring the cookies on your site, you also need to allow users to accept or reject them by placing a cookie consent banner.
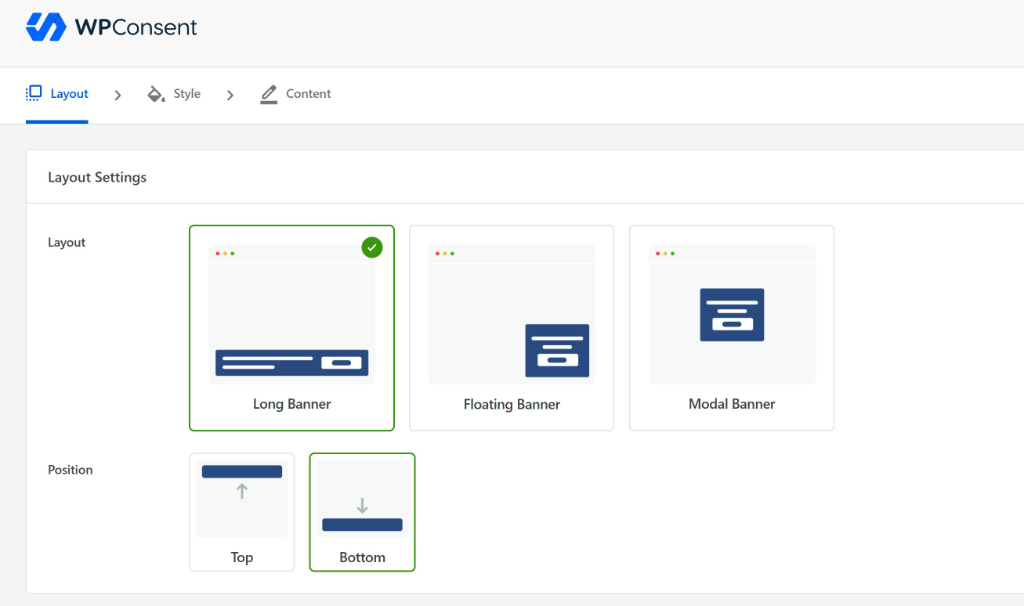
With WPConsent, that’s super easy because it offers pre-built templates and lots of customization options for setting up a cookie banner. For instance, you get to select a layout, choose its position, edit the style, and change the text that appears in the banner.
To learn more, please see our guide on how to add a cookie consent banner in WordPress.
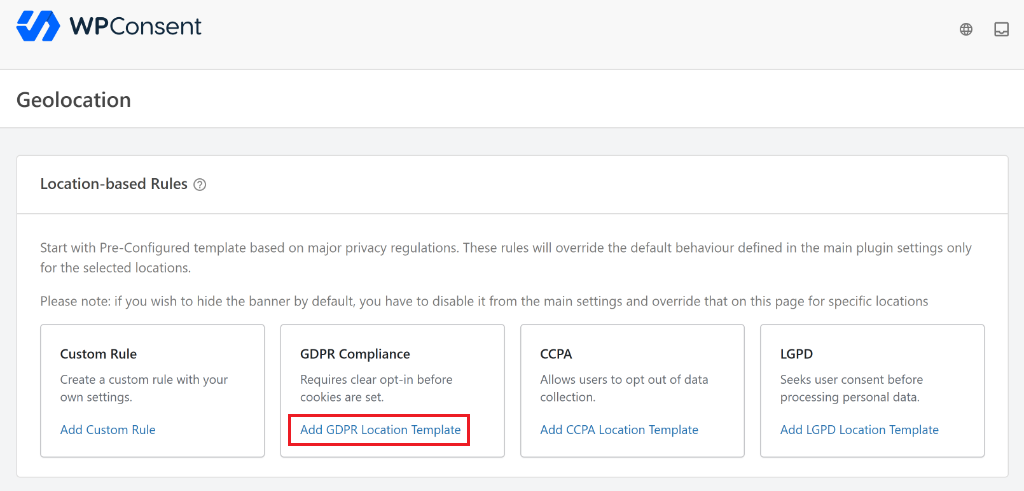
Besides that, WPConsent also offers geolocation rules that let you setup location based cookie consent in WordPress. This way, you can set up custom rules or select pre-built templates for major privacy laws, and display the banner to users from specific regions.
Step 5: Manage and Review Consent Logs
Just like with your store data, keeping proof of consent for advertising is vital.
Advertising platforms like Meta are under increasing pressure to ensure data is collected legally. If you are using features like Conversions API or advanced matching, having a solid log of consents ensures you aren’t feeding non-consented data into your ad account.
This protects your business from regulatory fines and helps keep your ad account in good standing, ensuring you only target users who are actually willing to be tracked.
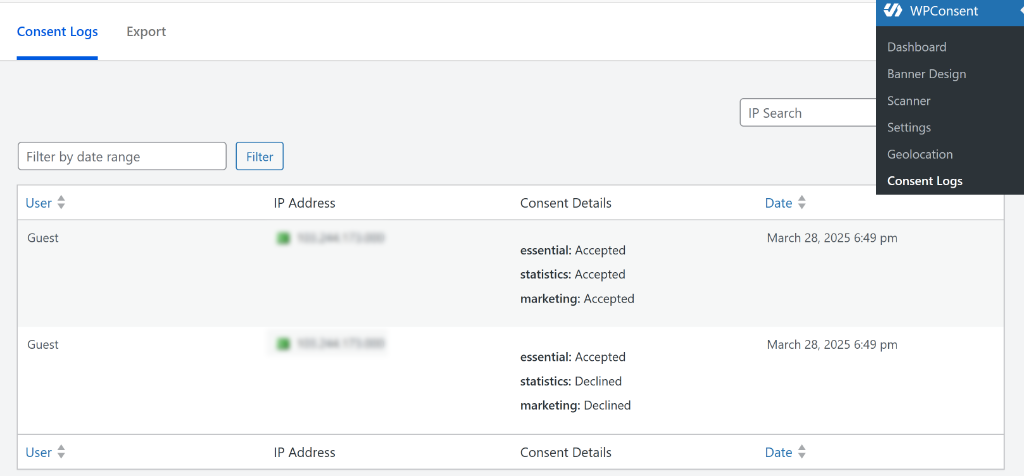
To view your consent logs, simply go to WPConsent » Consent Logs. Here you can view the full history of user choices with timestamps and anonymized IPs.
Step 6: Testing Your Implementation
This step is important because you need to verify that blocking is actually working.
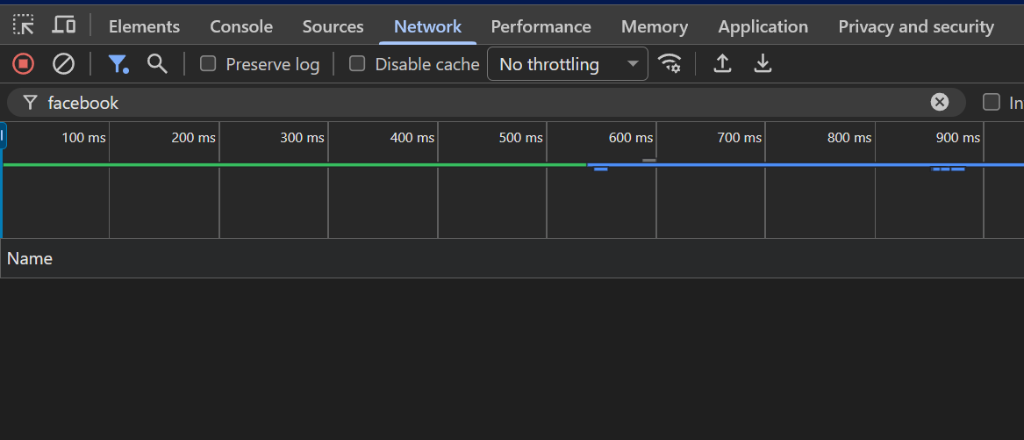
To start, you can open an incognito or private browser window so you start with a clean slate. Now, visit your site, and you should see the cookie consent banner.
Before you interact with the banner at all, open your browser’s developer tools. In Chrome, press F12, go to the Network tab, and search for “Facebook”. You shouldn’t see any Facebook requests at this point. If you do, something isn’t configured correctly.
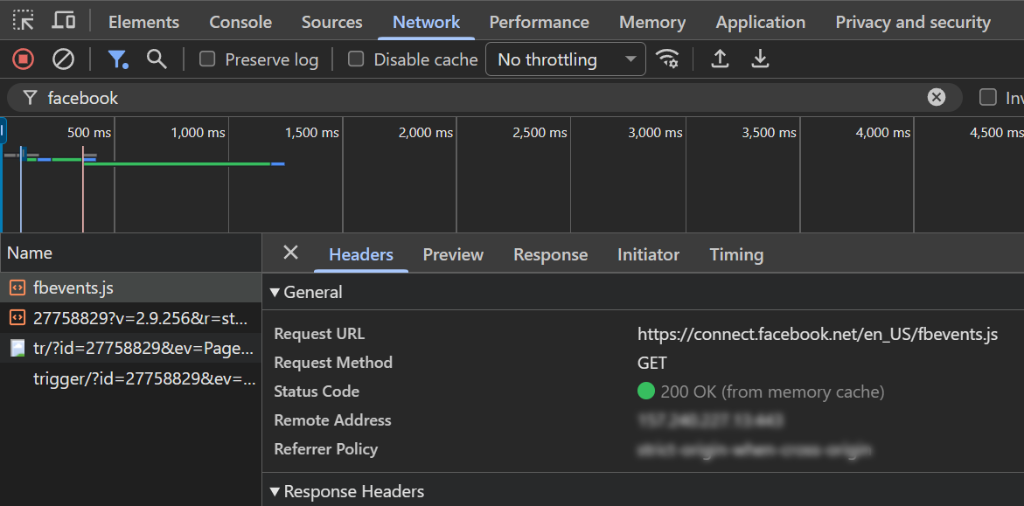
Finally, clear your cookies (or open a fresh incognito window), visit your site again, and this time accept marketing cookies.
Now, check the Network tab again, and you should see Facebook Pixel requests appearing.
Set Up Facebook Conversions API
You might be wondering, what impact will consent have on your tracking data?
When you implement proper consent, some things will change. Your retargeting audiences will be smaller because only consenting visitors get tracked. Your reported conversions may be lower because non-consenting purchases won’t be attributed. Your ad optimization might be slightly less effective because Facebook has less data to work with.
Here’s where you can recover some of the tracking data that you’d otherwise lose. Facebook Conversions API sends event data from your server rather than from the visitor’s browser.
The advantage is that you can track conversions even when visitors decline cookies or use ad blockers. The data goes directly from your server to Facebook, bypassing the browser entirely. Combined with client-side Pixel for visitors who consent, you get much better overall tracking coverage.
If you want to learn more about how to generate and add the conversion API, then please see this guide on how to add Facebook Pixel to a WordPress site.
Limited Data Use for California Visitors
If you have visitors from California, you need to handle CCPA compliance as well. Facebook provides a feature called Limited Data Use that restricts how they process data from California users.
To enable it, you add a line of code before your Pixel base code that tells Facebook to limit data processing.
If you’re using WPConsent with geolocation, you can configure this to apply automatically to visitors detected as being from California. This gives you CCPA compliance without manually managing regional differences.
Common Issues and How to Fix Them
I’ve seen a few problems come up repeatedly when people set up Facebook Pixel consent.
One of the most common issues is Facebook Pixel firing before consent when configured through Google Tag Manager (GTM). You need to set up the Facebook Pixel differently so it follows the user consent on your WordPress site.
This is where WPConsent can help you out. For instance, when a user saves their preferences using the WPConsent banner, the plugin pushes a custom event to the GTM Data Layer.
You can use this event, along with the consent choices for both broad categories (like marketing) and specific services (like Facebook Pixel), to create precise firing rules for your tags, ensuring you remain compliant with privacy regulations like GDPR.
The process involves three main steps:
- Configuring Your Tags to use the new trigger and variables as firing conditions.
- Creating a Custom Event Trigger to listen for the consent event.
- Creating Data Layer Variables to read the user’s specific choices.
You can follow all the steps in this guide on how to trigger Google Tag Manager tags based on user consent.
What to Expect with Your Facebook Ads
Let’s be realistic about the impact. When you implement proper consent, some things will change.
Your retargeting audiences will be smaller because only consenting visitors get tracked. Your reported conversions may be lower because non-consenting purchases won’t be attributed. Your ad optimization might be slightly less effective because Facebook has less data to work with.
Facebook compensates for some of this through modeled conversions, where they estimate missing data based on patterns. They also offer Aggregated Event Measurement for privacy-preserving measurement. And if you implement Conversions API, you’ll recover a significant portion of the tracking you’d otherwise lose.
The practical advice I give to advertisers is to focus on first-party data. Build your email list, use customer lists for audiences, and don’t rely solely on Pixel-based tracking. Consent-based advertising is the direction everything is moving, and adapting now puts you ahead.
FAQs about Facebook Pixel Consent
1. Does Facebook Pixel require cookie consent?
Yes. Facebook Pixel sets tracking cookies for advertising purposes, which requires consent under GDPR and similar laws. You need to block the Pixel from running until visitors consent to marketing cookies.
2. What happens to my Facebook ads if users don’t consent?
Users who decline won’t be tracked by Pixel, so your retargeting audiences will be smaller and some conversions won’t be reported. Facebook uses modeling to estimate missing conversions, and implementing the Conversions API helps recover server-side tracking.
3. Can I use Facebook Pixel without cookies?
The Pixel itself relies on cookies. However, Facebook Conversions API sends event data server-side without using browser cookies. Combining both gives you the best coverage while respecting consent.
4. Is Facebook Conversions API GDPR compliant?
Conversions API can be configured to respect consent, but it does send user data to Facebook, so you need a legal basis for that transfer. The safest approach is to honor user preferences about marketing data even when using server-side tracking.
5. Will blocking Facebook Pixel hurt my ad performance?
Some impact is expected since you’ll have less tracking data. However, the combination of Pixel for consenting users plus Conversions API for server-side events maintains most of your tracking effectiveness. Many advertisers see only a modest decrease after proper implementation.
I hope this article helped you learn how to set up Facebook Pixel consent mode in WordPress. You may also want to see our guide on how to implement IAB TCF in WordPress and how to set up Google Consent V2 Mode in WordPress.
If you liked this article, then please follow us on X (formerly known as Twitter). You can also leave a comment below if you need any assistance.