When I first started using Microsoft Clarity on my WordPress site, I thought it was just another free analytics tool I could install and forget about.
However, starting October 31st, 2025, Clarity would enforce consent signals for visitors from Europe. This means that without proper consent management, it will work on a limited mode. As a result, you could lose access to crucial user behavior data like heatmaps and session recordings.
This is where you need a tool like WPConsent that works out of the box and helps ensure Clarity works smoothly. Plus, it helps in making your WordPress site compliant with privacy laws like GDPR.
In this article, I’ll show you how to set up Microsoft Clarity consent mode in WordPress.
What Is Microsoft Clarity?
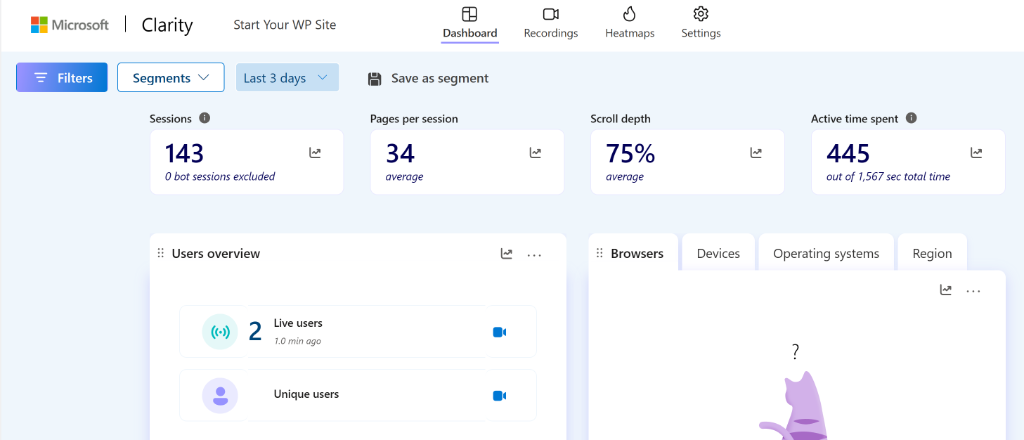
Microsoft Clarity is a free web analytics tool that gives you deep insights into how visitors actually use your WordPress website.
Unlike Google Analytics, which focuses mainly on numbers and traffic data, Clarity shows you the complete picture of user interactions.
You get heatmaps that reveal where people click most, scroll maps showing how far down pages visitors read, and session recordings that let you watch real users navigate your site.
The tool also provides funnel analysis to see where visitors drop off in your conversion process.
What makes Clarity special is that it’s completely free, with no data limits or usage restrictions. This makes it an excellent choice for small businesses and bloggers who want professional-level analytics without the cost.
Now, let’s look at why you need to add Microsoft Clarity consent to your site.
Why You Need Microsoft Clarity Consent Mode?
Starting October 31st, 2025, Microsoft Clarity will require valid consent signals for all visitors from the European Economic Area, United Kingdom, and Switzerland.
Without proper consent management, you’ll have limited access to most of Clarity’s valuable features for European visitors. For example, features like session recordings, heatmaps, and funnel tracking may get impacted.
Since Clarity relies on cookies to connect page views into complete user sessions, visitors who don’t consent essentially become invisible to your analytics. This can lead to inaccurate reports and user tracking insights.
Besides that, GDPR and other privacy laws require you to get explicit consent before collecting personal data through cookies and tracking scripts. Failing to comply can result in hefty fines and legal troubles that no website owner wants to deal with.
Having Microsoft Clarity consent mode helps ensure your site complies with the privacy regulations. Plus, with consent, Clarity can easily set cookies and maintain proper user tracking. As a result, your reports won’t get fragmented and you get accurate data.
That said, let’s look at how you can easily set up Microsoft Clarity consent mode in WordPress.
Add Clarity Consent Mode in WordPress
The easiest way to set up consent mode for Microsoft Clarity in WordPress is by using WPConsent. It is the best cookie consent management plugin for WordPress and helps ensure cookie compliance for your site.
With WPConsent, you get ‘Clarity Consent Mode’ that works out of the box. If you have Clarity running on your WordPress site, then it will let you use Clarity without cookies until consent is given.
Besides that, WPConsent also lets you automatically scan and configure cookies from different services, set up cookie consent banner, add location-based consent rules, block custom scripts and iframes, and much more.
For this tutorial, I will be using the WPConsent Lite version, as it includes the Clarity Consent Mode and is enabled by default. However, there is also a WPConsent Pro version that offers advanced features like Geolocation rules, consent logs, modal banner template, Do Not Sell addon, multilanguage support, and more.
Let’s look at the steps you can follow to get started.
Step 1: Install and Activate WPConsent
First, you need to go to Plugins » Add New Plugin from your WordPress dashboard. In the search box, you can type ‘WPConsent’ and look for the plugin.
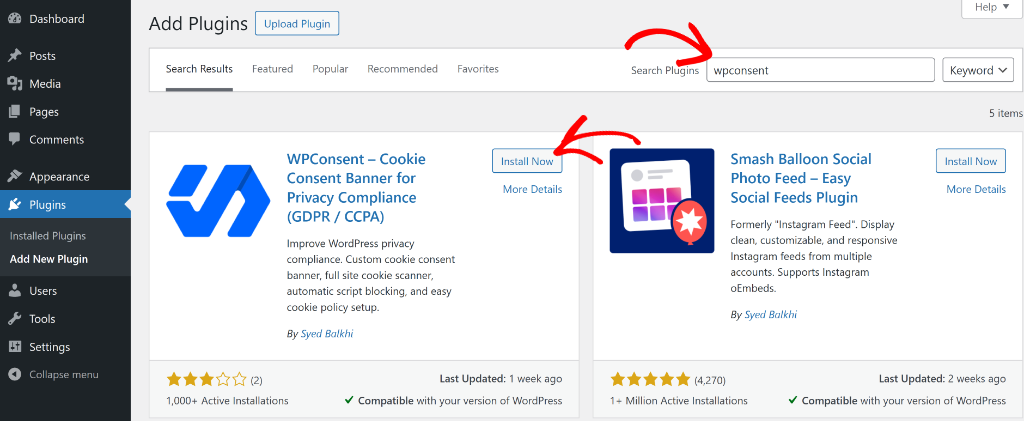
Next, you can click the ‘Install Now’ button and activate the plugin. If you need help with this, then simply follow this guide on how to install a WordPress plugin.
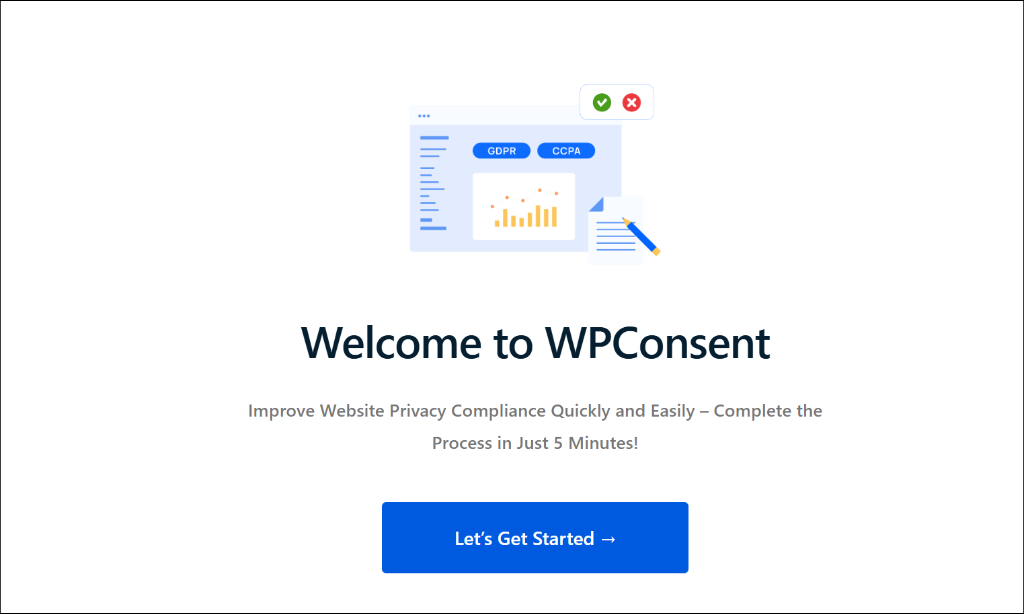
Upon activation, you will see the WPConsent setup wizard. Simply follow the onscreen instructions to set up the plugin.
Step 2: Ensure Clarity Consent Mode is Enabled
Once WPConsent is up and running, it will have the Clarity Consent Mode enabled by default.
You can check this by going to WPConsent » Settings from the WordPress admin panel and then head to the ‘Advanced’ tab.
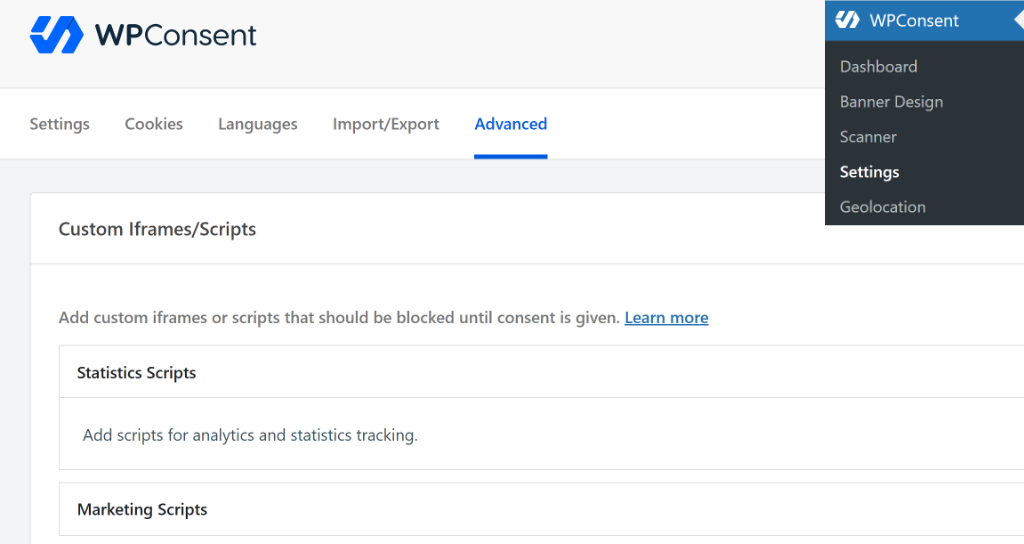
Next, you can scroll down to the ‘Advanced Settings’ section.
Here, you’ll see that the Clarity Consent Mode option will be active.
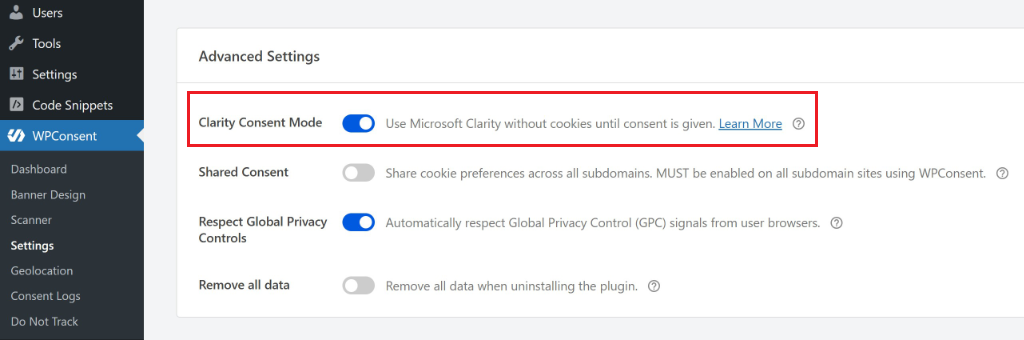
That’s it, you can now easily use Microsoft Clarity without any worry of compliance or data accuracy.
Bonus: Add a Clarity Cookie Consent Banner
With WPConsent, you can also add cookie consent banners with ease for visitors from Europe and ensure compliance.
The plugin comes with pre-built templates and lots of customization options. This way, your visitors will have a simple way to give consent and allow Microsoft Clarity to load cookies on your site.
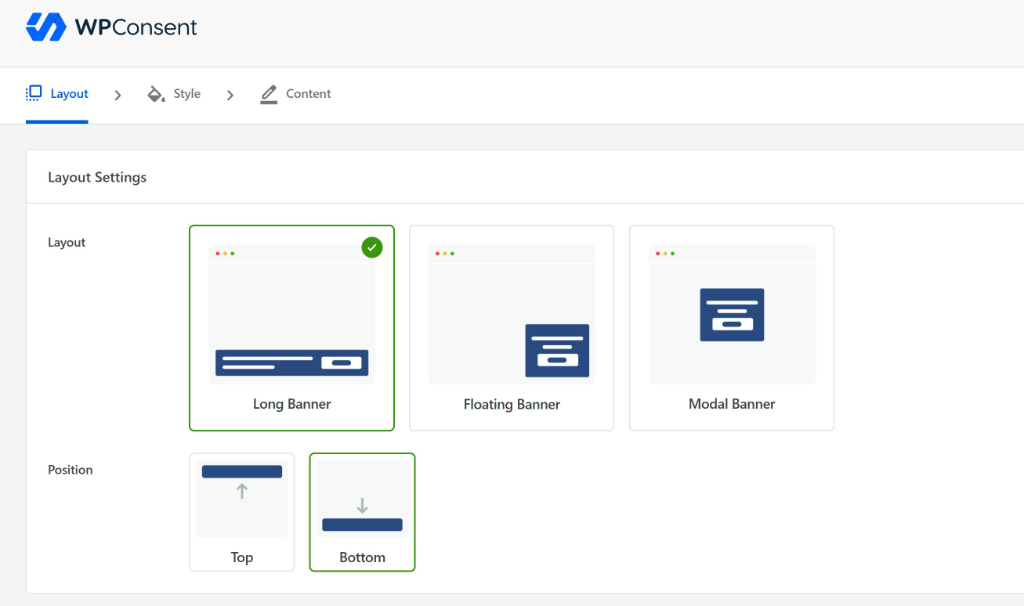
WPConsent offers a simple long banner which you can display at the top or bottom of the screen, a floating banner, and a modal banner that pops up.
Plus, you can also edit the color, button styling, and the text that appears in the banner. With WPConsent Pro version, you get multilingual support and show the banner in different languages.
To learn more, please see our guide on how to add a cookie consent banner to your WordPress website.
FAQs about Microsoft Clarity Consent Mode
Now, let’s look at some common questions users have about Microsoft Clarity consent mode.
1. What cookies do Clarity set?
Microsoft Clarity uses several cookies to track user behavior and maintain session data:
- _clck – This is the main Clarity cookie that stores a unique user ID. It helps Clarity identify returning visitors and connect their sessions over time.
- _clsk – This cookie maintains session information and connects multiple page views into a single user session. It’s essential for features like session recordings and user journey tracking.
- CLID – This cookie stores the Clarity project ID and helps associate data with the correct Clarity account.
- SM – This is a session management cookie that tracks when a user’s session starts and ends.
2. Why does Microsoft Clarity set cookies?
Microsoft Clarity sets cookies because they’re essential for connecting individual page views into meaningful user sessions. Without cookies, Clarity would only see isolated page visits, with no way to understand how users actually navigate through your website.
3. How Does Clarity Consent Mode Affect Data Quality?
For users who accept cookies, your data quality remains exactly the same. However, for visitors who decline consent or don’t interact with your consent banner, Clarity operates in a limited mode. You’ll still see basic page view data, but you won’t get session recordings, heatmaps won’t be as detailed, and user journey tracking will be incomplete.
I hope this article helped you learn how to set up Microsoft Clarity consent mode in WordPress. You may also want to see our guide on how to create a cookie policy page in WordPress and how to handle Do Not Sell requests in WordPress.
If you liked this article, then please follow us on X (formerly known as Twitter). You can also leave a comment below if you need any assistance.