When I first started my WordPress site, I thought adding Google Analytics was as simple as pasting a tracking code. I was wrong.
The wake-up call came when I learned about GDPR fines reaching millions of dollars for websites that don’t handle cookie consent properly. Google Analytics alone was setting multiple cookies, and I had no system in place to ask for user permission.
The technical side of cookie compliance felt overwhelming, especially when trying to balance user experience with legal requirements. That’s when WPConsent came in handy. It automatically scans your site to find Google Analytics cookies, helps create a consent banner, and creates compliant consent systems without the technical headaches.
In this guide, I’ll show you exactly how to use WPConsent to manage Google Analytics cookies and ensure your WordPress site meets privacy compliance standards.
To help you easily navigate through our Google Analytics cookie consent guide, here’s a table of contents. You can simply click the links below to jump ahead to any section:
Why You Need Google Analytics Cookie Consent?
Running a WordPress site without proper cookie consent is like driving without insurance. You might get away with it for a while, but when something goes wrong, the consequences can be devastating.
The legal landscape around cookies is tricky. For instance, GDPR fines can reach up to 4% of your annual revenue or €20 million, whichever is higher. CCPA penalties in California can cost $7,500 per violation. Even if you’re a small business owner, these laws apply to you if you have visitors from these regions.
But the legal risks are just the beginning. When users see tracking cookies loading without their permission, they lose trust in your brand.
The technical challenges make everything worse. Google Analytics doesn’t just use one cookie, it uses several, like _ga, _gid, _gat, and more. Each serves a different purpose, from identifying unique users to managing the number of requests.
Without proper consent management, you’re either collecting data illegally or missing crucial analytics entirely. Unfortunately, the old approach of adding a simple ‘this site uses cookies’ banner doesn’t work anymore.
You need more control over which cookies load when, and you need to respect user choices in real-time. This is where WPConsent becomes essential for any WordPress site using Google Analytics.
But before diving into the details, let’s look at what the requirements set by different privacy laws.
Overview of Privacy Laws and Google Analytics
Internet privacy laws are regulations designed to protect personal information shared online, ensuring it’s handled responsibly and securely. These laws vary by location and cover different aspects like data collection, usage, storage, and disclosure.
Here’s a breakdown of some important privacy laws and how they impact your WordPress site when it comes to using Google Analytics:
- GDPR (General Data Protection Regulation – EU): Under GDPR, you must get explicit, opt-in consent from users, often through a cookie banner, before collecting personal data with tools like Google Analytics. Users also have strong rights to access, correct, and delete their data, all of which must be outlined in a transparent privacy policy.
- CCPA (California Consumer Privacy Act – US): The CCPA requires you to inform California residents about the data you collect and why. It grants them the right to know what data you have, request its deletion, and opt-out of its sale or sharing. You must provide a ‘Do Not Sell Or Share My Personal Information‘ link and obtain specific consent to collect data from minors.
- LGPD (Lei Geral de Proteção de Dados – Brazil): LGPD requires explicit consent similar to GDPR and grants users rights to access, correct, and delete data. Organizations must be transparent in their data practices and may need to appoint a Data Protection Officer if handling significant data volumes. The privacy policy should clearly outline data collection and processing practices.
- PIPEDA (Personal Information Protection and Electronic Documents Act – Canada): Canada’s PIPEDA requires consent for data collection, though this consent can be implied for less sensitive information. Transparency is key, requiring organizations to maintain an accessible privacy policy. Users must be granted the right to access and correct their personal data.
With that, let’s look at how you can set up Google Analytics cookie consent in WordPress.
Google Analytics Cookie Consent in WordPress
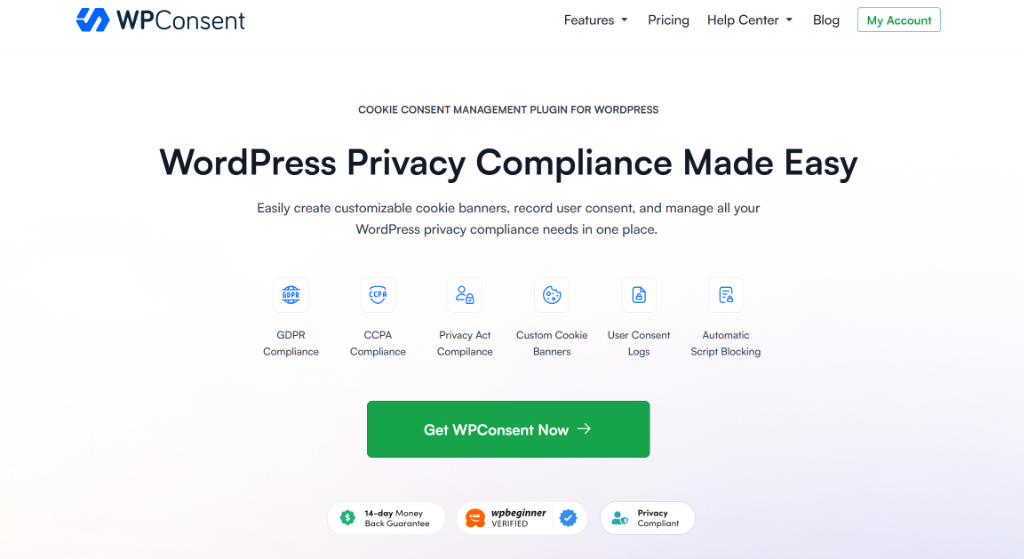
The easiest way to configure Google Analytics cookie consent is by using WPConsent. It is the best WordPress cookie consent management plugin.
WPConsent helps scan your entire site and check which services might be adding cookies, set up a cookie banner, add a privacy policy, create a Do Not Sell form, and more. The best part is that it supports Google Consent Mode V2.
This is a tool created by Google to manage how its analytics and advertising services will operate based on users’ consent. When a user visits your site and selects their cookie preferences, Google Consent Mode V2 will adjust the Google tags based on the user’s consent choices.
Note: For this tutorial, I’ll be using WPConsent Pro version because it includes the pre-built library of services, multilingual features, includes the Do Not Sell addon, and other advanced features that make cookie management much easier. If you’re just getting started, then WPConsent also offers a free Lite version.
With that, let’s look at all the steps you can take to set up Google Analytics cookie compliance.
Step 1: Install and Activate WPConsent
To start, you will need to visit the WPConsent website and sign up for a new account.
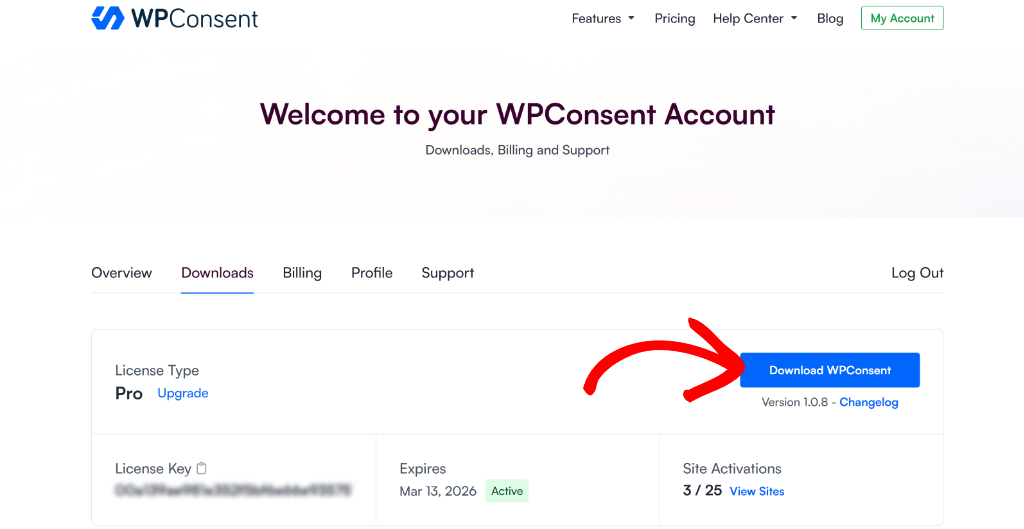
Next, you can head to your WPConsent account area and go to the ‘Downloads’ tab.
Go ahead and click the Download WPConsent button and save the plugin ZIP files on your computer.
Next, you will need to install and activate the WPConsent plugin files on your WordPress site. If you need help, then please see our guide on how to install a WordPress plugin.
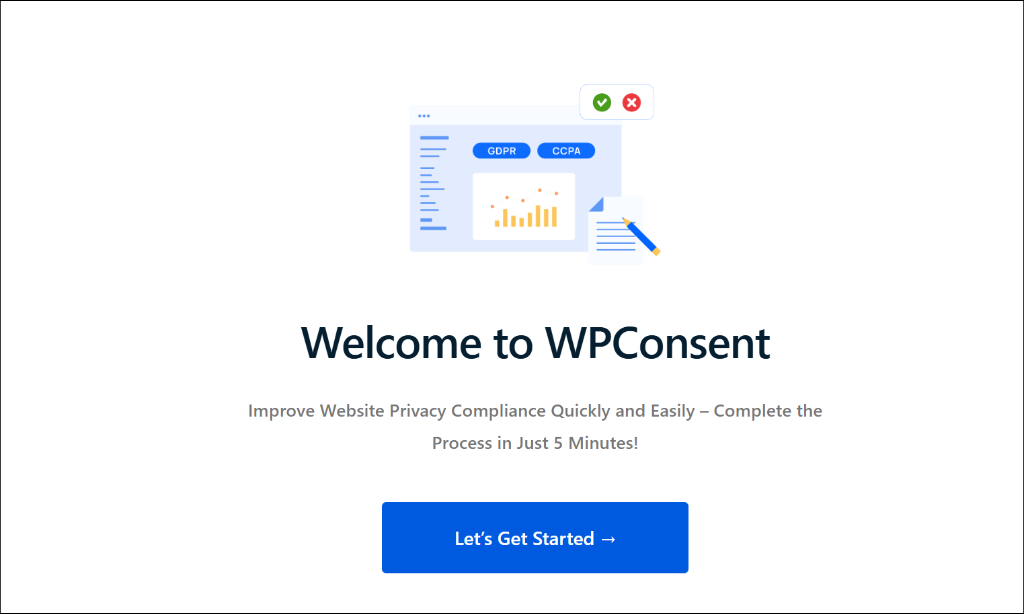
Once the plugin is active, you’ll see the WPConsent setup wizard. Go ahead and click the ‘Let’s Get Started’ button and follow the onscreen instructions.
Step 2: Scan Your Site for Google Analytics Cookies
As you go through the setup wizard, you’ll notice that WPConsent will perform a scan of your website and detect services that add cookies.
However, you can also head to WPConsent » Scanner from the WordPress dashboard to uncover Google Analytics cookies.
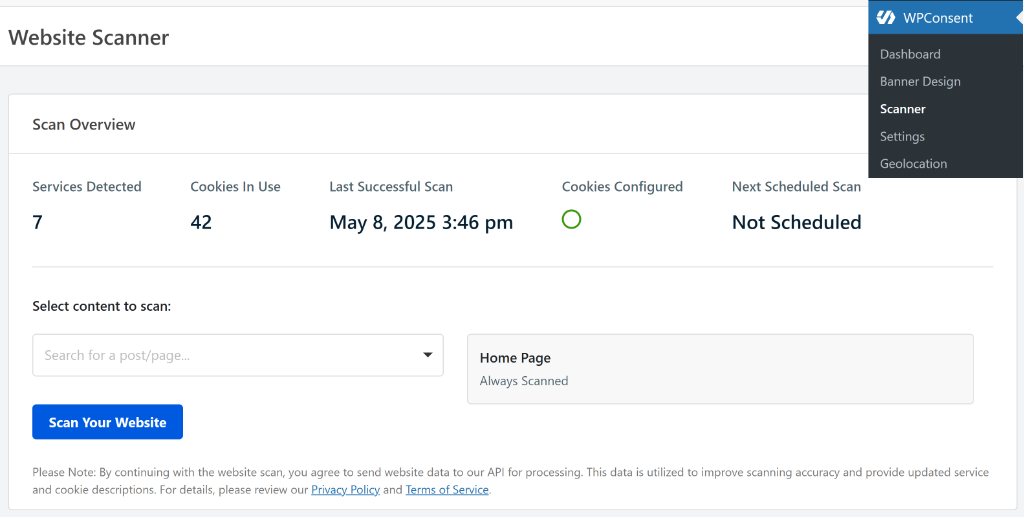
WPConsent scans your homepage by default, but you can also select other pages in the scanning process. For example, these pages might include the checkout page, contact page, contact us page, shopping cart, and more.
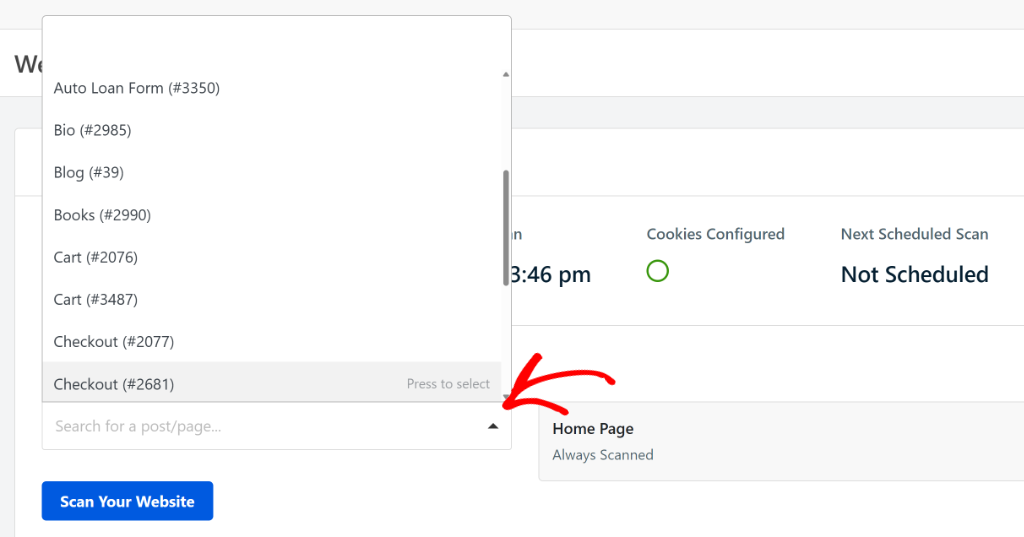
Simply click the dropdown menu under ‘Select content to scan’ option and select which pages to include in the scan. Once that’s done, go ahead and click the Scan Your Website button.
After the scan is complete, you can scroll down to the ‘Detailed Report’ section.
From here, simply navigate to Google Analytics under the Statistics section.
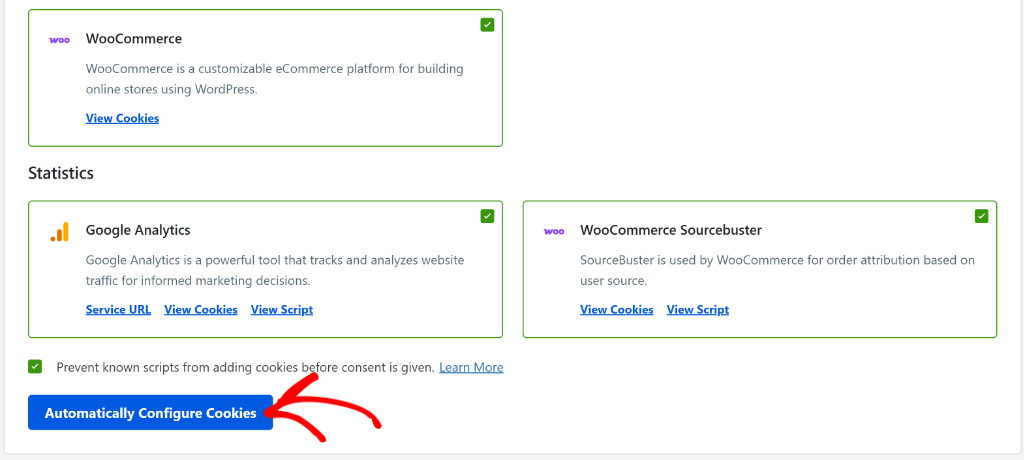
Under Google Analytics, you can click the ‘View Cookies’ option if you want to look at all the cookies the analytics tool adds to your site.
Next, ensure that the ‘Prevent known scripts from adding cookies before consent is given’ checkbox is ticked and then click the Automatically Configure Cookies button.
WPConsent’s automatic script blocking feature will now prevent the Google Analytics scripts from loading until your visitor has given their consent, improving compliance. For more details, you may also want to our guide on how to block third party cookies on your WordPress site.
Step 3: Create a Google Analytics Cookie Consent Banner
Next, you can set up a cookie consent banner for your website using WPConsent. This lets your users know about Google Analytics cookies on your site and also lets them give consent.
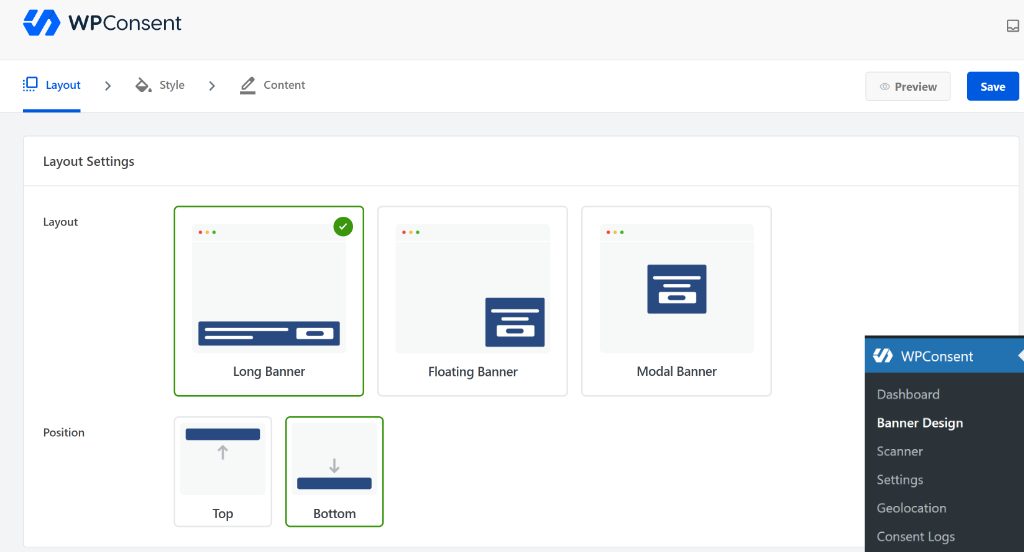
To start, simply head to WPConsent » Banner Design from the WordPress dashboard. Here, you can choose from different layouts for your banner. The plugin also lets you choose the position of the banner.
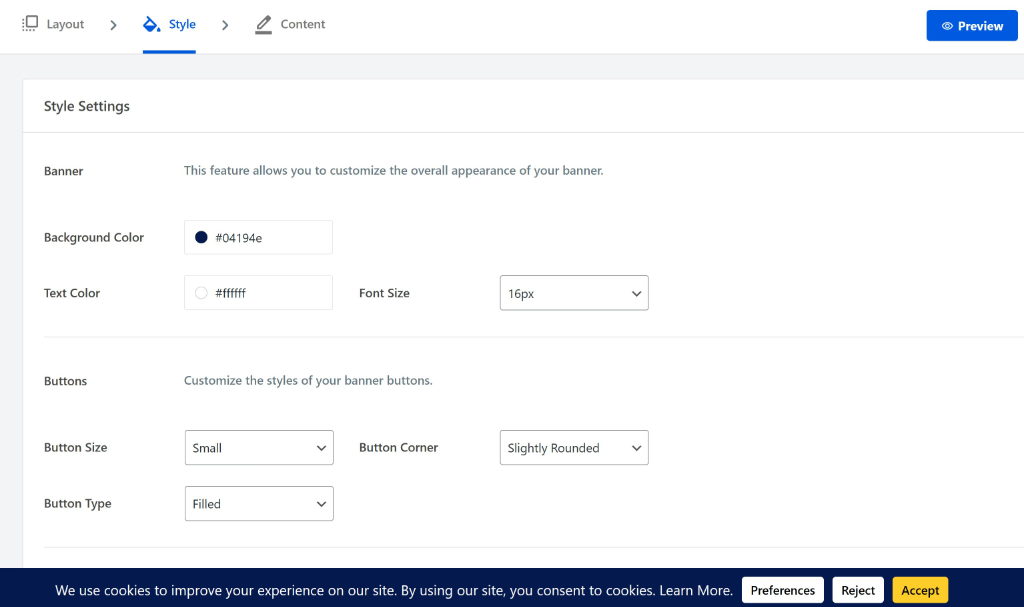
Next, you can switch to the ‘Style’ tab at the top to customize your banner.
For instance, you can change the background color, text color, button styling, and button color for your cookie consent banner.
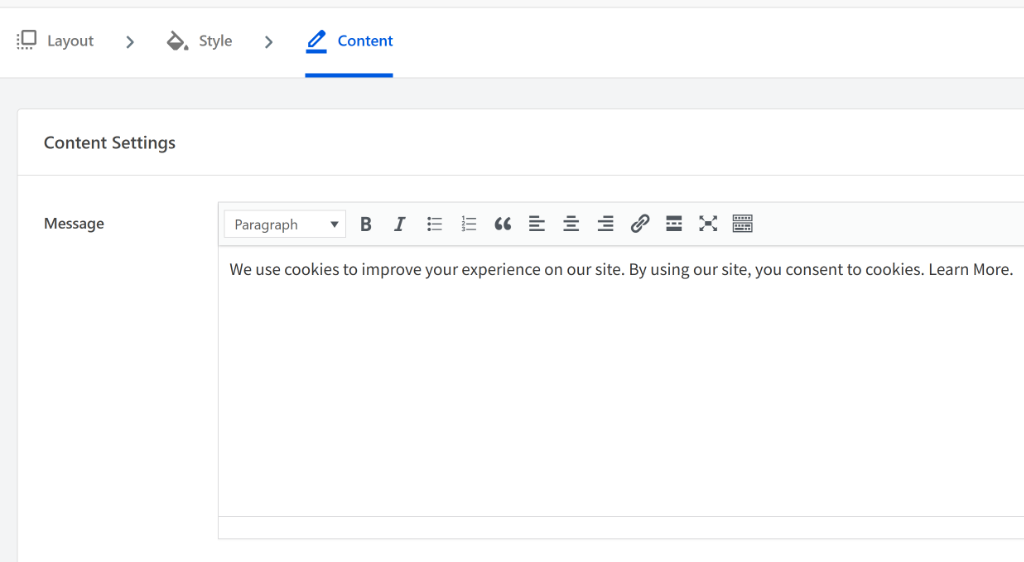
After that, simply switch to the ‘Content’ tab to edit the text that will appear in the popup banner.
By default, WPConsent will already provide a text that you can use for your website, but you can modify it or add your own under the Message area.
Here, you will also find options for changing the text that will appear in the ‘Preferences Panel’ in the banner, edit button text and order, and more.
If you want to learn more, then please see our guide on how to add a cookie consent banner in WordPress.
You can further customize the cookie banner by allowing users to manage consent by service. This way, your visitors can choose individual services like Google Analytics, Facebook Pixel, YouTube embeds, and more instead of just accepting entire categories, like Statistics.
To start, you can head to WPConsent » Settings and navigate to the ‘Cookie Configuration’ section. From here, you can enable the Toggle Services option.
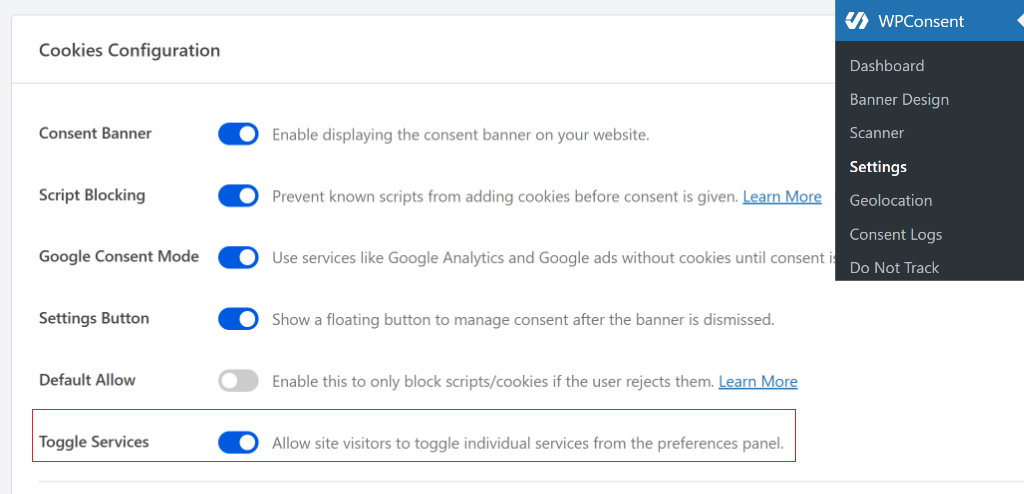
This allows your visitors to view specific services in the preferences panel in the cookie consent banner.
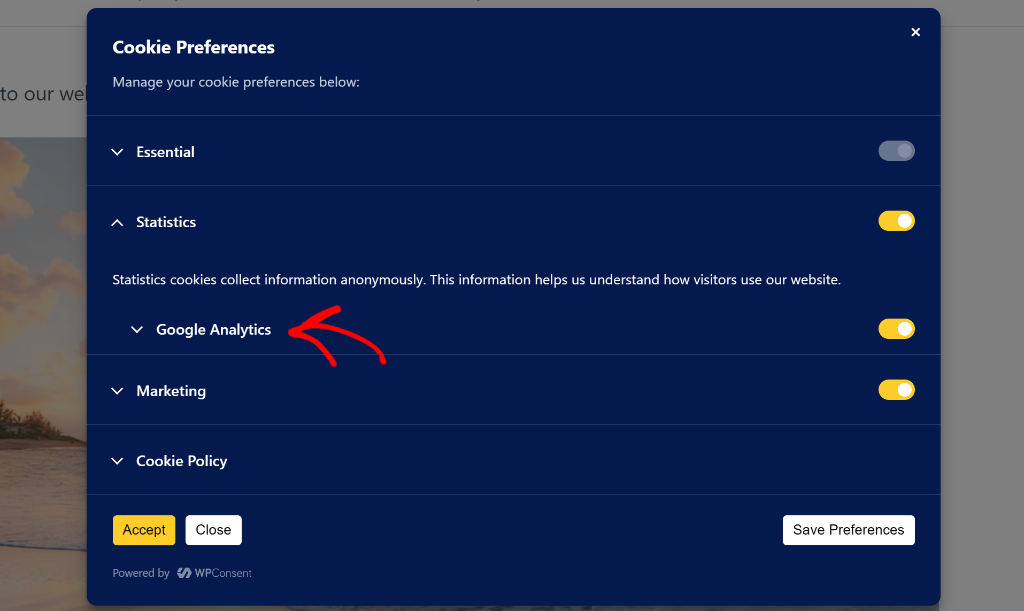
For instance, users can view Google Analytics under the Statistics category in the cookie preferences. They can then simply choose to allow or reject cookies for the service.
Step 4: Set Up a Dedicated Cookie Policy Page
Next, you can create a separate cookie policy page that provides users with details about how your site uses cookies and what kind of data is collected from them.
Your cookie policy should also list the different types of cookies your site uses, such as essential, statistics, or marketing cookies.
Luckily, WPConsent automatically generates a dedicate cookie policy page for your site. Simply go to WPConsent » Settings and scroll to Cookie Policy section.

From here, you can click the ‘Generate Cookie Policy Page’ button.
Next, a popup will open, showing that you’ve successfully created a cookie policy page.
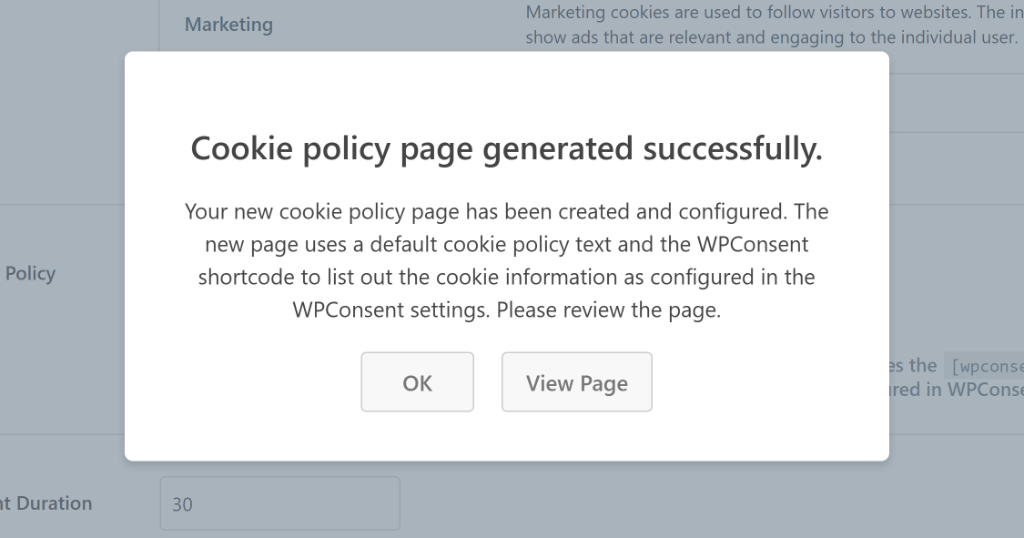
You can simply click the the ‘OK’ button to close or click the ‘View Page’ button see the page.
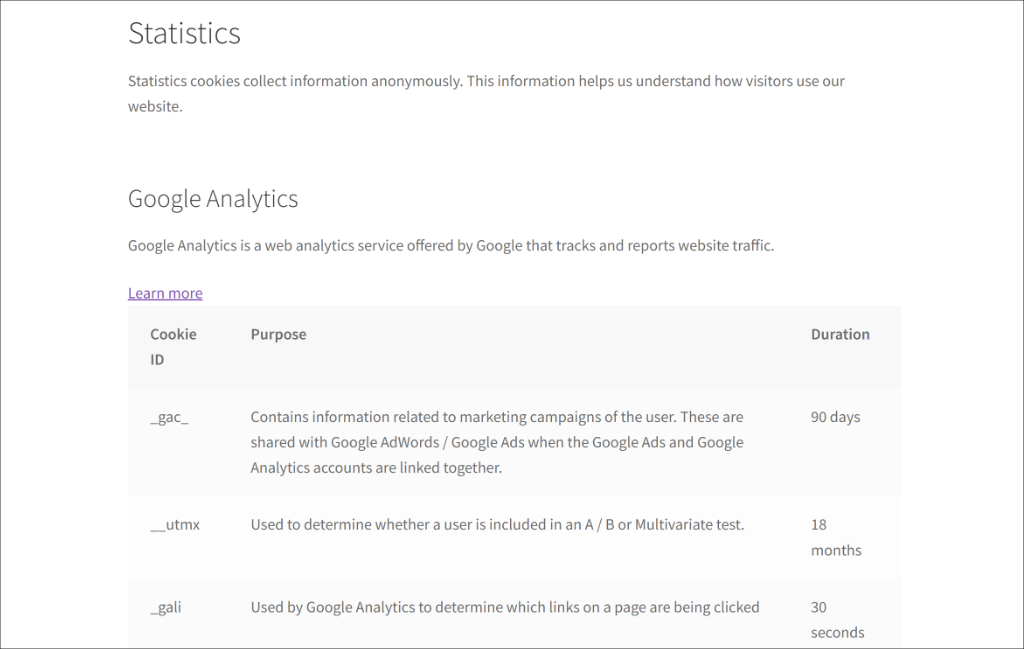
For instance, if you view the page and scroll down to Google Analytics, then you’ll see all the cookies add by the analytics tool along with their description and duration.
Step 5: Manage Google Analytics Cookie Consent Logs
The next step is to manage all the Google Analytics cookie consent data that you receive from your visitors and ensure you comply with different privacy laws.
WPConsent makes it super easy to handle consent data in WordPress. You can simply go to WPConsent » Consent Logs page in WordPress dashboard.
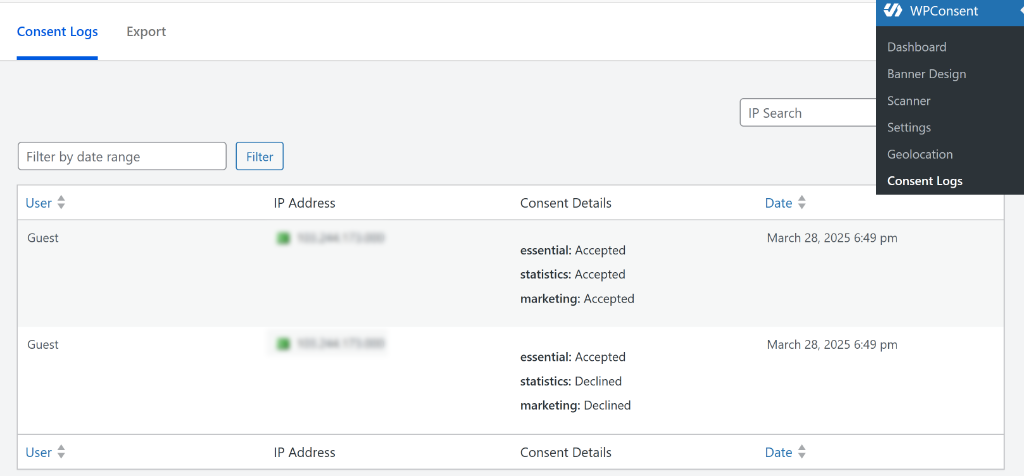
Here, you’ll see all the cookie consent data from your visitors. It will show the IP address, which cookies were accepted and declined, and the date.
For more details, please see our guide on how to manage cookie consent data in WordPress.
Step 6: Create a Do Not Sell Form to Withdraw Consent
The last step is to set up Do Not Sell form on your site and process any requests submitted by users to remove their data.
Do Not Sell requests indicate that visitors don’t want to be tracked on your website. It’s basically their way of saying, ‘please don’t collect data about my behavior.’
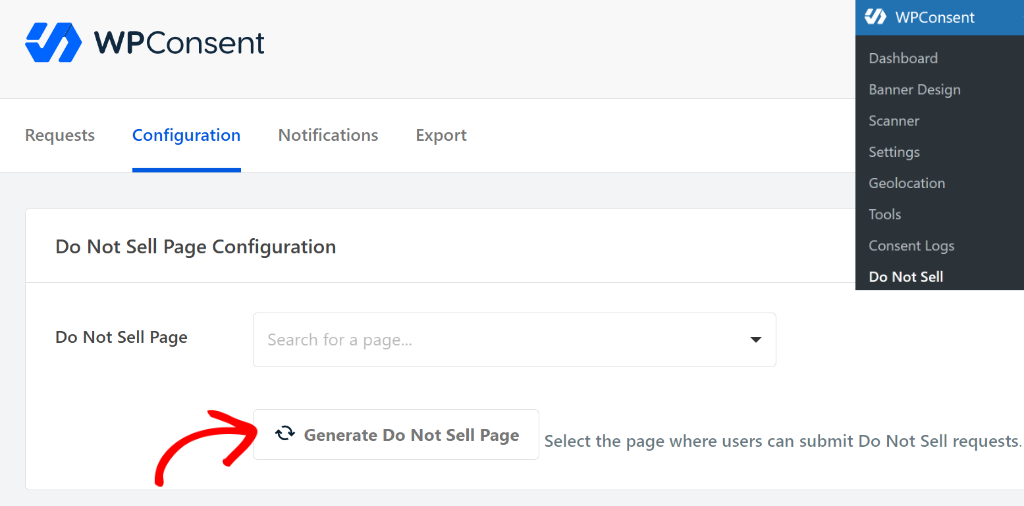
WPConsent offers a powerful Do Not Sell addon that helps you set up a dedicated page, where users can submit their opt-out requests. It also allows you to generate a DNT page with a single click, customize the form, edit the form fields, their labels, and more.
Once the page and form are ready, users can simply fill in a request to remove their information from your website.
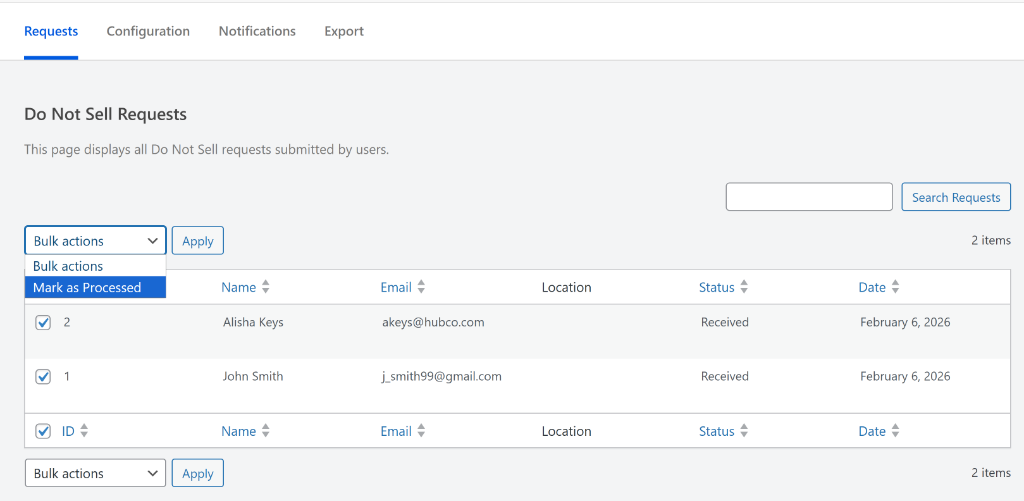
You can simply switch to the ‘Requests’ tab in the Do Not Sell addon and select the requests by clicking the checkbox next to them.
From here, click the Bulk Action dropdown and select the ‘Mark as Processed’ option. Once that’s done, you can click the Apply button.
You can learn more by following our detailed tutorial on how to handle Do Not Sell requests in WordPress.
FAQs About Google Analytics Cookie Consent
1. Why is it important to have cookie consent on my WordPress site when using Google Analytics?
Having cookie consent on your WordPress site is crucial because it helps you comply with legal regulations like GDPR and CCPA, protects your site from potential fines, and maintains trust with your visitors by respecting their privacy preferences.
2. What are the main privacy laws that affect the use of Google Analytics on my website?
The main privacy laws that influence the use of Google Analytics include GDPR in the EU, CCPA in California, LGPD in Brazil, and PIPEDA in Canada. These laws require transparency, user consent, and proper data handling practices.
3. What steps should I follow to ensure my Google Analytics data collection complies with privacy laws?
You should install WPConsent, scan your site for cookies, set up a consent banner, create a detailed cookie policy page, manage and review consent logs, and implement a Do Not Sell form, ensuring that cookies load only after user consent is given.
I hope this article helped you learn about Google Analytics cookie consent in WordPress. You may also want to see our guide on how to stop Google Maps from loading before consent and how to set up multi-language cookie consent banners using WPConsent.
If you liked this article, then please follow us on X (formerly known as Twitter). You can also leave a comment below if you need any assistance.