Want to get your cookie consent banner up and running in just a few minutes? The WPConsent setup wizard walks you through scanning your site, configuring detected services, and activating your banner in 4 simple steps. This guide covers every screen of the setup wizard so you can start collecting consent right away.
Table of contents
- Prerequisites
- Opening the wizard
- Scanning your website
- Configuring detected services
- Designing and activating the banner
- FAQ
- Conclusion
Prerequisites
Before you begin, make sure you have:
- WPConsent installed and activated on your site. If you haven’t done this yet, check out our installation guide.
- Administrator access to your WordPress dashboard.
Opening the wizard
WPConsent automatically redirects you to the setup wizard the first time you activate the plugin. If you’ve already skipped it or want to run it again, navigate to admin.php?page=wpconsent-onboarding in your browser.
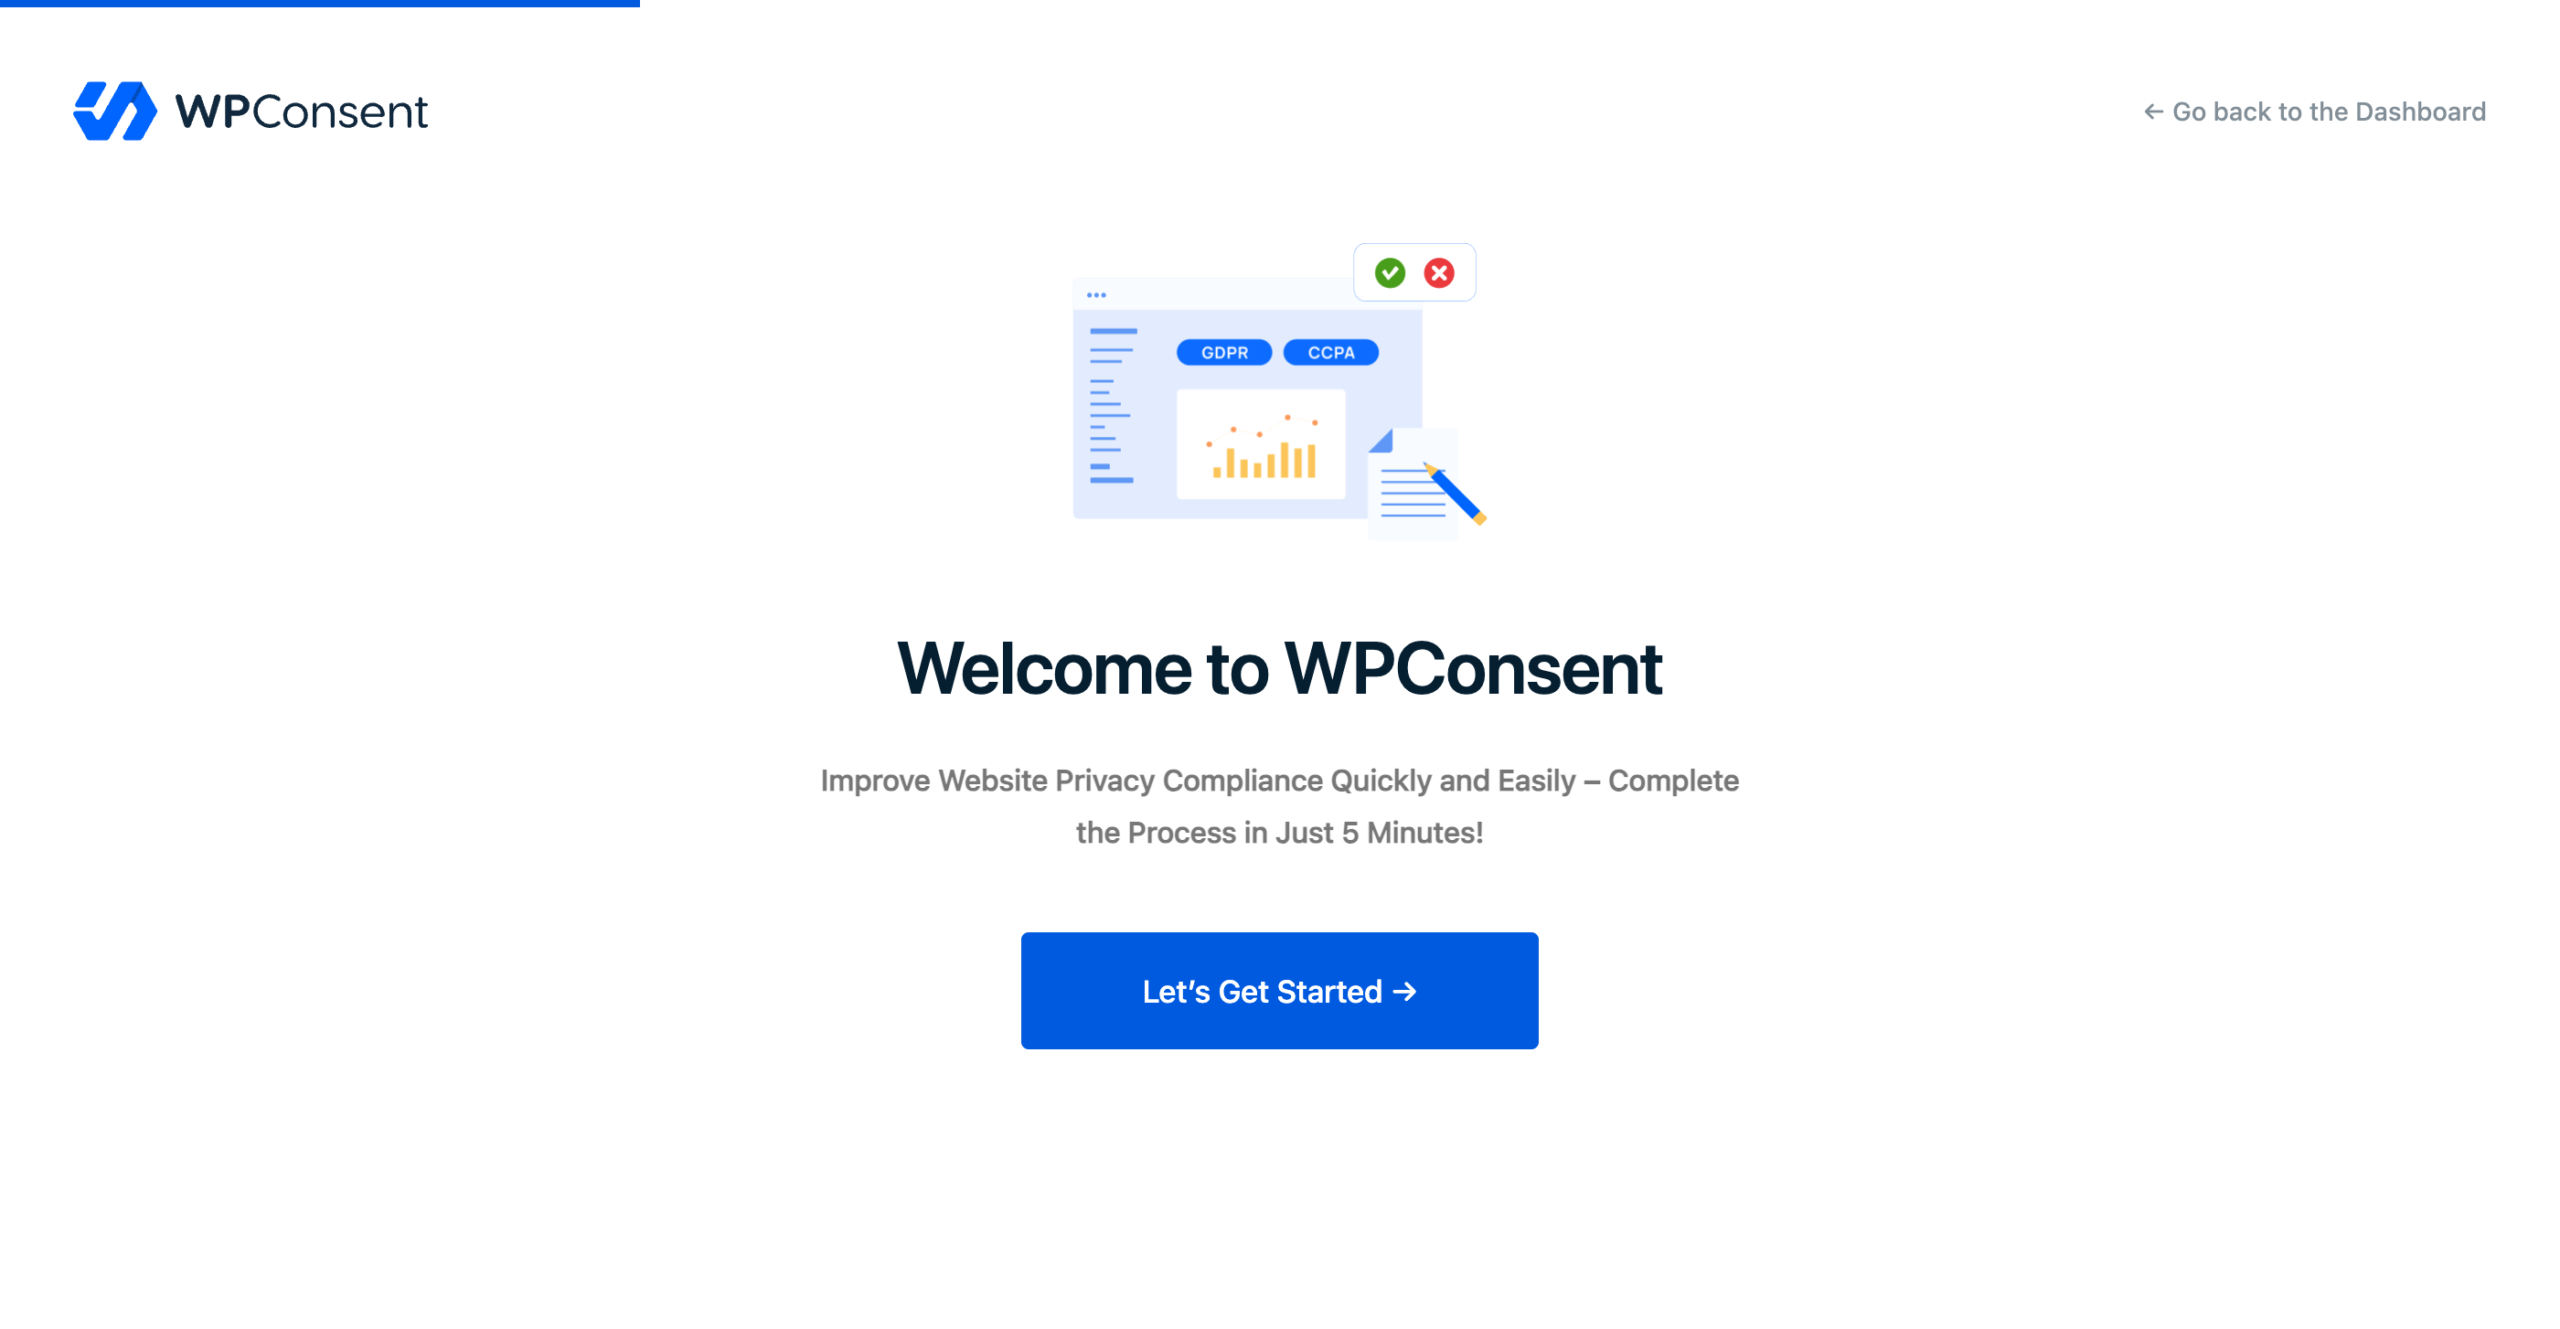
A progress bar at the top of the screen tracks your current step. You can click Go back to the Dashboard at any time to exit and return to the main WPConsent dashboard.
To begin, click the Let’s Get Started button on the welcome screen.
Scanning your website
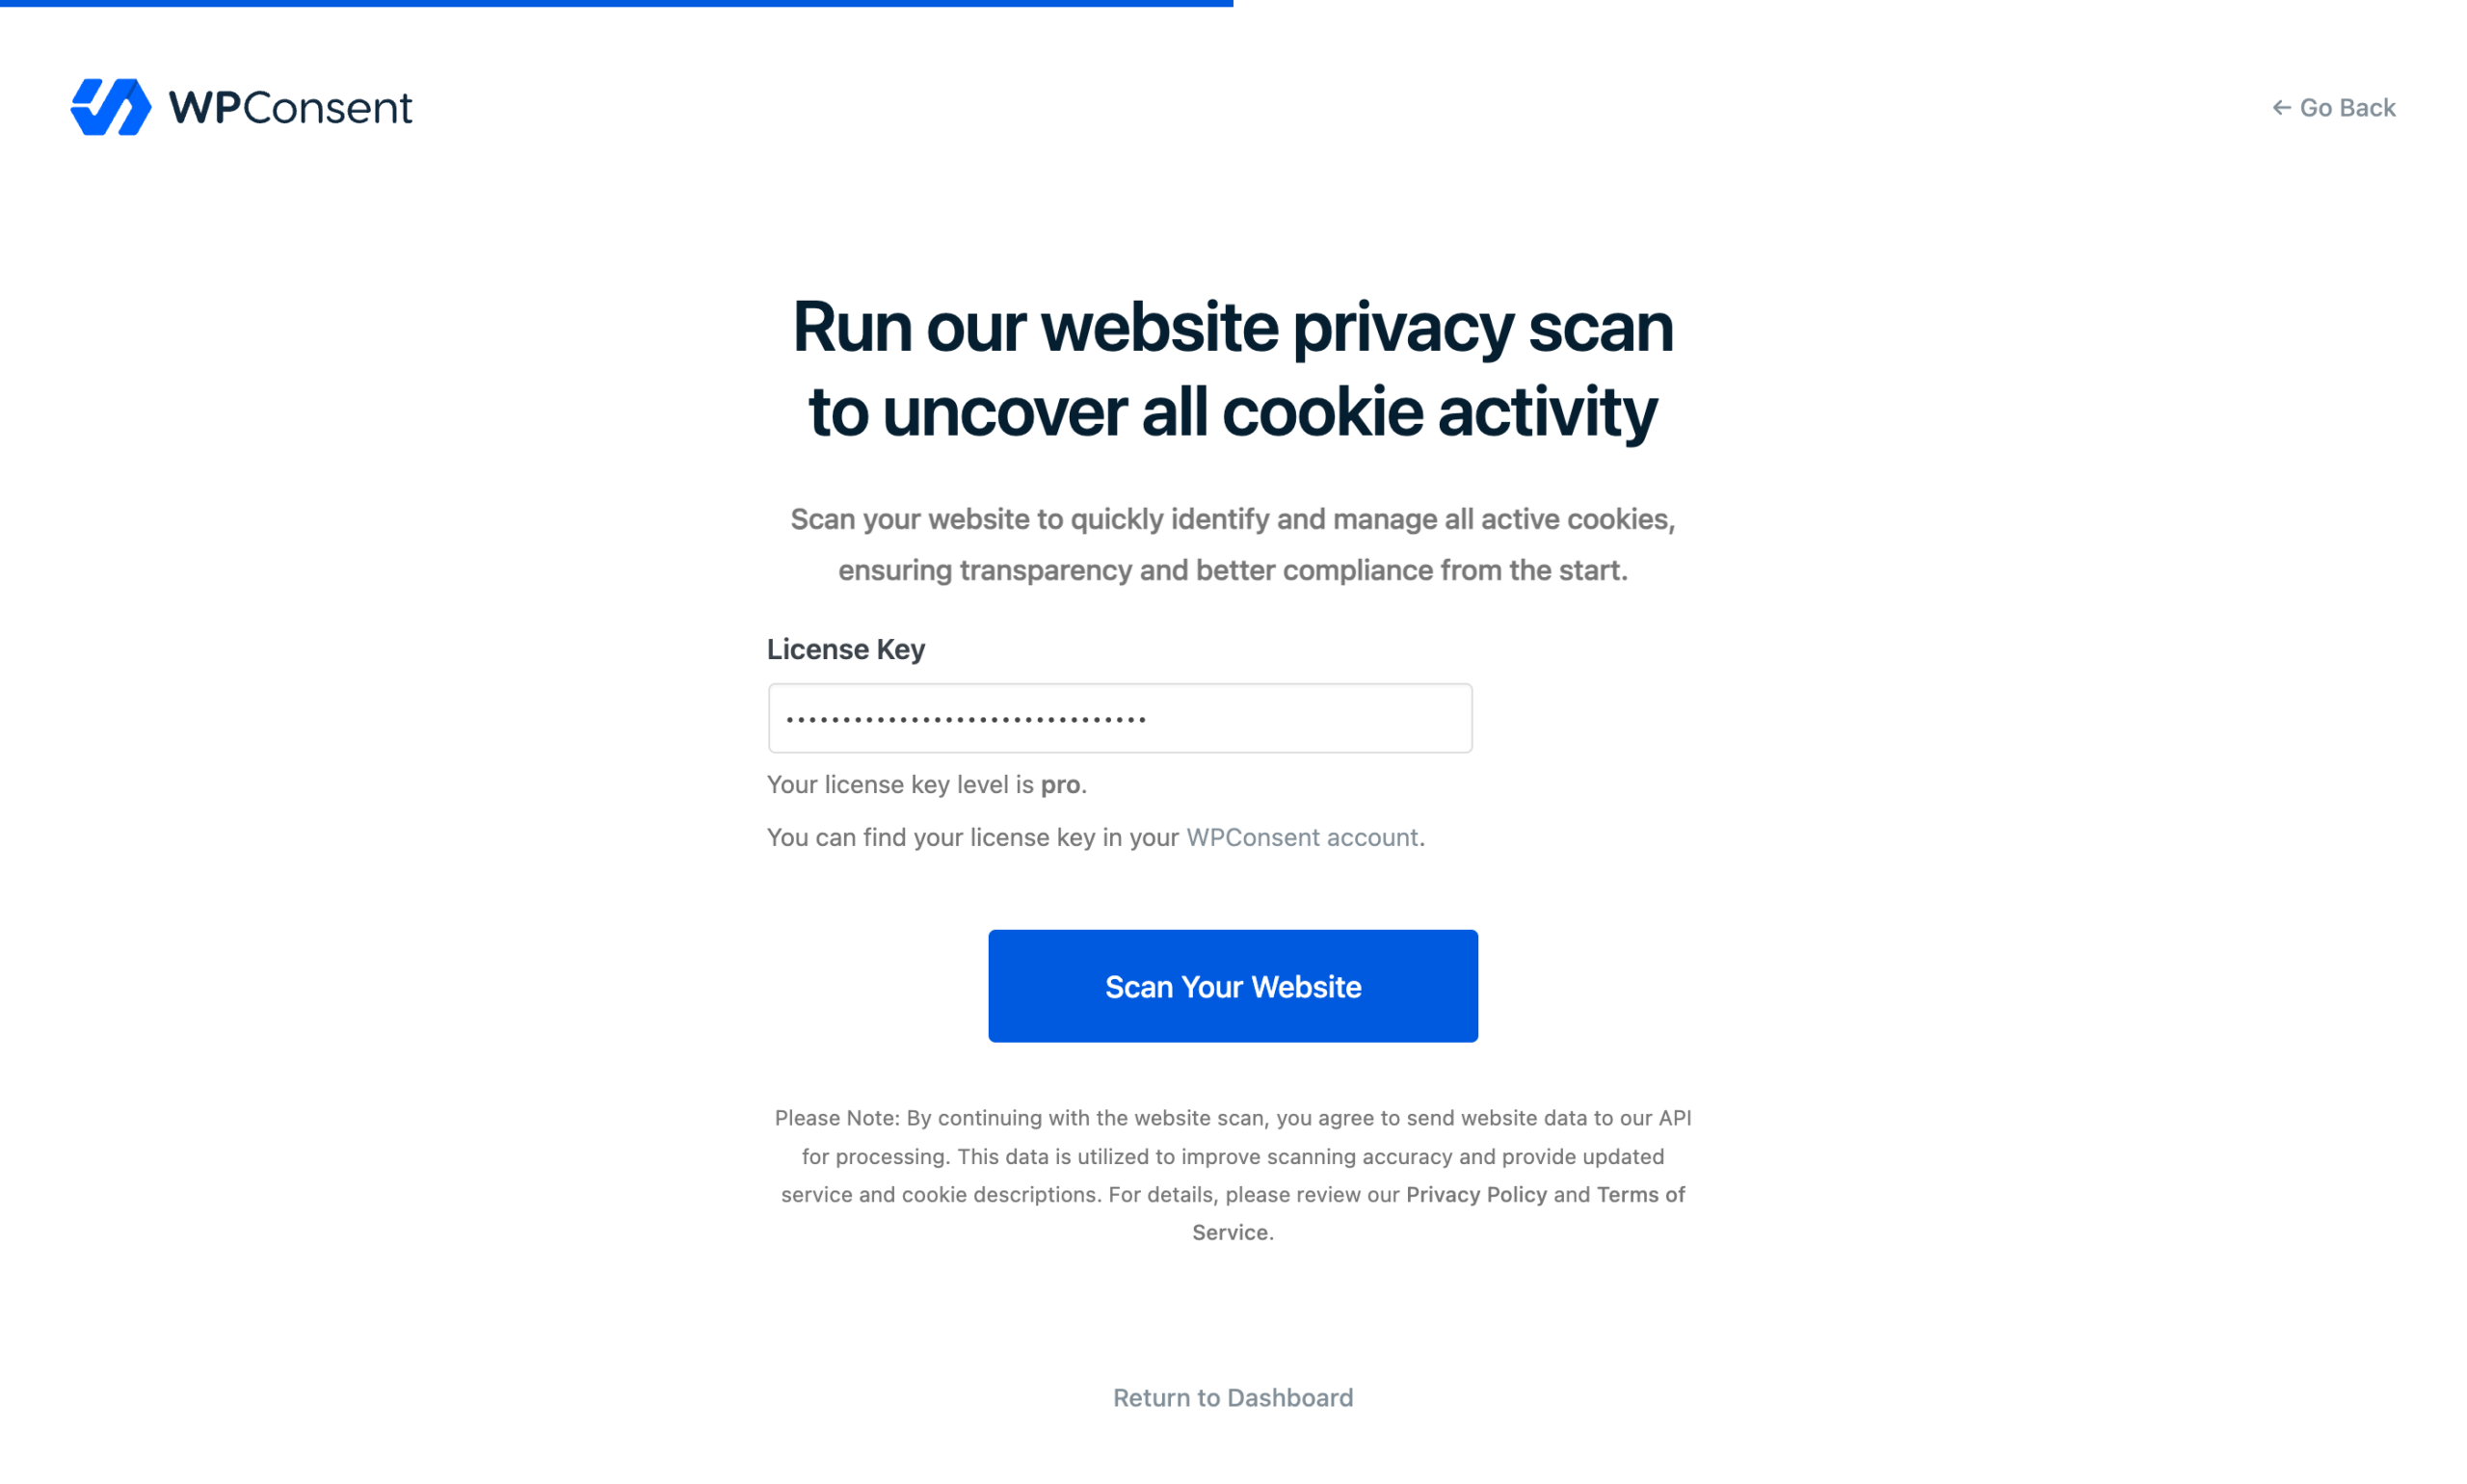
After clicking Let’s Get Started, you’ll land on the scan step. WPConsent automatically selects important pages on your site (such as checkout, cart, and contact pages) to include in the scan. The scanner checks each page for known third-party scripts and cookies.
In the free version, enter your email address in the Your Email Address field. We’ll send you recommendations based on the scan results. In the paid version, enter your License Key and click Verify Key to activate your license before scanning.
When you’re ready, click Scan Your Website. A progress indicator appears while the scanner processes each page. The scan takes less than 1 minute.
Pro Feature: The paid scanner detects additional services, including WordPress plugins and scripts loaded through Google Tag Manager.
Note: By starting a scan, you agree to send website data to the WPConsent API for processing. This data improves scanning accuracy and keeps service descriptions up to date. Review our Privacy Policy and Terms of Service for details.
Configuring detected services
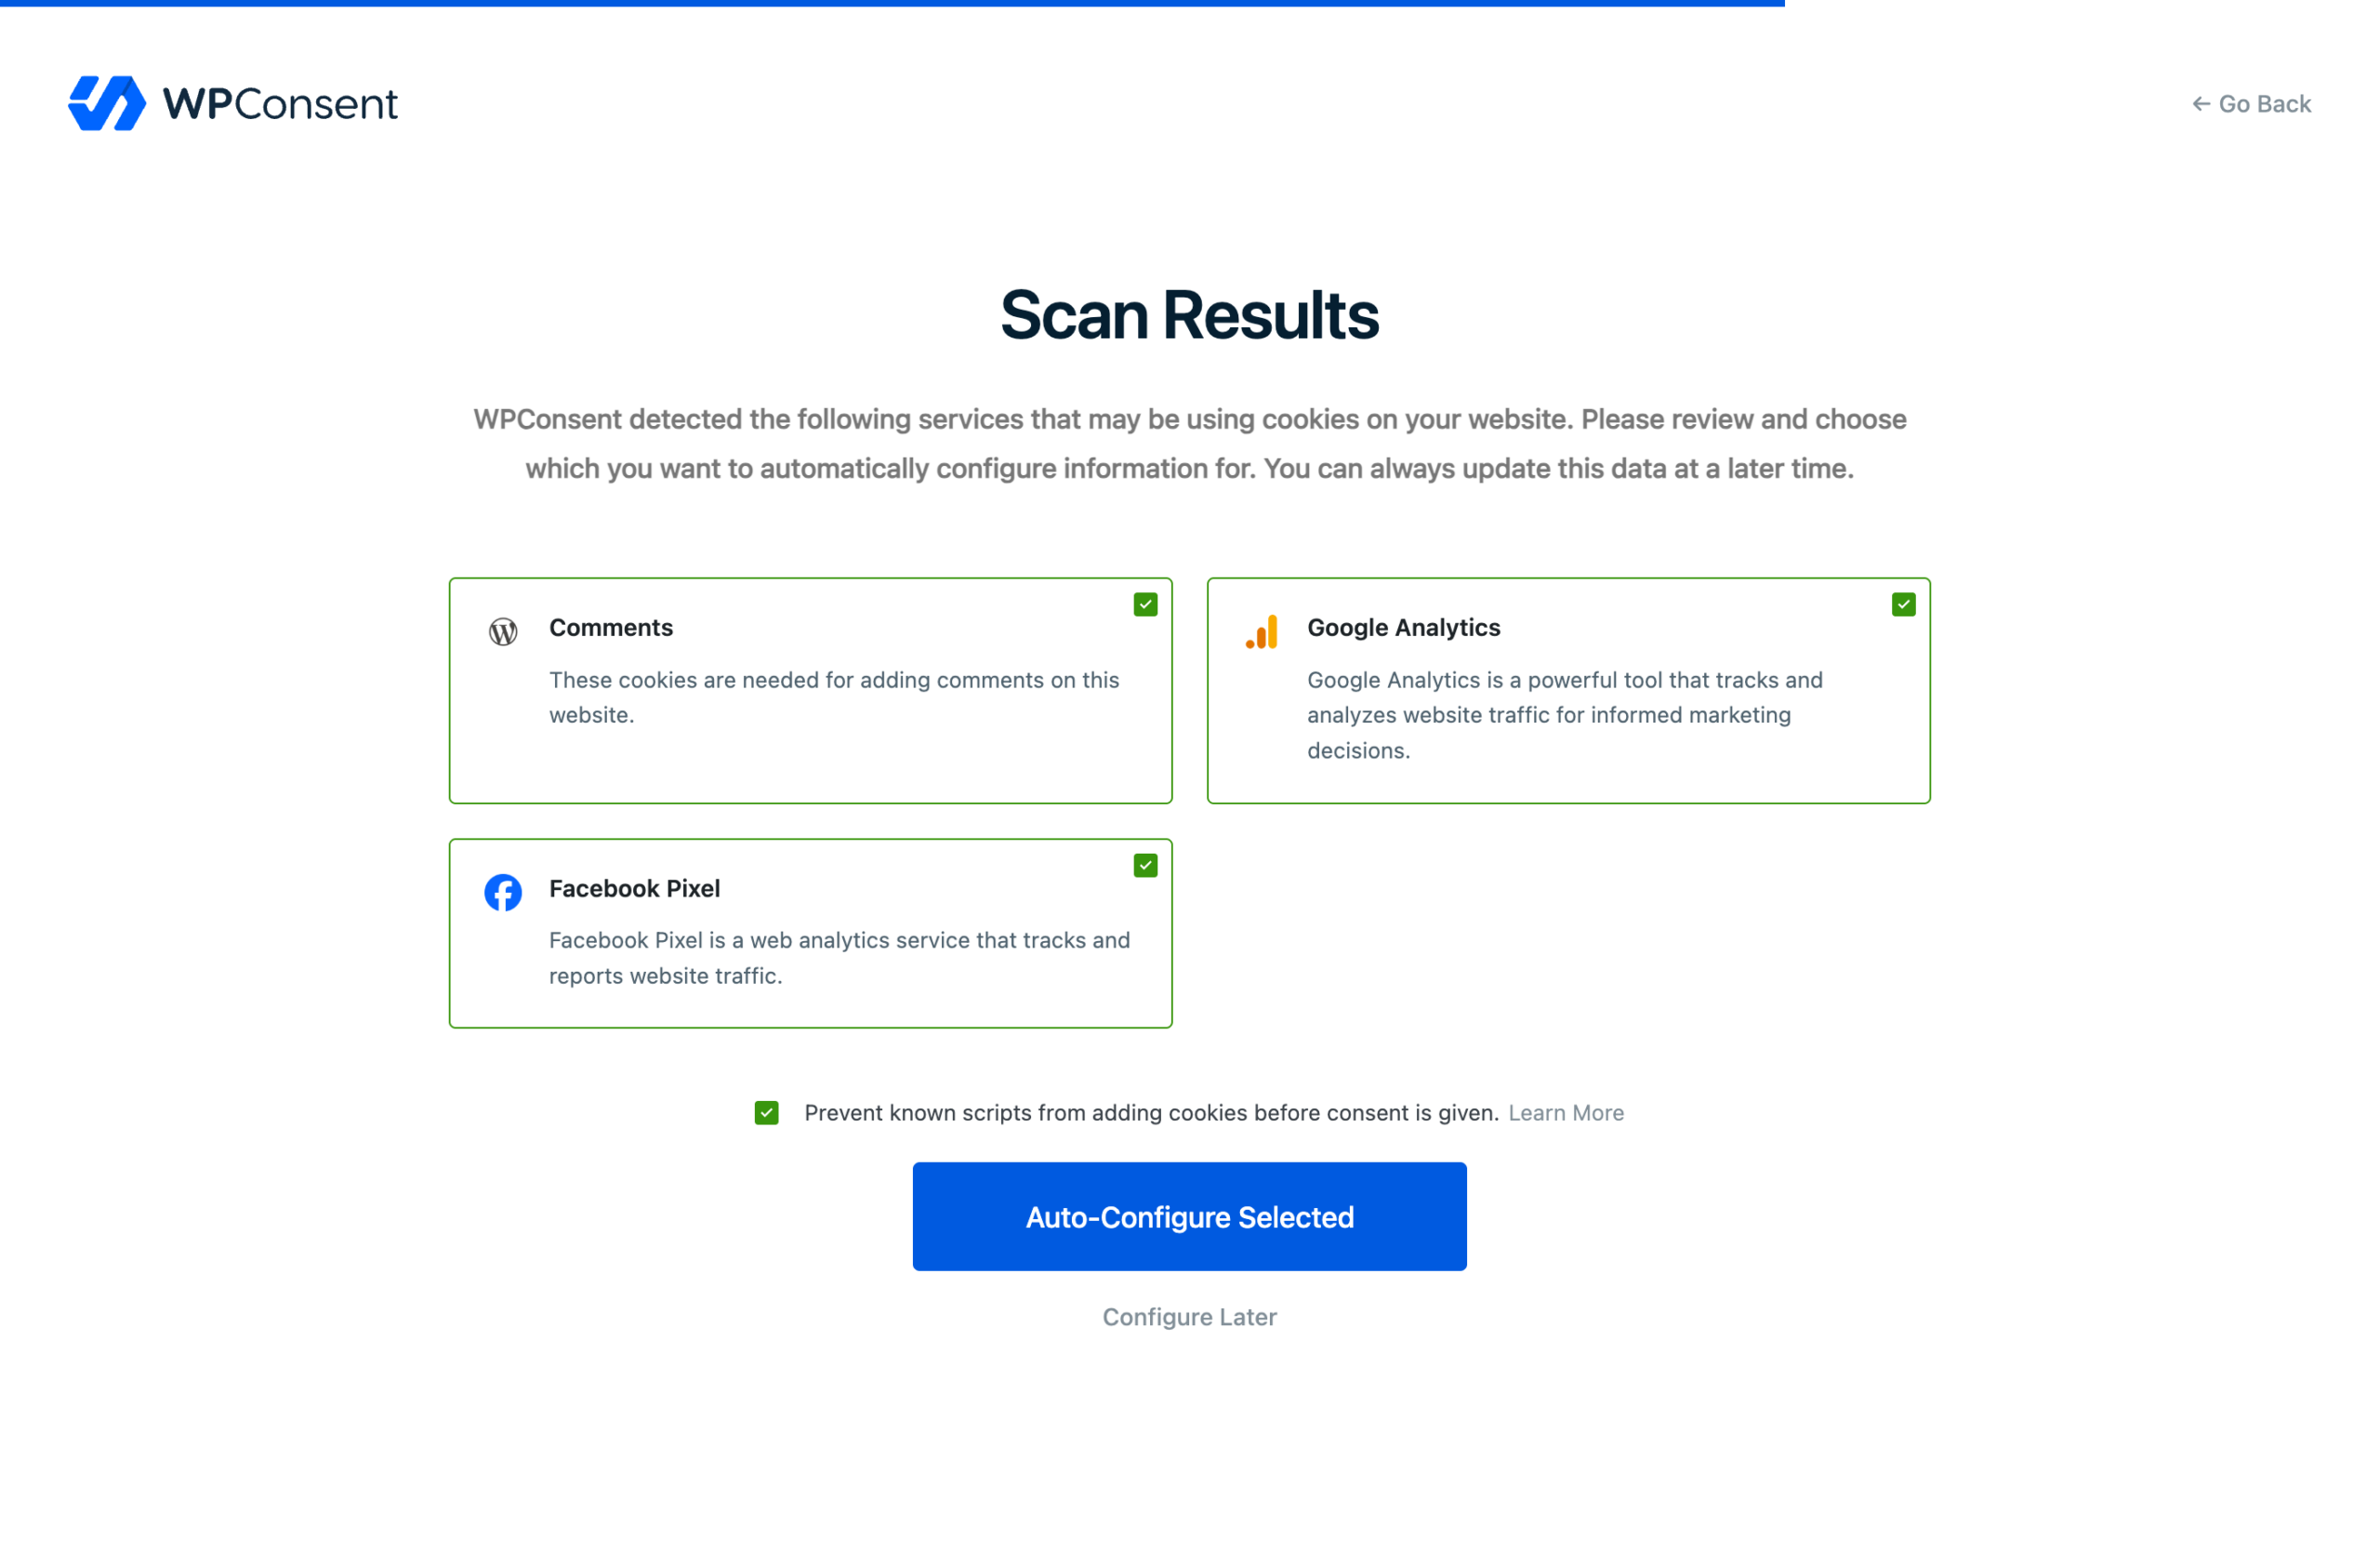
Once the scan finishes, WPConsent displays a list of detected services. Each service shows a logo, name, and description. Every service is selected by default.
Review the list and uncheck any services you don’t want to auto-configure. For each selected service, WPConsent creates the corresponding cookie category entries, service records, and cookie descriptions automatically.
Below the service list, a checkbox labeled “Prevent known scripts from adding cookies before consent is given” is enabled by default. This turns on automatic script blocking for the selected services. Keep it checked unless you have a specific reason to disable it.
You have 2 options at this point:
- Click Auto-Configure Selected to save the selected services and enable script blocking. WPConsent displays a “Configuring Selected Services” message while it processes.
- Click Configure Later to skip this step and go straight to the banner step. You can always configure services later from the scanner page.
Designing and activating the banner
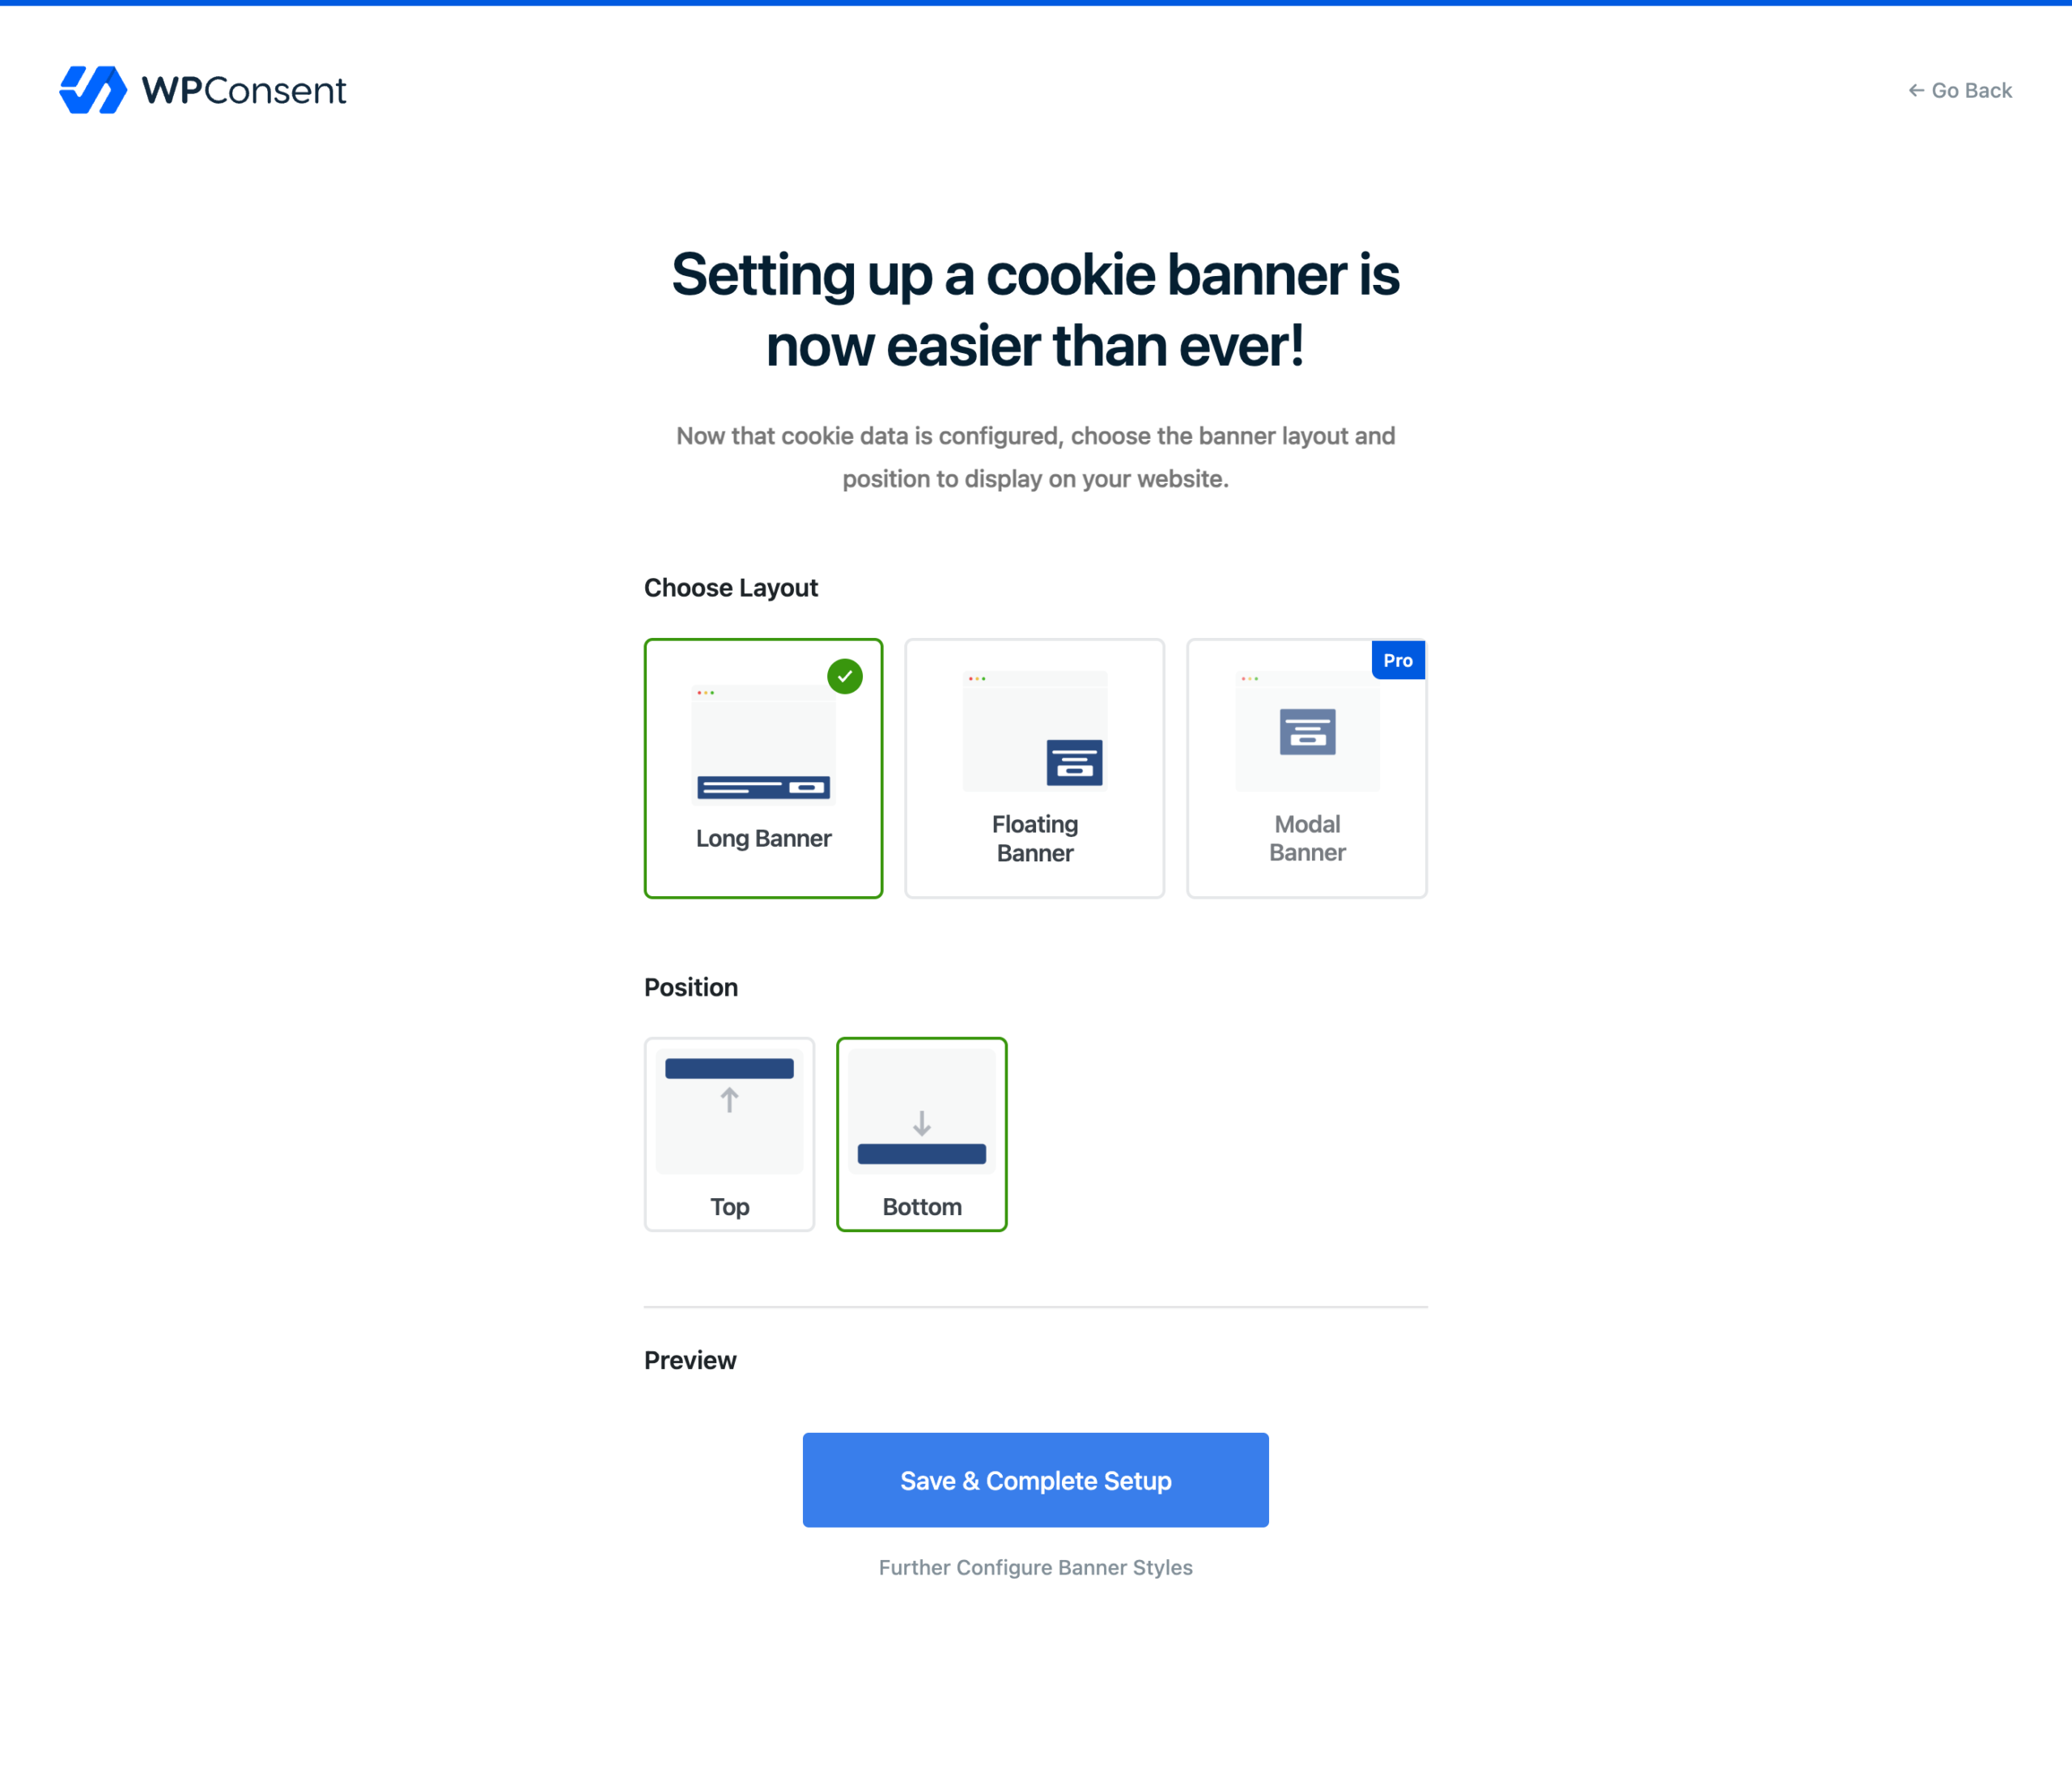
The final step lets you choose how the consent banner appears on your website.
Choosing a layout
WPConsent offers 3 banner layout options:
- Long Banner – a full-width bar that spans the top or bottom of the page. This is the default layout.
- Floating Banner – a smaller box positioned in 1 of 4 corners of the screen.
- Modal Banner – a centered overlay that requires user interaction before visitors can browse the site.
Pro Feature: The modal banner layout requires the paid version.
Choosing a position
Position options depend on your chosen layout:
- For the Long Banner layout, select Top or Bottom.
- For the Floating Banner layout, select Left Top, Right Top, Left Bottom, or Right Bottom.
- The Modal Banner layout doesn’t have a position option because it always displays centered.
A live preview of your banner appears below the position options. It updates automatically as you change the layout and position.
Completing the setup
When you’re satisfied with your choices, click Save & Complete Setup. This saves your layout and position preferences, enables the consent banner on your site, and marks the onboarding as complete. WPConsent then redirects you to the dashboard.
If you want to customize colors, text, or button styles before going live, click Further Configure Banner Styles instead. This also marks the onboarding as complete and takes you directly to the banner design page for detailed customization.
FAQ
Why didn’t the wizard appear after I activated the plugin?
WPConsent sets a one-time redirect that triggers the wizard on first activation. If you navigated away before the redirect completed, go to admin.php?page=wpconsent-onboarding manually.
My scan returned no results. What’s wrong?
Make sure your hosting environment allows outbound HTTPS connections. The scanner sends requests to the WPConsent API. If your server blocks external connections, the scan can’t complete. Contact your hosting provider if you suspect a firewall restriction.
Can I run the wizard again after skipping it?
Yes. Visit admin.php?page=wpconsent-onboarding at any time to go through the wizard steps again. Your existing configuration is preserved. The wizard only adds new data and doesn’t overwrite previous settings.
Do I need to complete the wizard to use WPConsent?
No. The wizard is a convenient shortcut, but you can set everything up manually through the individual pages in the WPConsent admin area. You can scan from WPConsent >> Scanner, configure services from the scan results, and set up your banner from WPConsent >> Banner.
Conclusion
After completing the setup wizard, your site has a consent banner live for visitors, services and cookies auto-configured with accurate descriptions, and script blocking enabled so tracking scripts wait for consent. The whole process takes about 5 minutes.
To explore the WPConsent admin area and track your compliance progress, head over to our guide on the WPConsent dashboard.