
Would you like your Google tags to know whether each visitor accepted cookies? Google Consent Mode v2 has WPConsent report that choice to Google’s tags instead of holding those tags back. All you need is WPConsent on your WordPress site with the consent banner turned on.
This guide covers the three Google Consent Mode settings, the signals WPConsent sends, and what changes on your pages when a visitor answers the banner.
Table of contents
- Enabling Google Consent Mode
- Setting the Default Consent State
- Turning On URL Passthrough and Ads Data Redaction
- Saving Your Settings
- Reading the v2 Consent Signals
- Watching the Signals Change on Your Site
- Frequently Asked Questions
Before you get started, make sure WPConsent is installed and activated on your WordPress site.
Enabling Google Consent Mode
To get started, we’ll open the screen that holds all three Google Consent Mode settings.
From your WordPress admin sidebar, go to WPConsent » Settings.
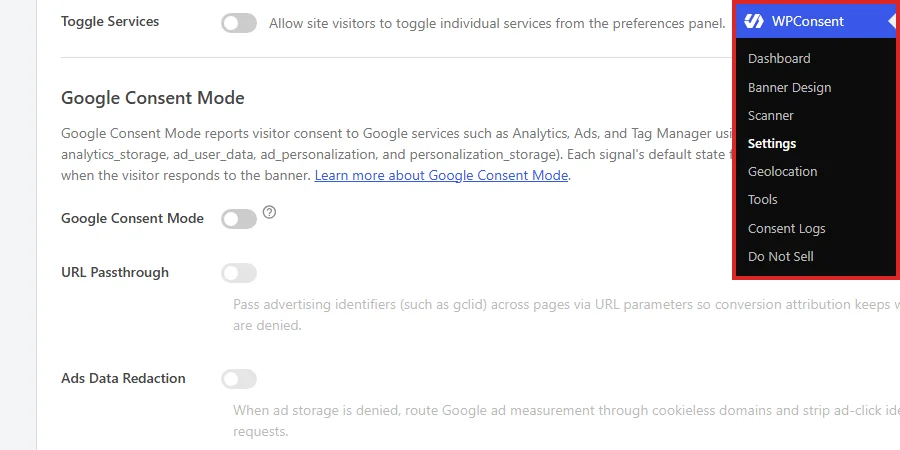
The page opens on the Settings tab. From there, scroll down the Cookies Configuration panel to the Google Consent Mode heading, which introduces a group of three rows.
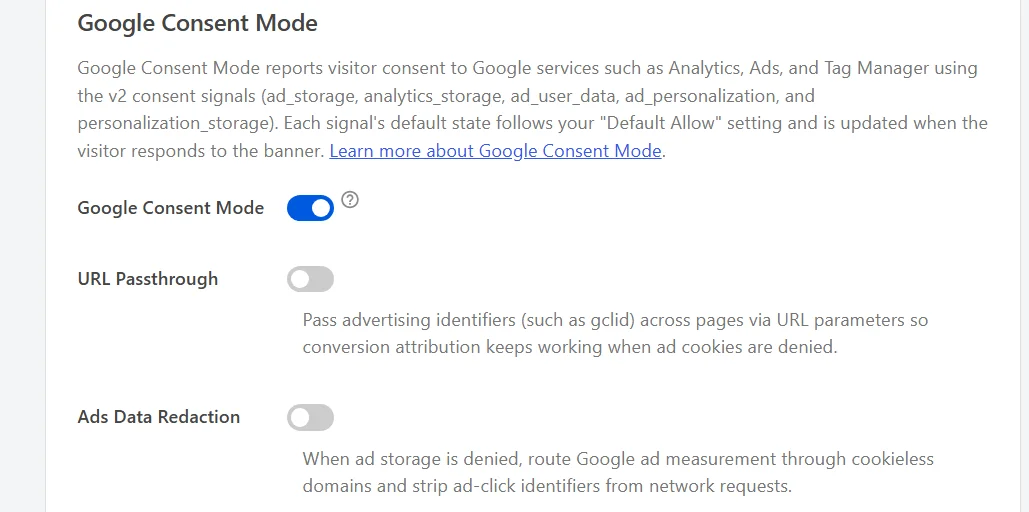
The first row in that group is the master switch, and WPConsent arrives with it already on.
Take a look at Google Consent Mode, which needs to be on for anything else in this guide to take effect.

With this on, WPConsent adds a short block near the top of every page that shows the banner. That block sets a starting state for each consent signal, before your Google tags run. When a visitor answers the banner, WPConsent sends a second call with their actual choice.
Turning this on also changes what script blocking does to Google’s own tags. While Google Consent Mode is on, WPConsent leaves Google Analytics and Google Ads out of script blocking. They load on every page and read the signals instead of being held back.
With Google Consent Mode off, those three tags are treated like any other tracker and wait for consent.
Our guide on automatic script blocking covers that side of the setting.
Note: Google Consent Mode loads only on pages where the consent banner loads, because the banner is how a visitor’s choice is made.
What that starting state actually is comes from a different row, a little further up the same panel.
Setting the Default Consent State
The starting state WPConsent sends is not set here. It follows the Default Allow setting, which sits a few rows above in the same panel.
Further up the Cookies Configuration panel, look at Default Allow.
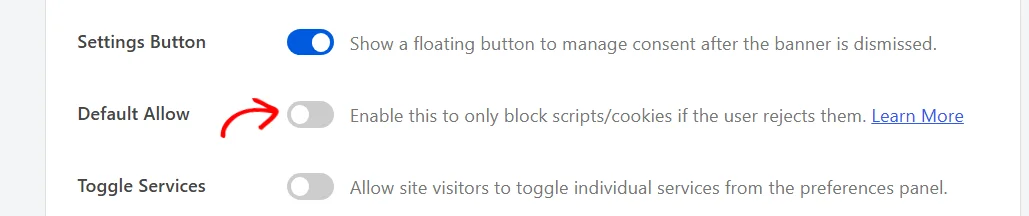
Default Allow arrives off. With it off, every signal that follows a cookie category starts as denied and switches to granted for the categories a visitor accepts. That is the opt-in arrangement most sites want.
With Default Allow on, those signals start as granted instead, and switch to denied for the categories a visitor declines.
Our guide on configuring WPConsent general settings covers that row in full.
Turning On URL Passthrough and Ads Data Redaction
Two more rows sit under the Google Consent Mode toggle. Both arrive off, and both stay greyed out until that toggle is on.
Turning On URL Passthrough
Advertising identifiers such as gclid normally travel in a cookie, which means they are gone whenever ad storage is denied.
To pass those identifiers between pages in the URL instead, turn on URL Passthrough.
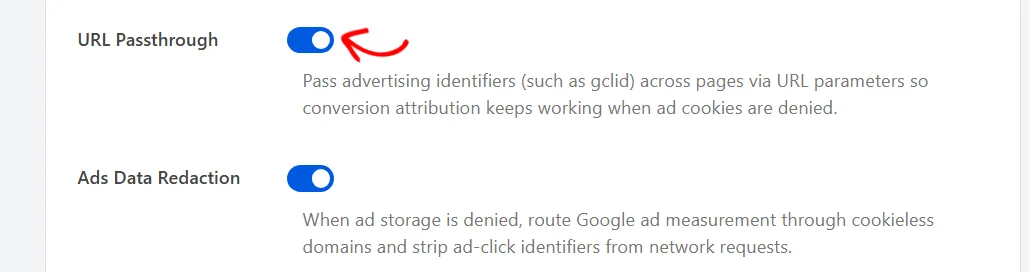
WPConsent adds one line to its consent block, asking Google’s tags to carry those identifiers in URL parameters instead. Conversion attribution then keeps working for visitors who have not accepted ad cookies.
Turning On Ads Data Redaction
The second row covers what happens to the ad measurement requests themselves.
To strip ad-click identifiers from those requests, turn on Ads Data Redaction.

This adds a second line to the consent block. While ad storage is denied, Google’s ad measurement is routed through cookieless domains and ad-click identifiers are removed from the requests.
Neither row has any effect while Google Consent Mode is off, because WPConsent writes their lines only into a consent block it is already sending.
Saving Your Settings
A single button stores every row in the Cookies Configuration panel, so all three Google Consent Mode settings are saved together.
At the bottom of the panel, click Save Changes.
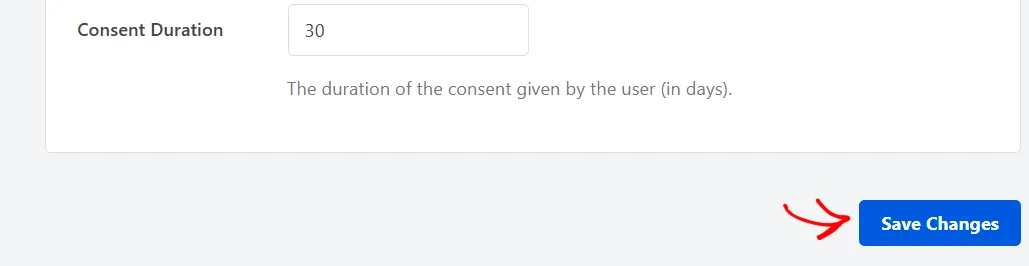
Your settings take effect on the next page a visitor loads.
Reading the v2 Consent Signals
Google Consent Mode v2 describes consent as a set of named signals, each either granted or denied. WPConsent reports five of them, and each one follows one of your cookie categories:
- ad_storage follows the Marketing category
- ad_user_data follows the Marketing category
- ad_personalization follows the Marketing category
- personalization_storage follows the Marketing category
- analytics_storage follows the Statistics category
The starting block sends two further signals, security_storage and functionality_storage, always as granted. Both cover the parts of a site that have to work for anyone, which is the same reason WPConsent never blocks Essential cookies.
That same block sets Google’s wait_for_update value to 500 milliseconds, and it identifies WPConsent as the source of the signals.
Once the visitor answers, WPConsent sends the five signals again with their answer applied. A visitor who accepts everything sends all five as granted, and a visitor who rejects sends all five as denied. A visitor who accepts Statistics but not Marketing sends analytics_storage as granted and the other four as denied.
Which categories a visitor can choose from is set on the same Settings screen. Our guide on managing cookie categories covers that list.
Watching the Signals Change on Your Site
The signals are visible in your own browser, so you can confirm the setup without waiting for reporting to catch up.
A private browsing window is the easiest place to look, since no earlier choice is stored there. Your browser’s developer tools console lists what the page has queued: typing dataLayer shows every entry so far.
When the banner appears, click Accept All.
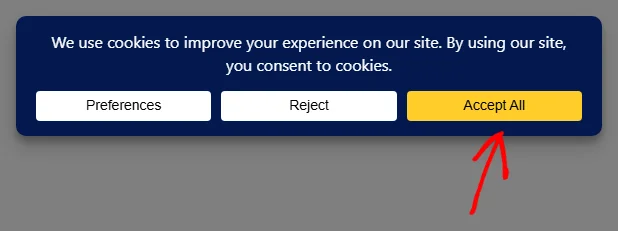
A new entry appears in the data layer reading consent, update, followed by the five signals with every one set to granted. Clicking Reject instead produces the same entry with every signal set to denied.
WPConsent sends that entry the moment the choice is stored. It sends it again on every later page the visitor loads, so your Google tags read the same state throughout the visit.
Alongside the signals, WPConsent pushes a wpconsent_consent_processed event into the same data layer, carrying the visitor’s category choices in a wpconsentPreferences object. Google Tag Manager can use that event as a trigger.
That’s it! Your Google tags now receive each visitor’s consent choice as it happens.
Next, take a look at our guide on understanding the preferences panel to see how visitors accept some categories and decline others.
Frequently Asked Questions
Below, we’ve answered some of the most common questions about Google Consent Mode v2.
Do I need a Google tag on my site for this to work?
WPConsent pushes the consent calls into the page’s data layer either way. The setting does not depend on a Google tag being present when the visitor answers. A site with no Google tag simply has nothing reading the signals yet.
Why is Google Analytics loading before my visitors consent?
Google Consent Mode is on. While that setting is on, WPConsent leaves Google Analytics and Google Ads out of script blocking. They load on every page and read the consent signals instead. Turning Google Consent Mode off puts both back under script blocking.
Does Google Consent Mode work if I turn the consent banner off?
The two work as a pair. WPConsent adds its consent block only to pages where the banner loads, since the banner is what produces the visitor’s answer. Consent Banner therefore stays on alongside Google Consent Mode.
Why is the starting consent block missing from my pages?
WPConsent adds the starting block only when your cookie list holds at least one Google service, such as Google Analytics. Running a scan adds the Google services your pages actually use. Our guide on scanning your website covers running one.
Why can’t I change the Google Consent Mode toggle?
IAB TCF mode is on. That framework requires Google Consent Mode, so WPConsent keeps the setting on and locks the row while TCF mode is active. Our guide on IAB TCF v2.2 support covers that mode.
Do I need this setting for Microsoft Clarity too?
Clarity has an arrangement of its own, under a separate Clarity Consent Mode setting on the Advanced tab. Our guide on Microsoft Clarity Consent Mode covers it.
Can I turn on URL Passthrough without Google Consent Mode?
Both rows stay greyed out until Google Consent Mode is on. Each one adds a single line to the consent block WPConsent is already sending. With Google Consent Mode off, there is no block for them to add a line to.
What if another plugin on my site already sends consent signals?
WPConsent steps aside for the two it recognizes. If Google Site Kit has its own consent mode switched on, WPConsent adds no starting block of its own, so only one runs. If PixelYourSite is active, WPConsent switches off that plugin’s Google Consent Mode while its own is on.
Do my returning visitors send the signals again?
Yes. WPConsent reads the choice stored in the visitor’s browser on each page load, and sends the five signals again from it. A visitor who accepted last week still arrives with granted signals today.