Is something not working as expected with WPConsent? This guide walks you through diagnosing and fixing the most common issues, from missing banners to script blocking problems. The Troubleshooting Guide covers built-in debug tools, cache clearing, plugin conflicts, and how to collect system info for support.
Table of contents
- Using the debug URL parameter
- Checking your browser console for errors
- Clearing caches
- Fixing a missing banner
- Fixing scripts not blocked correctly
- Resolving conflicts with other plugins
- Resolving theme compatibility issues
- Using System Info for support
- Quick reference checklist
- FAQ
- Conclusion
Using the debug URL parameter
WPConsent includes a built-in debug parameter that temporarily disables script blocking on any page. This helps you determine whether an issue is caused by script blocking or by something else.
To use it, add ?wpconsent_debug to the end of any URL on your site:
https://example.com/?wpconsent_debug
https://example.com/contact/?wpconsent_debug
When this parameter is present, WPConsent skips its output buffer processing. Scripts that would normally be blocked run without modification. The consent banner still appears normally.
Use the debug parameter when:
- You suspect script blocking is breaking a page layout or form.
- A third-party service isn’t working and you want to confirm WPConsent is the cause.
- You need to compare page behavior with and without blocking.
To test, load the page once with the parameter and once without. If the problem disappears when ?wpconsent_debug is present, the issue is related to script blocking. Check the fixing scripts not blocked correctly section for next steps.
Note: The debug parameter only affects the single page load where it’s present. It isn’t a persistent setting and doesn’t change anything in your database.
Checking your browser console for errors
The browser console is one of the most useful tools for diagnosing frontend issues with WPConsent.
Opening the console
- First, open your website in Chrome, Firefox, or Edge.
- Then, press F12 (or right-click anywhere and select Inspect).
- Next, click the Console tab.
- Finally, reload the page to capture all messages from the start.
Identifying common errors
- JavaScript errors (red text): These indicate something is failing. Look for errors that mention
wpconsent,wpconsent-frontend, or the names of tracking services. - Network failures: Switch to the Network tab and filter by errors. Failed requests to WPConsent’s build files (
frontend.js,frontend.css) prevent the banner from loading. - Blocked script attributes: In the Elements tab, search for
data-wpconsent-src. If you find scripts withtype="text/plain"and adata-wpconsent-categoryattribute, script blocking is working correctly.
Clearing caches
Caching is the single most common source of confusion when configuring WPConsent. If you change a setting and don’t see the result, a cache is almost always the reason.
Clearing the WPConsent cookies cache
WPConsent caches cookie category and service data using WordPress transients. These transients refresh automatically, but you can clear them manually if cookie data appears stale.
- First, go to WPConsent >> Tools.
- Then, click the Database tab.
- You’ll see the Cache Status line, which shows when the cache was last created.
- Next, click the Clear Cache button.
- A success message confirms the cache is cleared.

This clears the following transients:
wpconsent_needs_google_consent— whether Google Consent Mode scripts load.wpconsent_preference_cookies— cached cookie data for the preferences panel.wpconsent_preference_slugs— cached category and service slugs.
Purging server-side page caches
If you use a caching plugin (WP Rocket, W3 Total Cache, LiteSpeed Cache, WP Super Cache, etc.) or a server-level cache, purge it after any of these changes:
- Enabling or disabling the consent banner
- Enabling or disabling script blocking
- Changing content blocking settings
- Adding or removing services or categories
Each caching plugin has its own purge method. Here are common approaches:
- WP Rocket: Go to the WordPress admin bar, then click WP Rocket >> Clear Cache.
- LiteSpeed Cache: Navigate to LiteSpeed Cache >> Toolbox >> Purge All.
- W3 Total Cache: Go to Performance >> Dashboard and click empty all caches.
- Cloudflare / CDN: Log in to your CDN dashboard and purge the cache there as well.
WPConsent’s script blocking uses PHP output buffering. The first uncached page load produces HTML with scripts properly blocked. Your caching plugin then stores that modified HTML. If you enabled WPConsent after pages were already cached, the cached versions don’t have blocking applied. Purging forces a fresh page build.
Clearing browser caches
Your browser stores CSS, JavaScript, and sometimes full pages locally. To rule out browser caching:
- Open a private/incognito window (
Ctrl+Shift+Nin Chrome,Ctrl+Shift+Pin Firefox). - Navigate to your site.
Or perform a hard refresh:
- Windows/Linux:
Ctrl+Shift+R - Mac:
Cmd+Shift+R
A private window also clears the wpconsent_preferences consent cookie, so the banner appears as if you’re a new visitor.
Clearing cookies for a fresh test
To force the banner to appear again without opening a private window:
- First, open browser developer tools (F12).
- Then, go to the Application tab (Chrome) or Storage tab (Firefox).
- Next, expand Cookies and select your site’s domain.
- Find the
wpconsent_preferencescookie and delete it. - Finally, reload the page.
Fixing a missing banner
If the consent banner doesn’t appear on your site, work through these checks in order.
1. Verifying the banner is enabled
Navigate to WPConsent >> Banner Design and confirm the Show Banner on Frontend checkbox is enabled at the top of the page. Then click Save if you make changes.
Alternatively, go to WPConsent >> Settings and check the Consent Banner toggle on the Settings tab.
2. Checking for an existing consent cookie
If you previously interacted with the banner, a consent cookie already exists. Open a private/incognito window or delete the wpconsent_preferences cookie as described in clearing cookies for a fresh test.
3. Checking geolocation settings
If you use WPConsent’s geolocation feature, the banner may be configured to show only in specific regions. If your location isn’t included in any active geolocation group, the banner won’t appear. Check your geolocation rules in WPConsent >> Geolocation to confirm your region is covered. For details, see the geolocation guide.
4. Purging all caches
Follow the steps in clearing caches to purge server-side and browser caches.
5. Checking for JavaScript errors
Open the browser console and look for errors. If frontend.js fails to load, the banner can’t render. Common causes include:
- A security plugin blocking inline scripts or WPConsent’s JavaScript file.
- A minification or optimization plugin breaking the script. Try temporarily disabling plugins like Autoptimize, WP Rocket’s file optimization, or SiteGround Optimizer.
6. Checking for page builder editor mode
WPConsent automatically suppresses the banner inside the Bricks Builder and Divi Builder editor interfaces. To see the banner, preview the page or view it on the actual frontend.
7. Deactivating other plugins
If none of the above resolves the issue, temporarily deactivate all other plugins except WPConsent. If the banner appears, reactivate plugins one at a time to find the conflict. See resolving conflicts with other plugins for more details.
Fixing scripts not blocked correctly
If tracking scripts run before consent is given, or if scripts are blocked when they shouldn’t be, follow these diagnostic steps.
Confirming script blocking is enabled
Navigate to WPConsent >> Settings and verify:
- The Consent Banner toggle is on.
- The Script Blocking toggle is on.
Script blocking requires the banner to be enabled. If the banner is off, script blocking is automatically disabled.
Checking for consent mode interactions
When Google Consent Mode is enabled, Google Analytics, Google Tag Manager, and Google Ads scripts are intentionally not blocked. They run in a restricted, cookieless mode until the visitor grants consent. This is correct behavior, not a bug. To use full blocking instead, disable Google Consent Mode from WPConsent >> Settings on the Settings tab.
The same applies to Clarity Consent Mode for Microsoft Clarity.
Checking the debug parameter
If the URL contains ?wpconsent_debug, script blocking is disabled for that page load. Remove the parameter from the URL.
Inspecting the page source
- First, open the page in your browser.
- Then, right-click and select View Page Source (not Inspect Element, which shows the live DOM after JavaScript runs).
- Next, search for
data-wpconsent-src.
If you find script tags with type="text/plain" and data-wpconsent-src attributes, blocking is working. The scripts are modified in the HTML before the browser receives them.
If you don’t find these attributes on a script you expect to be blocked, that script isn’t in WPConsent’s known scripts list. The block list is updated remotely. In the paid version, you can add custom blocking rules under WPConsent >> Settings on the Advanced tab.
Purging the server cache
A stale page cache may serve HTML that was generated before script blocking was enabled. Purge all caches as described in clearing caches.
Resolving conflicts with other plugins
Plugin conflicts are the most common source of unexpected behavior with consent plugins. Here’s a systematic approach to diagnosing them.
Identifying the conflict
- First, go to Plugins >> Installed Plugins in your WordPress admin.
- Then, deactivate all plugins except WPConsent.
- Next, check if the issue is resolved.
- If it is, reactivate plugins one at a time, testing after each one.
- When the issue returns, you’ve found the conflicting plugin.
Recognizing common conflict types
Other consent or cookie plugins. Running 2 consent management plugins at the same time causes conflicts. If you’re migrating from another consent plugin (Complianz, CookieYes, Cookie Notice, GDPR Cookie Consent, etc.), deactivate the previous plugin before configuring WPConsent.
JavaScript optimization plugins. Plugins that combine, minify, or defer JavaScript (Autoptimize, WP Rocket’s file optimization, SiteGround Optimizer, Perfmatters, Flying Scripts) can break WPConsent’s frontend script. Exclude wpconsent scripts from optimization in the other plugin’s settings.
Security plugins. Plugins that add Content Security Policy (CSP) headers or block inline scripts (Wordfence, iThemes Security, NinjaFirewall) can prevent WPConsent from loading. Whitelist WPConsent’s script and style files in the security plugin.
Caching plugins. See clearing caches. The most important step is to purge all caches after changing WPConsent settings.
Resolving the conflict
Once you identify the conflicting plugin, try these approaches:
- Check for an exclusion or whitelist option in the conflicting plugin’s settings. Most optimization and security plugins let you exclude specific scripts or paths.
- Update both plugins to the latest version. Compatibility issues are often fixed in updates.
- Contact support if the conflict persists. Include the system info output (see using System Info for support) and the name and version of the conflicting plugin.
Resolving theme compatibility issues
WPConsent uses Shadow DOM to render the consent banner, which isolates it from your theme’s CSS. This means theme styles don’t affect the banner and the banner doesn’t affect your theme. In rare cases, a theme may still interfere.
Banner not appearing despite being enabled
Some themes use aggressive output buffering or custom content rendering that can conflict with WPConsent’s output buffer. To test:
- First, temporarily switch to a default WordPress theme (Twenty Twenty-Five, Twenty Twenty-Four, or Twenty Twenty-Three).
- Then, check if the banner appears.
- If it does, the issue is with your theme’s output handling.
Contact your theme developer with this information. They may need to adjust their output buffering priority.
Banner appearing but overlapping or positioned incorrectly
The banner uses fixed or absolute positioning with a high z-index. If your theme has elements with very high z-index values (sticky headers, floating menus), they may overlap the banner.
Try changing the banner position in WPConsent >> Banner Design. If the banner is set to Bottom, try Top, or switch to the Modal layout (paid version) to display it centered on the page.
Theme JavaScript errors after consent
If your theme’s JavaScript depends on a third-party script that WPConsent blocks (for example, a Google Maps integration in the header), the theme’s script may throw errors because the third-party resource isn’t available yet.
The solution depends on your setup:
- If the blocked service belongs to a known category, the script loads after the visitor grants consent for that category. The page reloads automatically, and the theme script runs normally.
- If the service isn’t in WPConsent’s known list, you can add it as a custom script in the paid version, or exclude it from blocking.
Using System Info for support
WPConsent includes a System Info page that gathers technical details about your WordPress installation, server configuration, and active plugins. This information is essential when requesting support.
Accessing System Info
- First, go to WPConsent >> Tools.
- Then, click the System Info tab.
- The system information appears in a read-only text area.
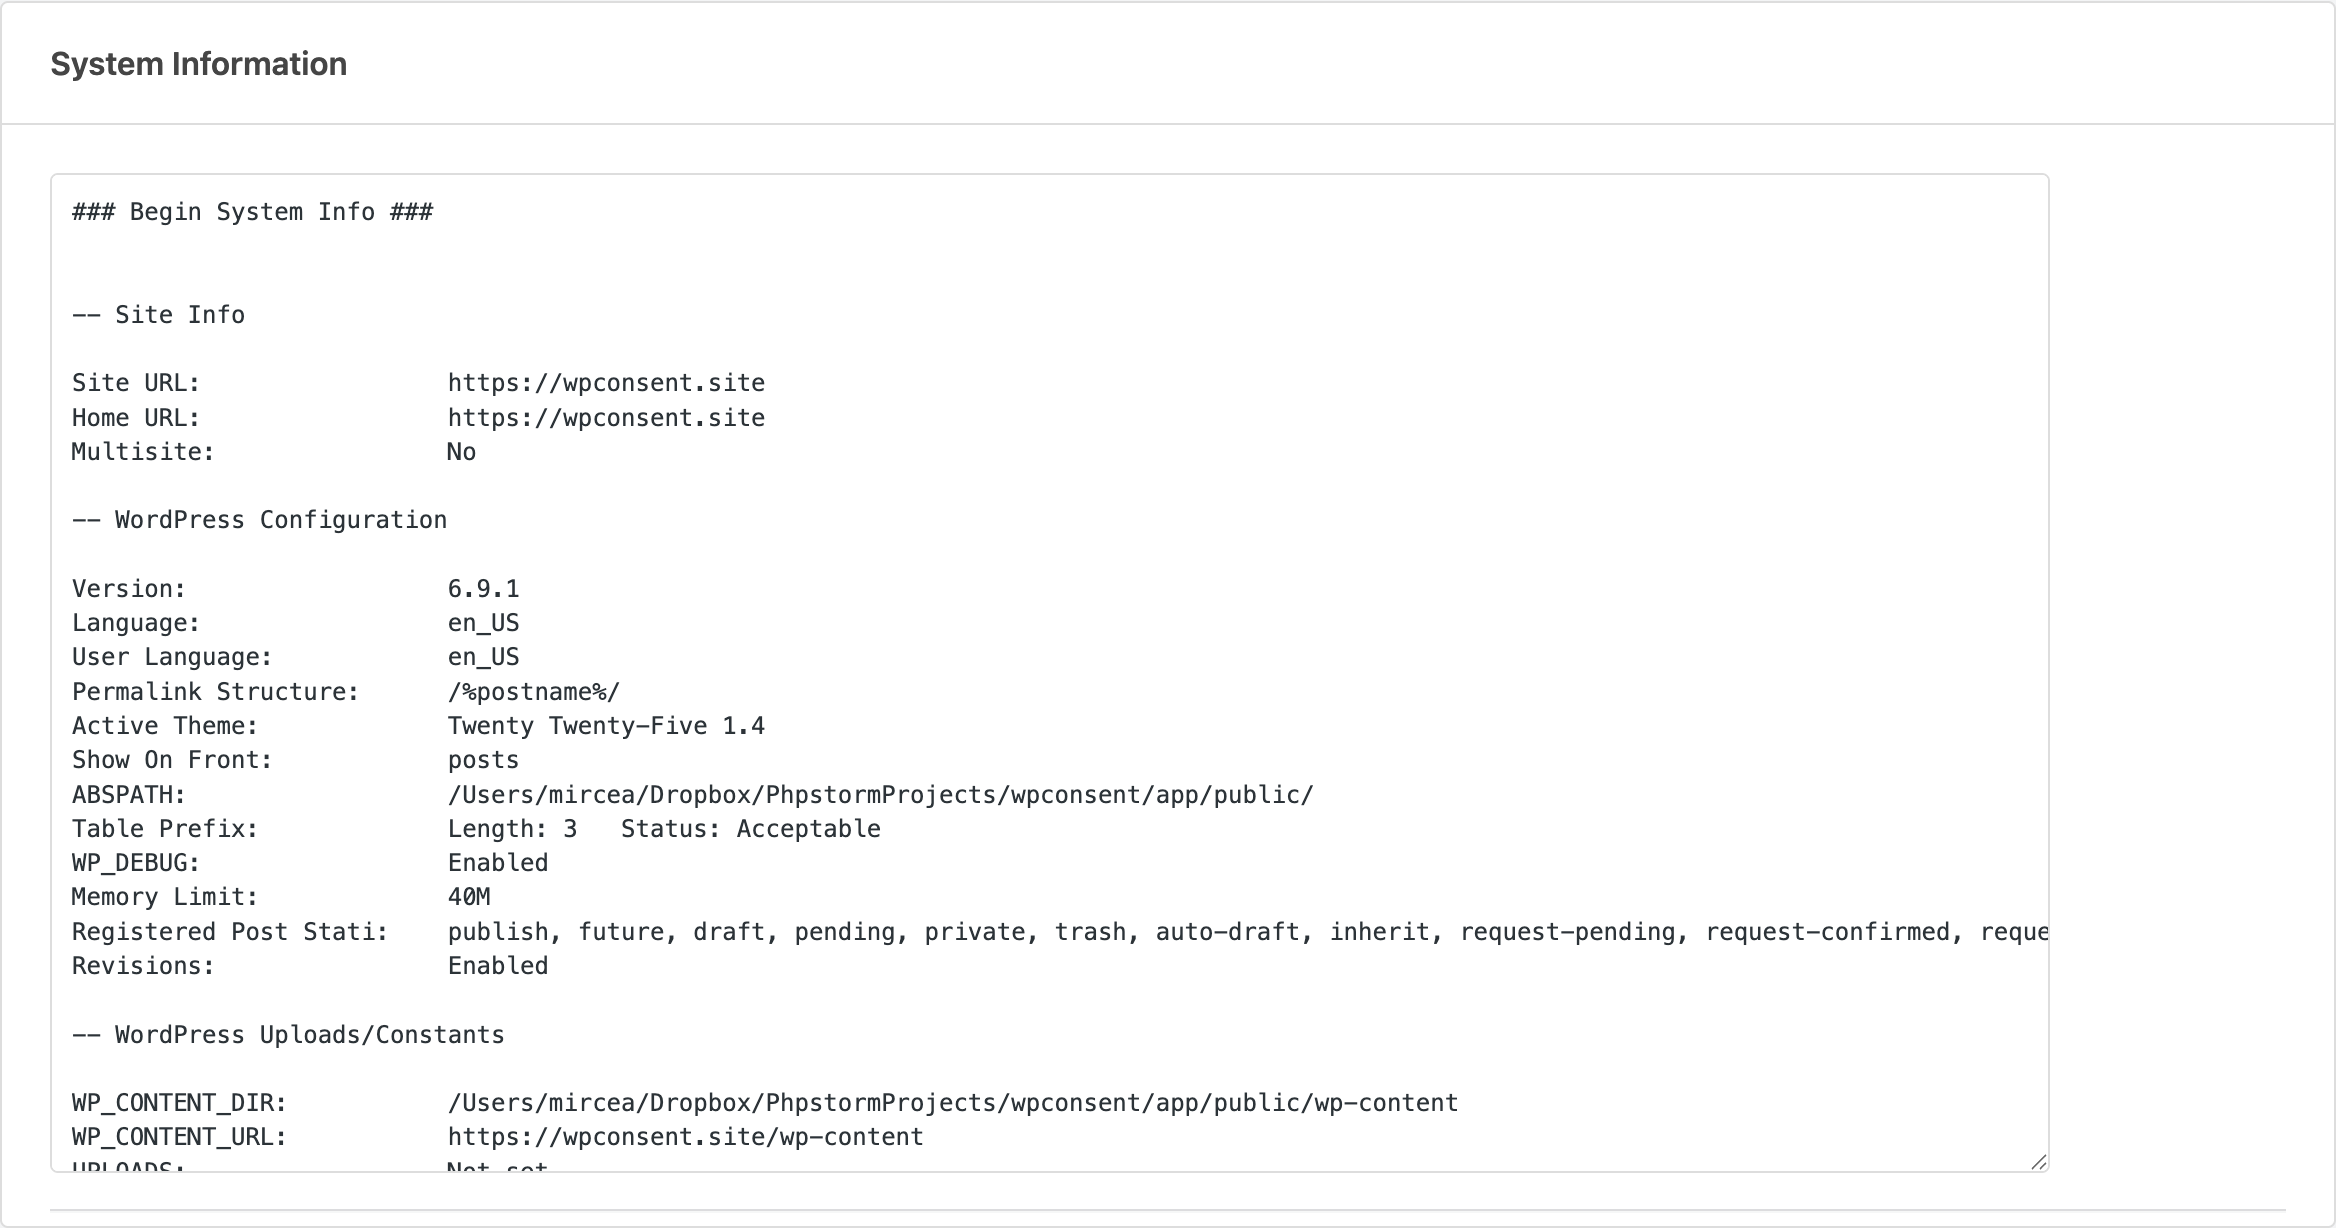
Understanding what’s included
The system info report contains the following sections:
| Section | Details |
|---|---|
| Site Info | Site URL, Home URL, and whether the site is a multisite installation. |
| WordPress Configuration | WordPress version, language, permalink structure, active theme, WP_DEBUG status, and memory limit. |
| WordPress Uploads/Constants | Content directory paths, upload paths, and related constants. |
| Must-Use Plugins | Any must-use plugins installed and their versions. |
| WordPress Active Plugins | All active plugins with version numbers and update status. |
| WordPress Inactive Plugins | All inactive plugins with version numbers. |
| Webserver Configuration | PHP version, MySQL version, and web server software. |
| PHP Configuration | Memory limit, upload limits, execution time, max input vars, and display errors status. |
| PHP Extensions | Whether cURL, fsockopen, SOAP, and Suhosin are available. |
| Session Configuration | Whether PHP sessions are enabled and their configuration. |
Sharing System Info with support
- First, click inside the text area on the System Info tab.
- Then, select all text (
Ctrl+AorCmd+A). - Next, copy it (
Ctrl+CorCmd+C). - Finally, paste it into your support ticket or email.
The entire report is plain text, so it pastes cleanly into any support form or email.
Testing SSL connections
The System Info tab also includes a Test SSL Connections section. To run the test, click the Test Connection button to verify that your server can make outgoing HTTPS requests to the WPConsent API. If this test fails, the scanner and remote block list updates won’t work.

Common causes of SSL test failures:
- Your hosting provider blocks outgoing HTTPS connections.
- A firewall is blocking requests to external domains.
- The server’s SSL certificates are outdated.
Contact your hosting provider if the SSL test fails.
Quick reference checklist
Use this checklist when something isn’t working as expected:
- Open a private/incognito window to rule out consent cookies and browser cache.
- Add
?wpconsent_debugto the URL to rule out script blocking as the cause. - Check the browser console for JavaScript errors.
- Verify the banner is enabled in WPConsent settings.
- Verify script blocking is enabled if scripts are supposed to be blocked.
- Purge all caches: WPConsent cookies cache, server-side page cache, and browser cache.
- Deactivate other plugins one by one to identify conflicts.
- Switch to a default theme to rule out theme issues.
- Check the System Info page and run the SSL test to verify server connectivity.
- Copy the system info and include it in your support request.
FAQ
I changed a setting but nothing happened on the frontend. What’s wrong?
A cache is almost certainly the reason. Purge all caches (WPConsent cookies cache, server-side page cache, and browser cache) as described in clearing caches. Then test in a private/incognito window.
How do I tell if script blocking is causing a problem on my site?
Add ?wpconsent_debug to the URL. If the problem disappears, script blocking is the cause. Review the fixing scripts not blocked correctly section for next steps.
My banner shows on every page load even after I accept it. What’s happening?
The wpconsent_preferences cookie isn’t being saved or is getting cleared between page loads. Check that the consent duration in WPConsent >> Settings is set to a value greater than 0. Also verify that no security or performance plugin is stripping cookies. If you’re using the Shared Consent feature, confirm the cookie domain matches your subdomain setup.
I use a page builder and the banner doesn’t appear in the editor. Is that normal?
Yes. WPConsent automatically suppresses the banner inside the Bricks Builder and Divi Builder editor interfaces. Preview the page or view it on the actual frontend to see the banner.
Conclusion
This guide covers the most common WPConsent issues, from missing banners to script blocking problems and plugin conflicts. Most problems are resolved by clearing caches, checking the browser console, or isolating a conflicting plugin. When you need further help, the System Info report gives our support team everything they need to assist you.
For more details on the tools mentioned here, see the System Info and Database & Cache Management docs. If your question wasn’t answered here, check the frequently asked questions page.