Need to organize cookies into meaningful groups for your consent banner? WPConsent uses cookie categories to let visitors choose which types of cookies they accept. Managing cookie categories gives you full control over how your preferences panel is structured.
Table of contents
- Prerequisites
- Understanding default categories
- Editing a category
- Creating a custom category
- Deleting a custom category
- Reviewing categories in the preferences panel
- Understanding essential category behavior
- Verifying your setup
- FAQ
- Conclusion
Prerequisites
Before you begin, make sure you have:
- WPConsent installed and activated on your site. See our installation guide if you need help.
- Administrator access to your WordPress dashboard.
Understanding default categories
WPConsent creates 3 default cookie categories automatically. These categories are always present and can’t be deleted.
Essential
- Default name: Essential
- Default description: Essential cookies enable basic functions and are necessary for the proper function of the website.
- Behavior: Always enabled. Visitors can’t disable this category. The toggle in the preferences panel appears checked and grayed out.
WPConsent automatically adds a “Cookie Preferences” cookie to this category. That cookie stores the visitor’s consent choices and has a duration of 30 days. In the paid version, if you’ve configured at least 1 geolocation rule, WPConsent also adds a “Geolocation Config” cookie to this category. That cookie stores consent settings based on the visitor’s location and has a duration of 30 days.
Statistics
- Default name: Statistics
- Default description: Statistics cookies collect information anonymously. This information helps us understand how visitors use our website.
- Behavior: Visitors can toggle this category on or off. Services like Google Analytics are typically assigned here.
Marketing
- Default name: Marketing
- Default description: Marketing cookies are used to follow visitors to websites. The intention is to show ads that are relevant and engaging to the individual user.
- Behavior: Visitors can toggle this category on or off. Services like Facebook Pixel or Google Ads are typically assigned here.
Editing a category
You can change the name and description of any category, including the defaults.
- To get started, head over to WPConsent >> Settings. The Settings tab is selected by default.
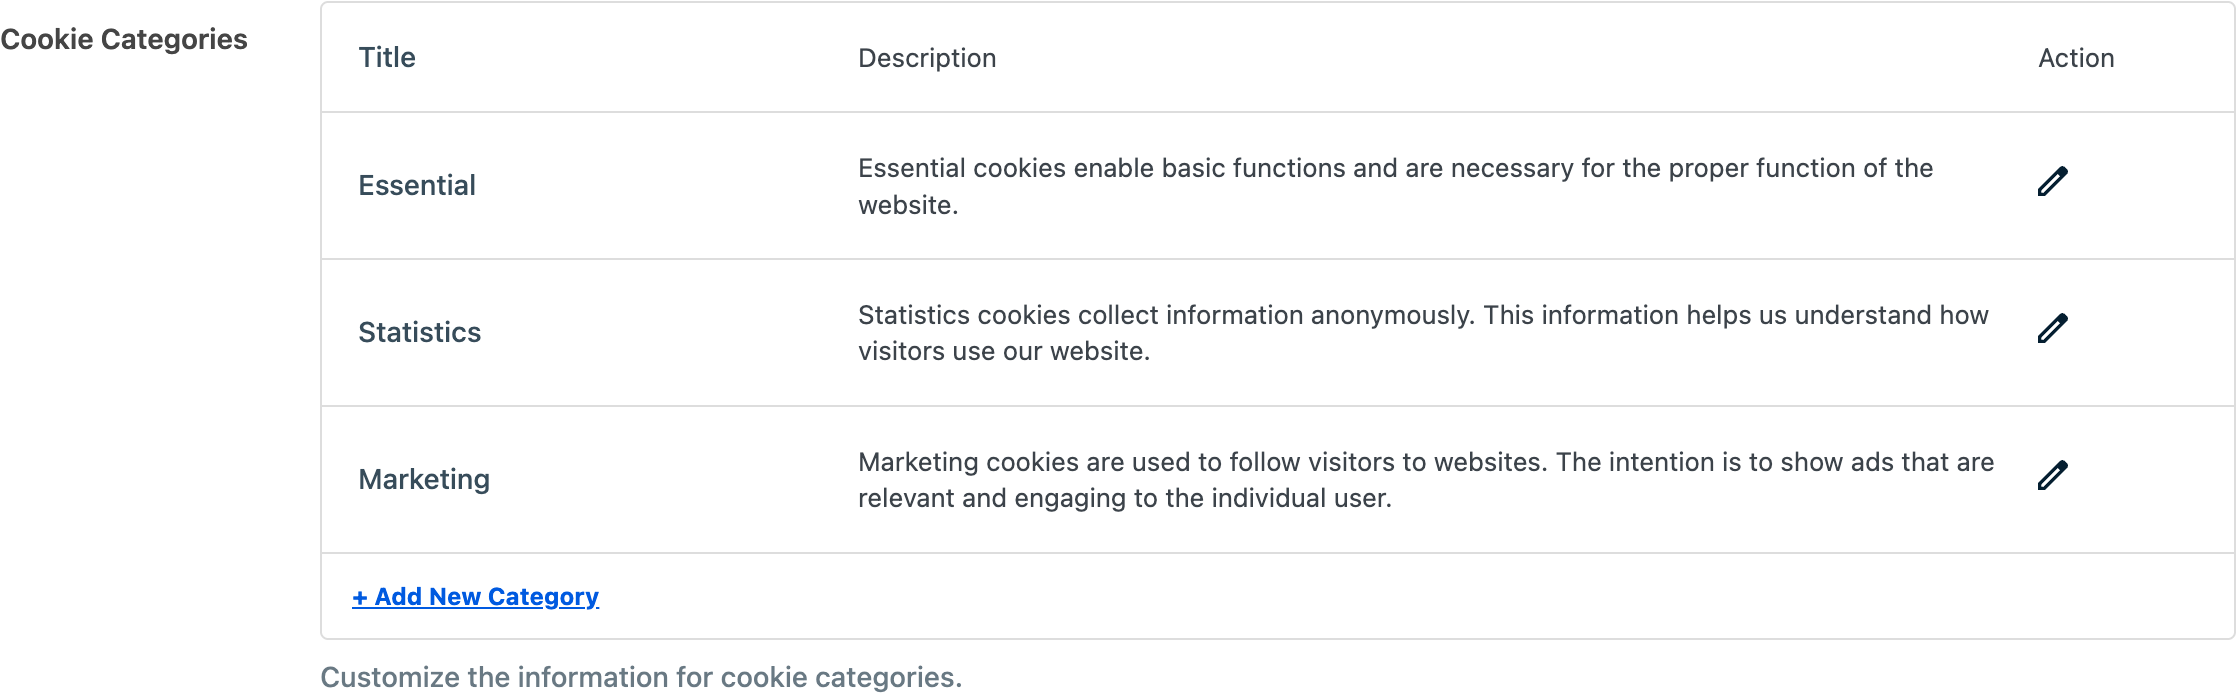
- Next, scroll down to the Cookie Categories section. You’ll see a table with columns for Title, Description, and Action.
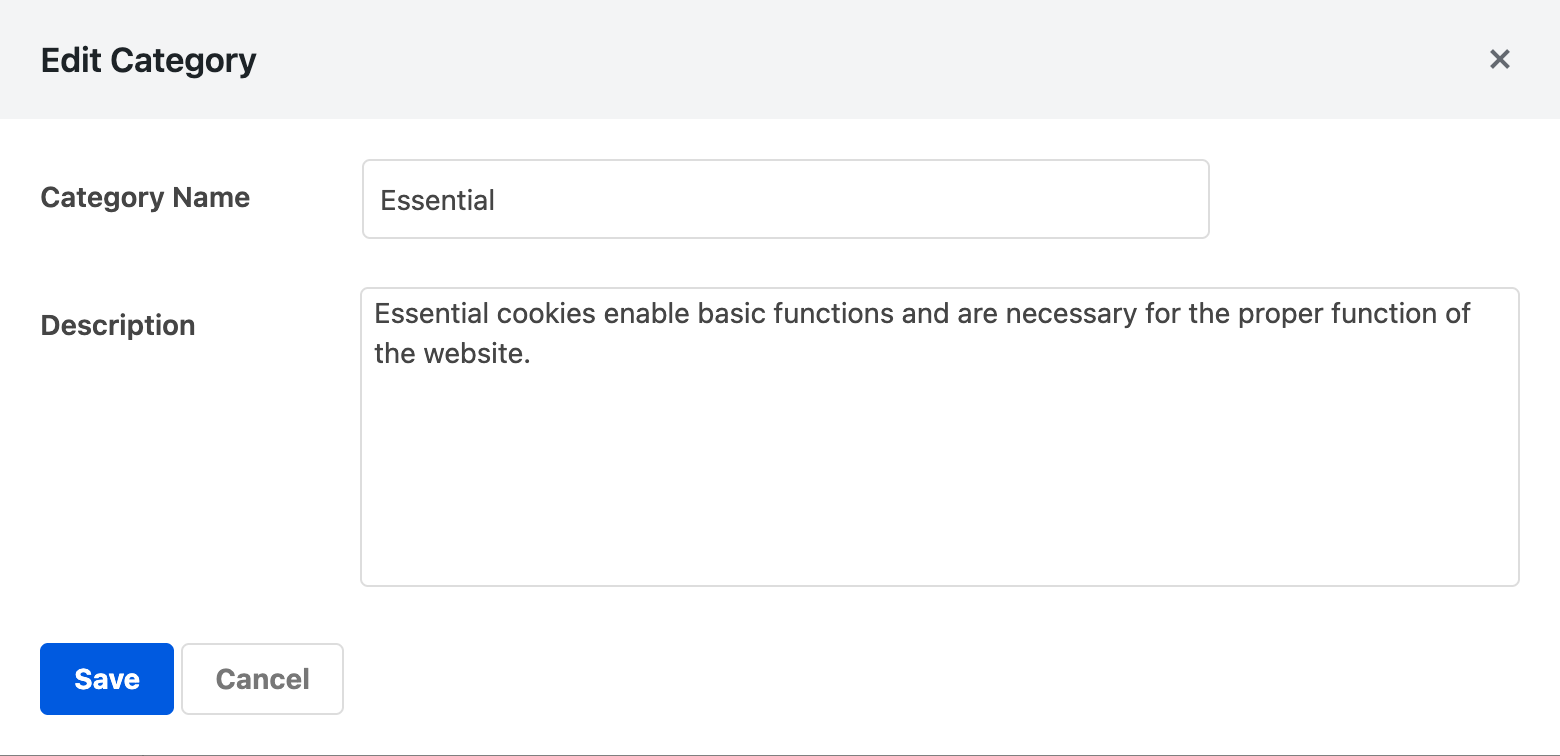
- Then, click the pencil (edit) icon in the Action column for the category you want to change. A modal dialog opens with 2 fields:
– Category Name: the display name shown in the preferences panel. – Description: the text shown when a visitor expands the category in the preferences panel.
- Update the name or description, then click Save. The changes take effect immediately in the consent banner and preferences panel.
Creating a custom category
If the 3 defaults don’t cover your needs, you can add custom cookie categories.
- First, navigate to the Cookie Categories section on WPConsent >> Settings.
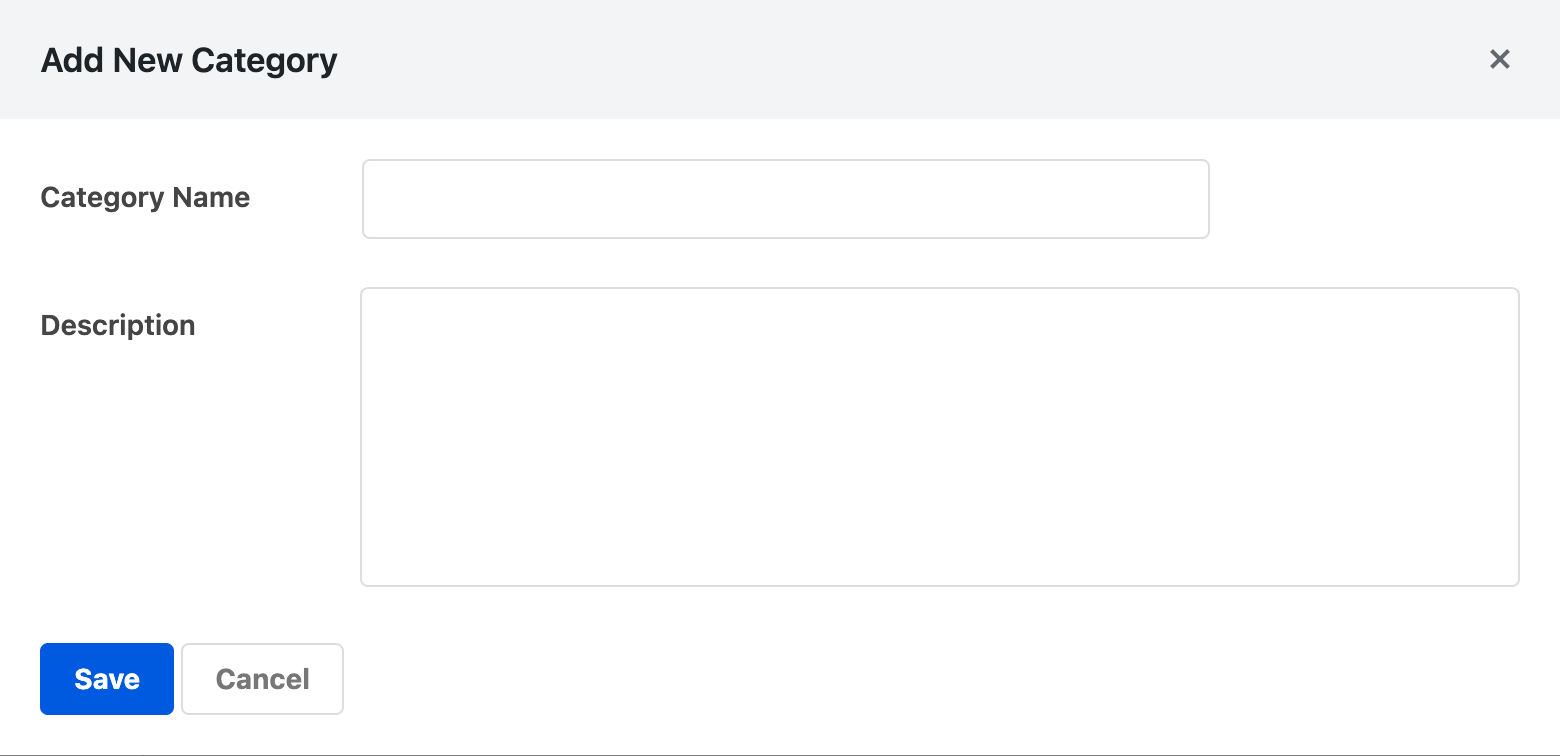
- Then, click + Add New Category below the category list. A modal dialog opens.
- Fill in the following fields:
– Category Name: a short, descriptive name for the category (for example, “Preferences” or “Social Media”). – Description: a brief explanation of what cookies in this category do. This text appears to visitors in the preferences panel.
- Finally, click Save. The new category appears in the category list and becomes available as a toggle in the preferences panel.
Custom categories behave like Statistics and Marketing. Visitors can toggle them on or off, and they aren’t marked as essential.
Deleting a custom category
You can delete custom categories that you created. The 3 default categories (Essential, Statistics, and Marketing) can’t be deleted.
To remove a custom category, click the trash (delete) icon in the Action column for that category. Deleting a category also removes all cookies assigned directly to it.
Important: This action can’t be undone. Make sure you no longer need the category and its associated cookies before deleting.
Reviewing categories in the preferences panel
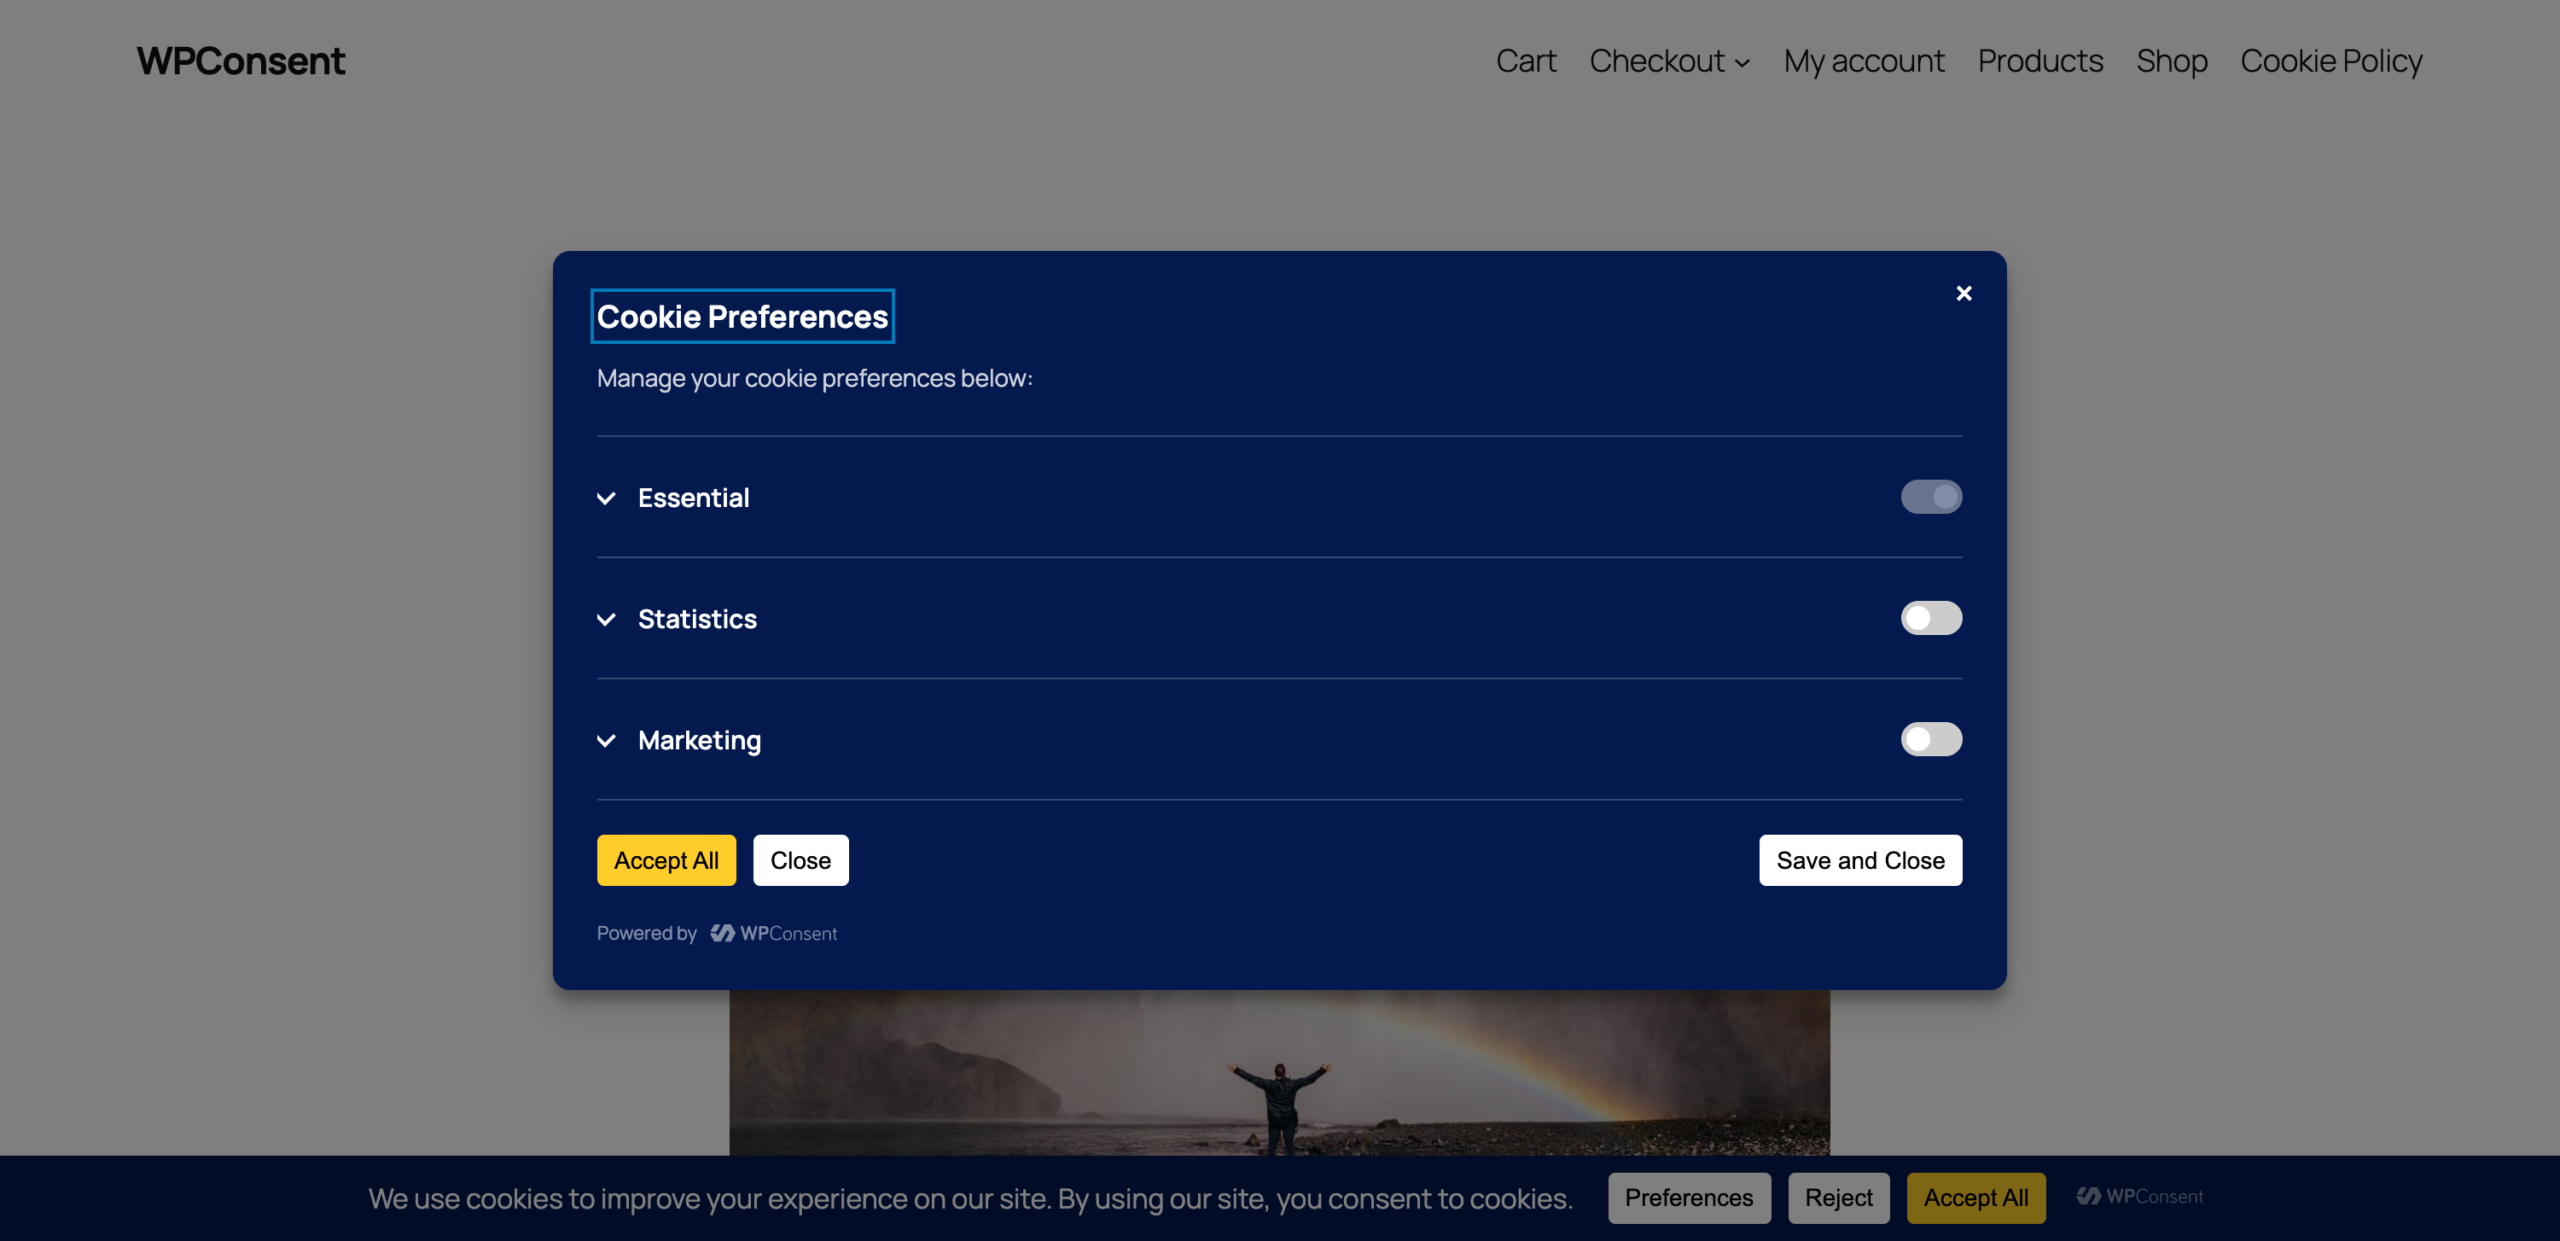
Cookie categories appear as an accordion in the preferences panel on your site’s front end. Each category shows:
- Category name: the label you configured.
- Toggle switch: lets the visitor enable or disable the category. The Essential category toggle is always checked and disabled.
- Expandable content: when a visitor clicks the accordion arrow, the category description is revealed along with a table of cookies and services assigned to that category.
Categories without any cookies or services assigned are hidden from the preferences panel automatically. The only exception is the Essential category, which always appears.
Toggle services
If you enable the Toggle Services setting on the Settings tab, visitors see individual toggles for each service within a category. This provides more granular control. For details on this option, see our guide to general settings.
Category order
Categories appear in the preferences panel in the order they were created. The 3 defaults always appear first (Essential, Statistics, and Marketing), followed by any custom categories in creation order.
Understanding essential category behavior
The Essential category has special behavior that differs from all other categories:
- Always enabled. The toggle is checked and disabled in the preferences panel. Visitors can’t opt out.
- Can’t be deleted. The delete button doesn’t appear for the Essential category.
- Automatic cookies. WPConsent creates a “Cookie Preferences” cookie in this category automatically to store the visitor’s consent choices. In the paid version, a “Geolocation Config” cookie is also added when geolocation rules are configured.
- Slug-based detection. The plugin identifies the Essential category by its
essentialslug, so even if you rename it, it retains its always-enabled behavior.
Verifying your setup
To confirm your category changes are working:
- First, open your site in a private or incognito browser window.
- Then, click the preferences button on the consent banner (or the floating settings button if enabled).
- Verify that your categories appear with the correct names and descriptions.
- Confirm that the Essential category toggle is checked and disabled.
- Finally, expand each category to check that the description text matches what you configured.
FAQ
Why doesn’t my custom category appear in the preferences panel?
Categories without cookies or services assigned are hidden from the preferences panel. Assign at least 1 cookie or service to the category to make it visible. See our guide on scanning your website for how to populate categories.
Why aren’t my category name changes showing on the front end?
WPConsent caches the preferences panel data. After making changes, clear your browser cache and any server-side caching plugin cache. WPConsent automatically clears its internal transient caches when you save category changes.
Can I recover a deleted category?
Deleted categories and their associated cookies can’t be recovered. You’ll need to recreate the category and reassign any cookies or services. If you ran a scan previously, running a new scan can help repopulate the data. See our guide on scanning your website.
Conclusion
You now know how to view, edit, create, and delete cookie categories in WPConsent. Categories give your visitors clear, organized consent choices in the preferences panel. To learn how to populate your categories with cookie data, we recommend reading about scanning your website next.