
Managing my WordPress site felt overwhelming when I first learned about cookie compliance laws. I knew cookies existed on my website, but I had no idea what they were doing or where they came from.
Every plugin I installed seemed to add more cookies. My analytics tracking, contact forms, and even my caching plugin were quietly placing cookies on visitors’ browsers. The problem was, I couldn’t see them.
When GDPR went into effect, I realized I needed to know exactly which cookies my site was using. I spent hours trying to figure this out manually, which was a time-consuming task. It was like searching for invisible puzzle pieces.
However, with the right tool like WPConsent, you can scan your entire site and see every single cookie being used. Besides that, there are also some browser tool that help you uncover cookies on your website.
In this article, I’ll show you how to find which cookies your WordPress website is using.
Why You Need to Know Which Cookies Your Site Uses?
Privacy laws like GDPR and CCPA require website owners to tell visitors exactly which cookies their site uses. You can’t just say ‘we use cookies’ anymore. You need to list each type and explain what it does.
Without knowing your cookies, you’re basically flying blind. You might be collecting visitor data without realizing it, which could put you in legal trouble.
Your visitors also deserve to know what’s happening when they browse your site. When someone visits your WordPress site, they trust you with their privacy. Showing them exactly which cookies you’re using builds that trust.
Knowing your cookies also helps you write better privacy policies. Instead of using generic cookie language, you can be specific about what your site actually does. This makes your privacy policy more accurate and useful for your visitors.
That said, let’s look at simple ways to uncover which cookies your WordPress site is using.
Method 1: Uncover Cookies Using WPConsent
Finding every cookie on your WordPress site doesn’t have to be complicated, and the best way to go about it is by using WPConsent.
It is the best WordPress cookie consent management plugin, and it works like a detective for your website. It scans your entire site, checking which services might be adding cookies on your website.
What makes WPConsent special is that it doesn’t only show which cookies exist, but also helps you configure them for better privacy compliance. You can also use the plugin to create custom cookie banners, handle ‘Do Not Track’ requests, add services from a built-in library, manage cookie consent data, and much more.
For this tutorial, I’ll be using the WPConsent Pro version because it includes the pre-built library of services, multilanguage feature, and more. However, there is also a WPConsent Lite version which you can use for free and scan your site for cookies.
First, you’ll need to install and activate the WPConsent plugin. If you need help, then please see this guide on how to install a WordPress plugin.
Once the plugin is active, you’ll see the WPConsent setup wizard. Go ahead and click the ‘Let’s Get Started’ button and follow the onscreen instructions.
While going through the setup wizard, WPConsent will perform a scan of your website and detect services that add cookies.
However, you can also head to WPConsent » Scanner from the WordPress dashboard to uncover which third party scripts are adding cookies.
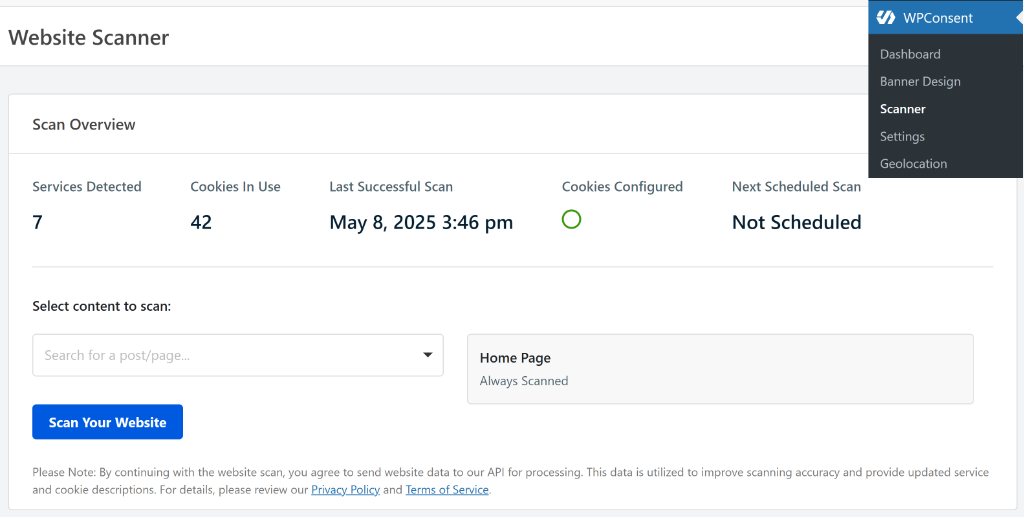
By default, WPConsent will scan the homepage of your website, but you can also select specific pages to scan for cookies. This way, you don’t miss any hidden scripts and ensure complete compliance with privacy laws.
For example, these pages might include the checkout page, contact page, contact us page, shopping cart, and more.
To start, go ahead and click the dropdown menu under ‘Select content to scan’ option and select which pages to include in the scan.
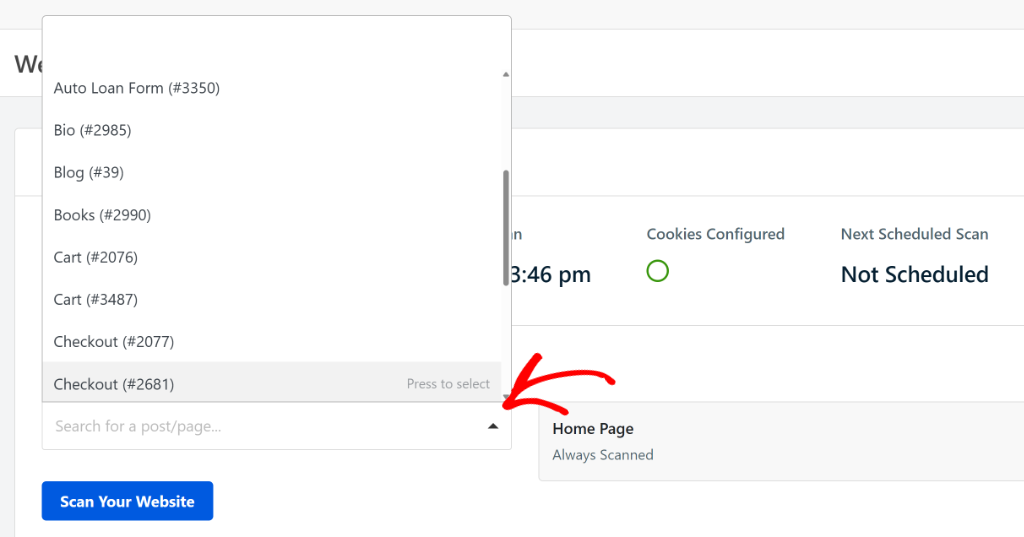
From here, simply click the ‘Scan Your Website’ button to continue.
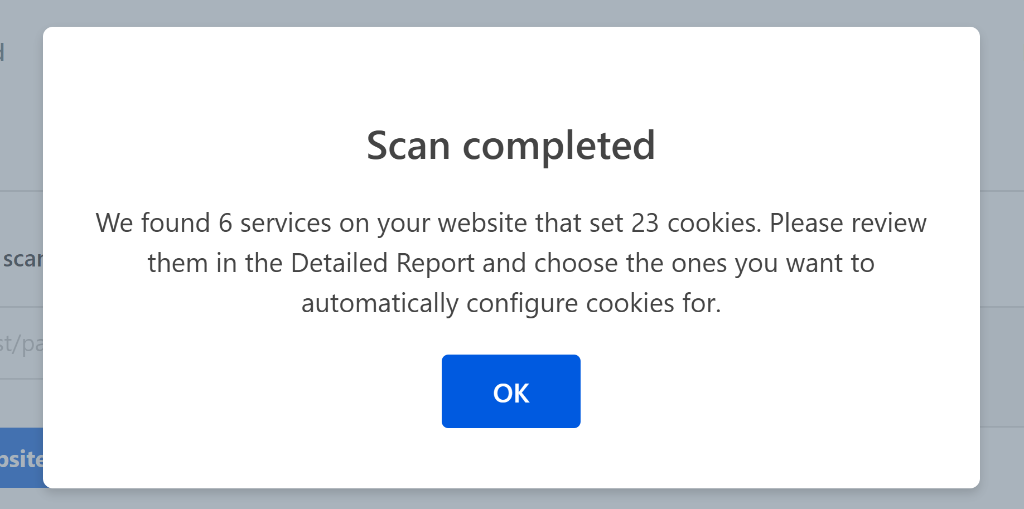
Once the scan is complete, you’ll see a success message, showing the number of services and cookies that were found on your site. Go ahead and click the ‘OK’ button to close the message.
After that, you can scroll down to see the detailed report about the services that are adding cookies on your site.
Under each service, you’ll see the ‘View Cookie’ option. If you click on it, then you’ll see a list of all the cookies that are added by the respective service.
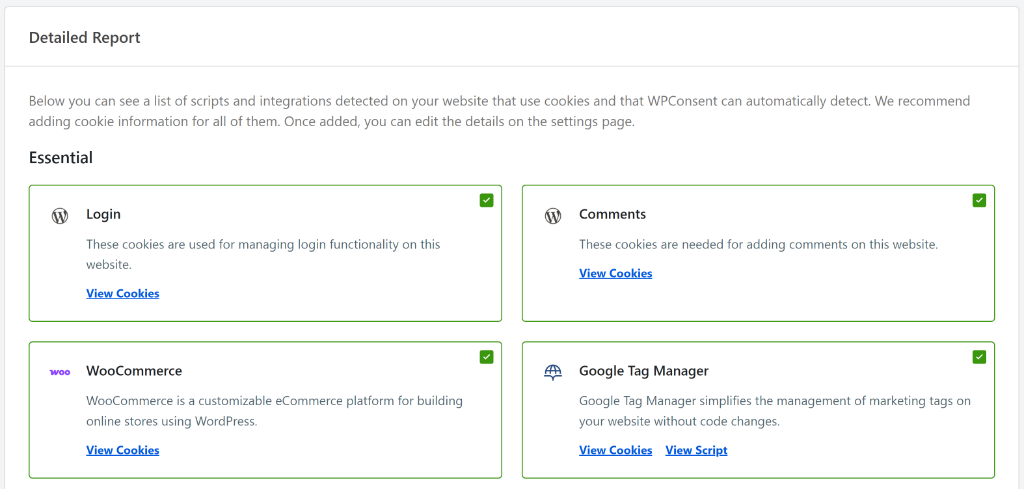
WPConsent will organize the services under Essential, Statistics, and Marketing categories.
- Essential cookies are crucial for a website’s basic functioning, enabling core features like user login and secure transactions.
- Statistics cookies gather information about user interactions to help website owners analyze site performance and improve user experience (like Google Analytics).
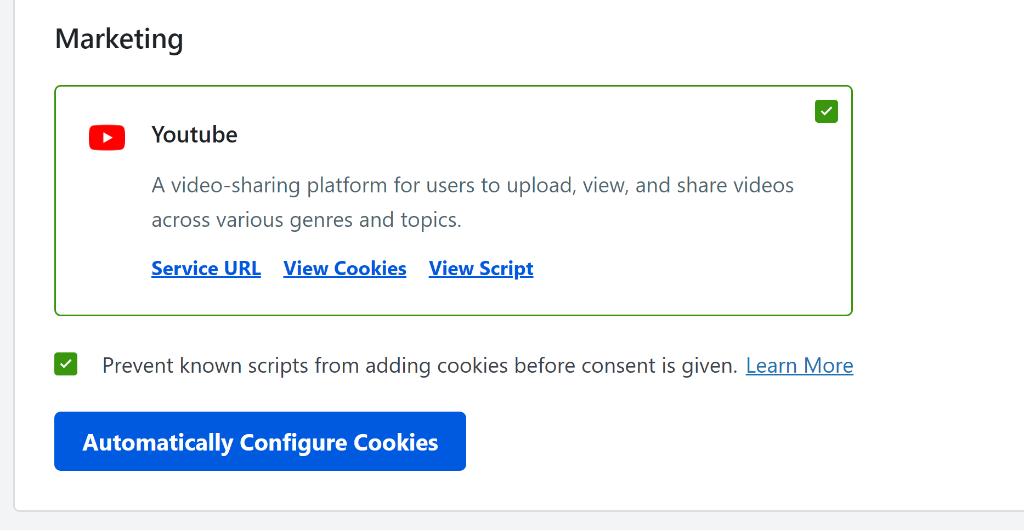
- Marketing cookies track users across different sites to serve personalized ads and how users interact with different elements on your site (such as YouTube videos or Google AdSense).
The best part about using WPConsent is that it lets you add cookie information for all the detected services automatically on your site.
Simply scroll to the bottom of the page and click the Automatically Configure Cookies button. Also ensure that the ‘Prevent known scripts from adding cookies before consent is given’ checkbox is ticked.
To learn more, you may want to see our guide on how to block third party cookies on your WordPress site.
You can also view detailed cookie information by heading to WPConsent » Settings from the admin panel and switching to the ‘Cookie’ tab.
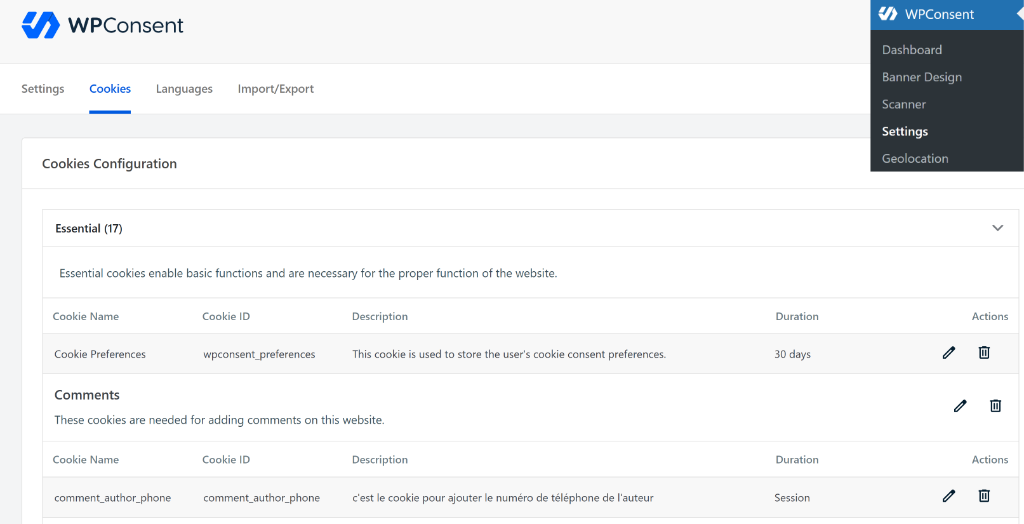
Here, you’ll see details of all the cookies along with their name, ID, description, and duration.
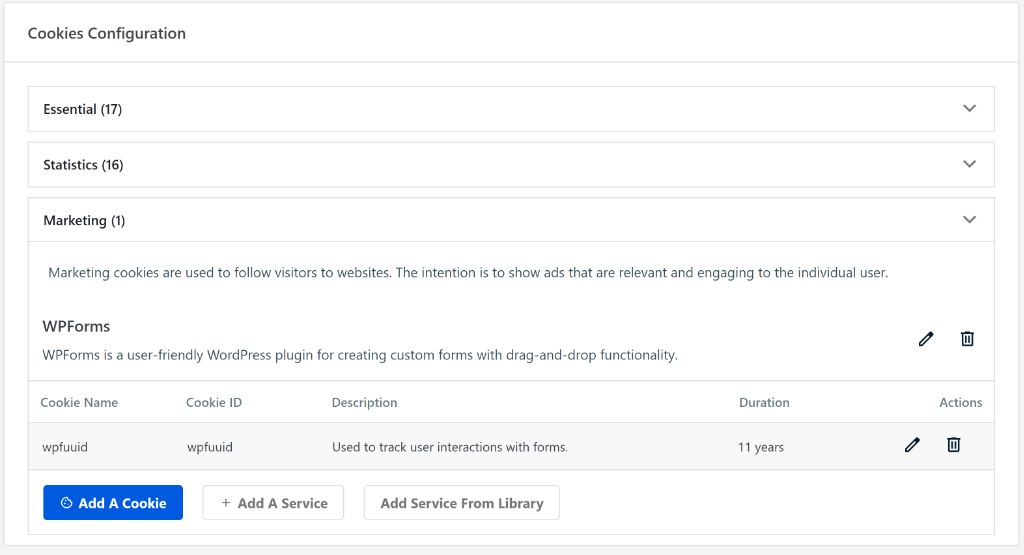
If you scroll down, then you will also see options to add cookies, services, or choose a service from the pre-built library in WPConsent.
Method 2: See Website Cookies Using Browser Tools
While WPConsent gives you the most comprehensive cookie report, there are other ways to find cookies on your WordPress site.
Your web browser has built-in tools that can show you cookies in real-time. This method works well for spot-checking specific pages, but it’s time-consuming for larger sites. You have to visit each page individually and manually record what you find. Plus, some cookies only appear after certain user actions, which makes them easy to miss during manual inspection.
However, for getting a complete picture of your site’s cookies, WPConsent saves hours of manual work and catches cookies you might otherwise overlook. It also helps configure the cookies, which isn’t possible using browser tools.
Pro Tip: Before you start using browser tools to uncover cookies, you should log out of your WordPress site and clear the cookies and browsing data, or visit your site in incognito mode. This way, you’ll identify cookies that your visitors will see when they land on your website.
With that, let’s see how you can uncover website cookies in Google Chrome and Mozilla Firefox.
Google Chrome
Google Chrome’s developer tools make it relatively easy to see which cookies are active on any page of your WordPress site.
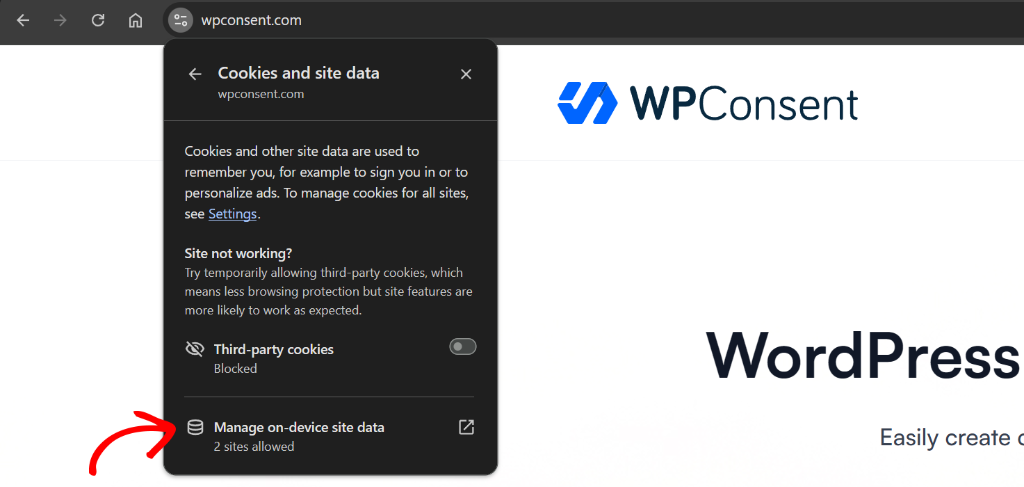
First, you will need to open Chrome and navigate to your WordPress website. After that, you can click the padlock icon next to your site’s URL in the browser’s address bar.
From here, you can click the Cookies and site data option.
Next, you will need to select the ‘Manage on-device site data’ option.
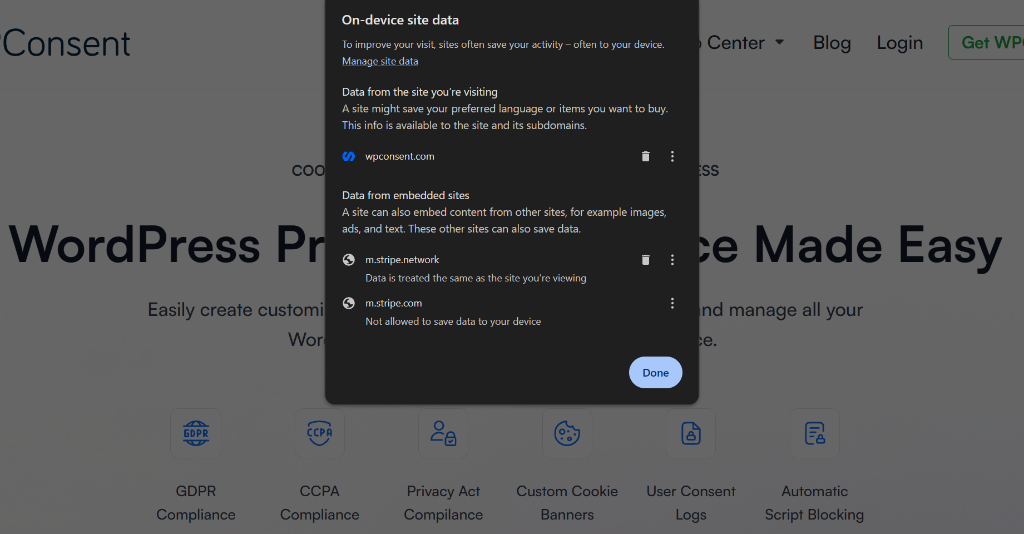
After that, you should see the cookies that are being used on your WordPress site.
To close the dialog box, simply click the Done button.
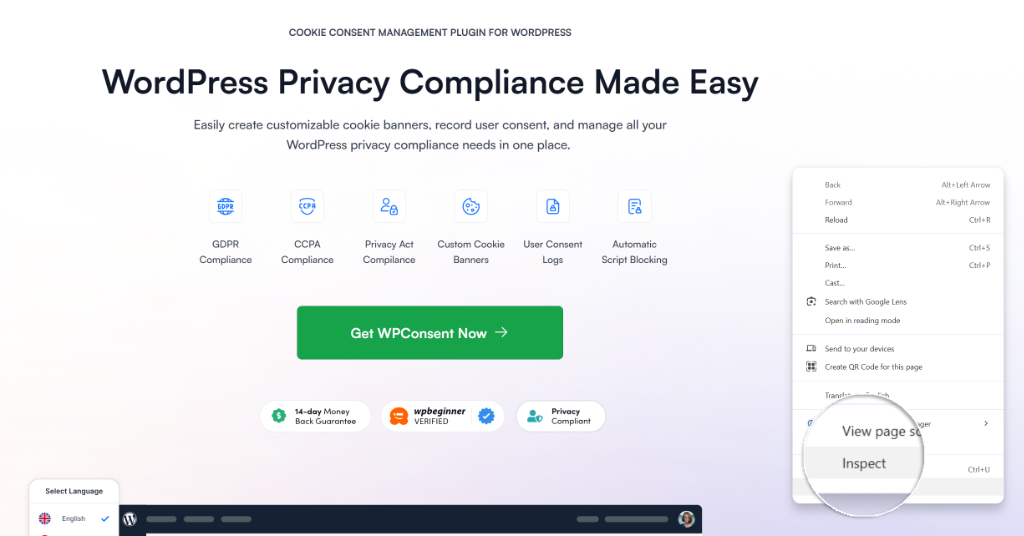
If you want to dive deeper and look at cookie in detail, then you can right-click anywhere on the page and select Inspect from the menu that appears, or simply press F12 from your keyboard. This opens Chrome’s developer tools panel at the bottom or side of your browser window.
After that, you can click on the ‘Application’ tab in the developer tools panel. If you don’t see it, look for a small arrow (>>) that indicates more tabs are available and click it to find the Application tab.
From here, in the left sidebar under Storage, you’ll see a Cookies section. Click the arrow to expand it and then click on your website’s domain name to see all active cookies for that page.
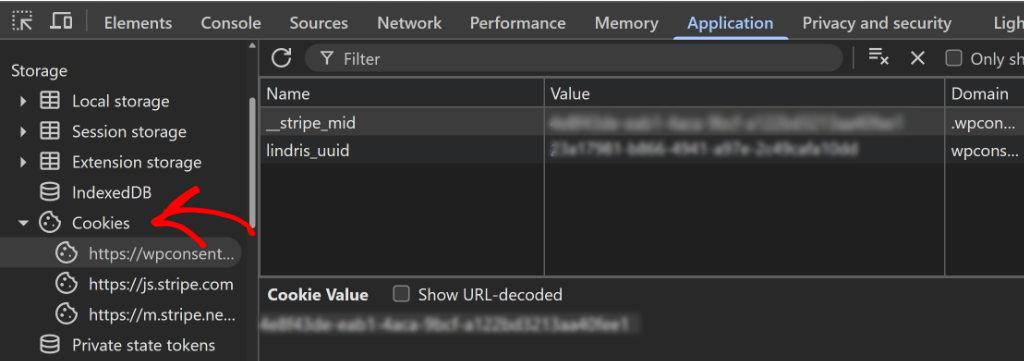
Chrome displays each cookie with details like its name, value, domain, and expiration date. You can click on individual cookies to see more information about them in the panel below.
Mozilla Firefox
Firefox’s developer tools work similarly to Chrome but with a slightly different layout. First, you’ll need to open Firefox and go to your WordPress website.
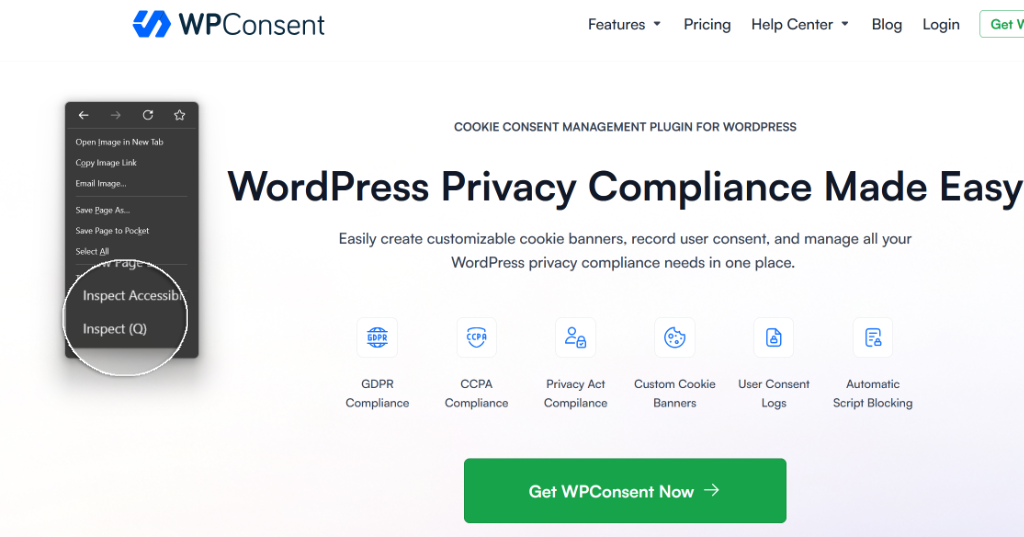
Next, you can press F12 to open Firefox’s developer tools, or right-click on the page and select Inspect from the menu. The developer tools panel will appear at the bottom of your browser window.
After that, you can click on the ‘Storage’ tab in the developer tools.
From there, expand the Cookies section by clicking the arrow next to it in sidebar on the left. You’ll see your website’s domain listed underneath. Go ahead and click on it to view all cookies currently set for that page.
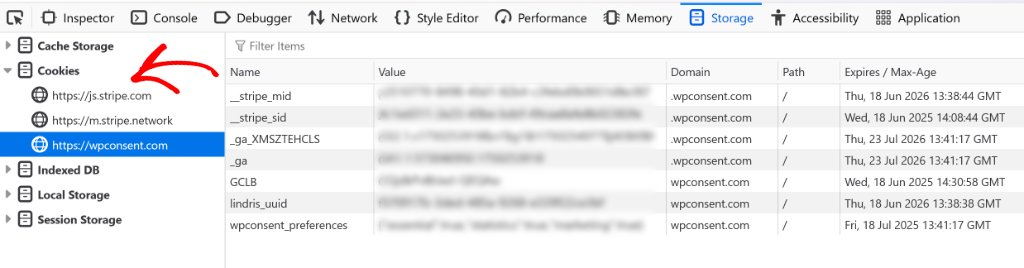
Firefox shows cookie information in a table format, displaying the cookie name, value, domain, path, and expiration details. This gives you a clear view of what cookies are active on the current page you’re viewing.
I hope this article helped you learn how to find which cookies your WordPress site is using. You may also want to see our guide on what are tracking cookies and how to set up multi-language cookie consent banners.
If you liked this article, then please follow us on X (formerly known as Twitter). You can also leave a comment below if you need any assistance.